Getting Started
11
Getting Started
DST-HD500 2-663-710-
11
(2)
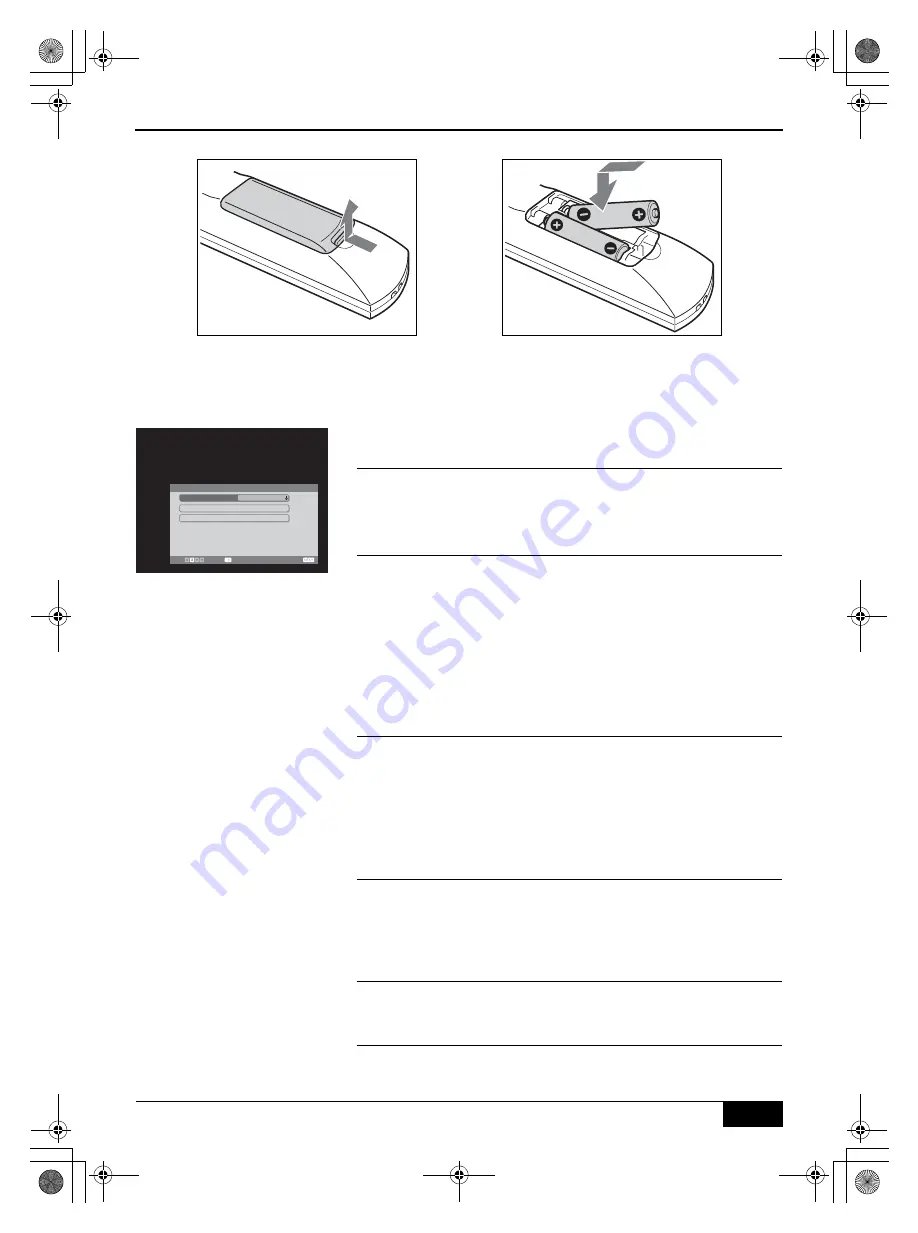
Inserting batteries into the remote control
1
Press the
1
(Power) button on the front of the receiver. When
the receiver is switched on for the first time, the ‘Easy Setup’
screen is displayed.
2
With the
Time Setup
option highlighted, press the
b
or
OK
button. Then press the
V
or
v
buttons to select your state/region.
Note:
This option allows you to set the time zone in which you are using
the receiver. This will ensure that the time displayed on the i-Plate is
correct.
3
Press the
V
or
v
buttons to highlight
Full Scan
or
Quick Scan
to preset channels.
‘Full Scan’
All available channels are tuned and stored. This
procedure may take up to 15 minutes.
‘Quick Scan’ All expected channels in your area are tuned and
stored. You will need to select your nearest city to
help speed up this procedure.
Press the
OK
button to begin the autotune procedure. A display
appears showing a tuning progress bar and the channels found.
4
When autotune procedure has finished, the
Program List
is
displayed, showing all the available channels.
Press the
OK
button to remove the
Program List
and view the
first channel captured.
Alternatively, press the
v
button to select a different channel.
Press the
OK
button to remove the
Program List
and view the
selected channel.
If no channels are found
1
If no channels have been captured and stored, a message
appears on screen to inform you.
2
Check your aerial cable is connected, then press the
MENU
button and select
Install
menu to repeat the autotune
procedure.
3
If you are still unable to receive signals, please have your aerial
checked by an aerial installation company.
Easy Setup procedure
Push and lift up the release clip to
remove the battery cover.
Insert the supplied batteries as
indicated inside the battery
compartment.
Easy Setup screen
1
2
Easy Setup
Select :
Confirm :
Exit :
Select your State / Region.
VIC
Time Setup
Full Scan
Quick Scan
DST-HD100A.book Page 11 Saturday, September 17, 2005 5:36 AM


