94
When [USB Connect] is not set
to [PictBridge] in the SET UP
settings
You cannot use the PictBridge function,
even when you turn on the camera. Set
[USB Connect] to [PictBridge].
1
Press MENU and select [USB Connect],
then press the center of the multi-
selector.
2
Select [PictBridge] with
v
, then press
the center.
Printing images
You can select an image and print it. Set up
the camera following the procedure on page
93, and then connect the printer.
•
You cannot print movies and images recorded
in RAW mode.
•
When printing E-mail mode images or
uncompressed (TIFF) images, only their
corresponding JPEG files are printed.
•
If an error message is sent from the connected
printer during the connection,
flashes for
about five seconds. In such cases, check the
printer.
•
Note that printing is canceled if you switch the
/CF switch while printing images.
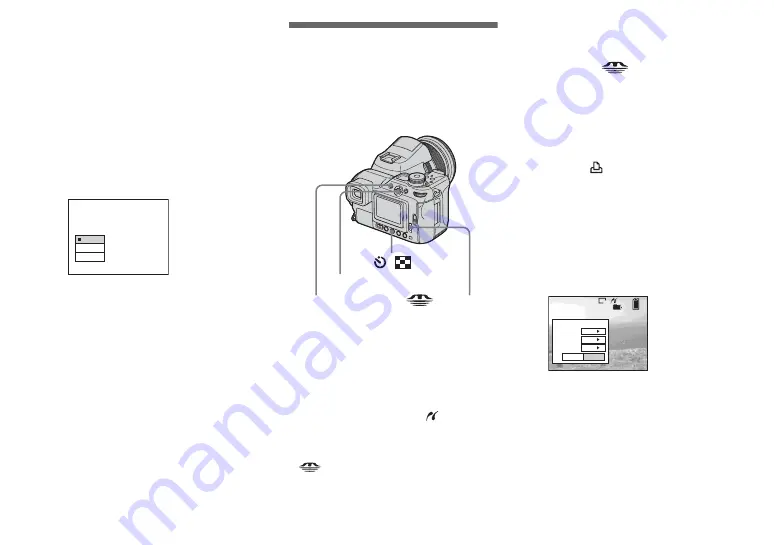
On the single screen
a
Select the recording medium
with the
/CF switch and
display the image you want to
print with
b
/
B
.
b
Press MENU.
The menu appears.
c
Select
(Print) with
b
/
B
, then
press the center of the multi-
selector.
d
Select [This image] with
v
/
V
,
then press the center of the
multi-selector.
The Print screen appears.
e
Select [Quantity] with
v
/
V
,
select the number of images
with
b
/
B
.
You can select the number up to 20.
PTP
Normal
PictBridge
USB Connect
/
Multi-selector (
v
/
V
/
b
/
B
)
MENU
/CF switch
2/9
101
8M
Exit
OK
1
Off
Off
Quantity
Date
Index


