77
Enj
o
y
ing
i
m
ages
on
yo
ur
co
m
put
er
P
To cancel the USB
connection
Removing the USB cable from your
computer/removing the camera from the
USB cradle/turning off the camera
For Windows 2000, Me, or XP users
1
Double-click
on the task tray.
2
Click
(Sony DSC), then click [Stop].
3
Confirm the device on the confirmation
window, then click [OK].
4
Click [OK].
This step is unnecessary for Windows
XP users.
5
Remove the USB cable from your
computer, remove the camera from the
USB cradle or turn off the camera.
For Windows 98 or 98SE users
Confirm that the access indicators on the
LCD screen are turned white and carry out
only Step 5 above.
Copying images using
“Image Transfer”
– Windows 98/98SE/2000/Me
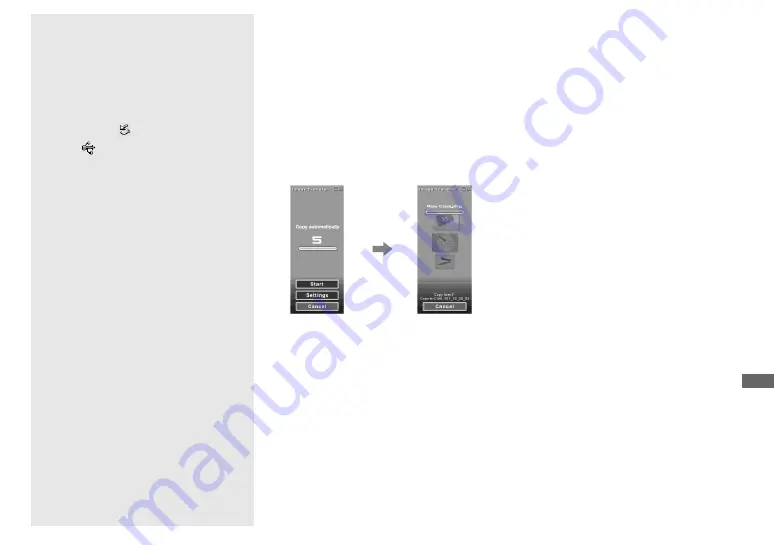
When you connect the camera to your
computer, “Image Transfer” launches and
the images are automatically copied to the
computer. When copying is complete,
“ImageMixer” automatically launches and
images appears.
•
Normally “Image Transfer” and “Date” folders
are created inside the “My Documents” folder,
and all of the image files recorded with the
camera are copied into these folders.
•
You can change the “Image Transfer” settings
(page 78).
– Windows XP
Connect the camera and your
computer with the USB cable and the
USB cradle.
“Image Transfer” starts up automatically
and the images are automatically copied to
the computer.
Windows XP is set so that the OS AutoPlay
Wizard activates.
If you want to cancel the setting, follow the
procedure below.
a
Click [Start], then click [My
Computer].
b
Right-click [Sony
MemoryStick], then click
[Properties].
c
Cancel the setting.
1
Click [AutoPlay].
2
Set [Content type] to [Pictures].
3
Check [Select an action to perform]
under [Actions], select [Take no
action], then click [Apply].
4
Set [Content type] to [Video files]
and proceed step
3
. Set [Content
type] to [Mixed content] and
proceed step
3
.
5
Click [OK].
The [Properties] screen closes.
The OS AutoPlay Wizard does not
start up automatically even if the
USB connection is made.
Содержание Cyber-shot DSC-F77
Страница 113: ...113 Additional information W Warnings and messages 92 Z Zoom Playback zoom 58 Using the smart zoom 24 ...
Страница 114: ......
Страница 115: ......


