18.
7.
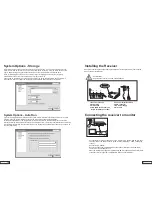
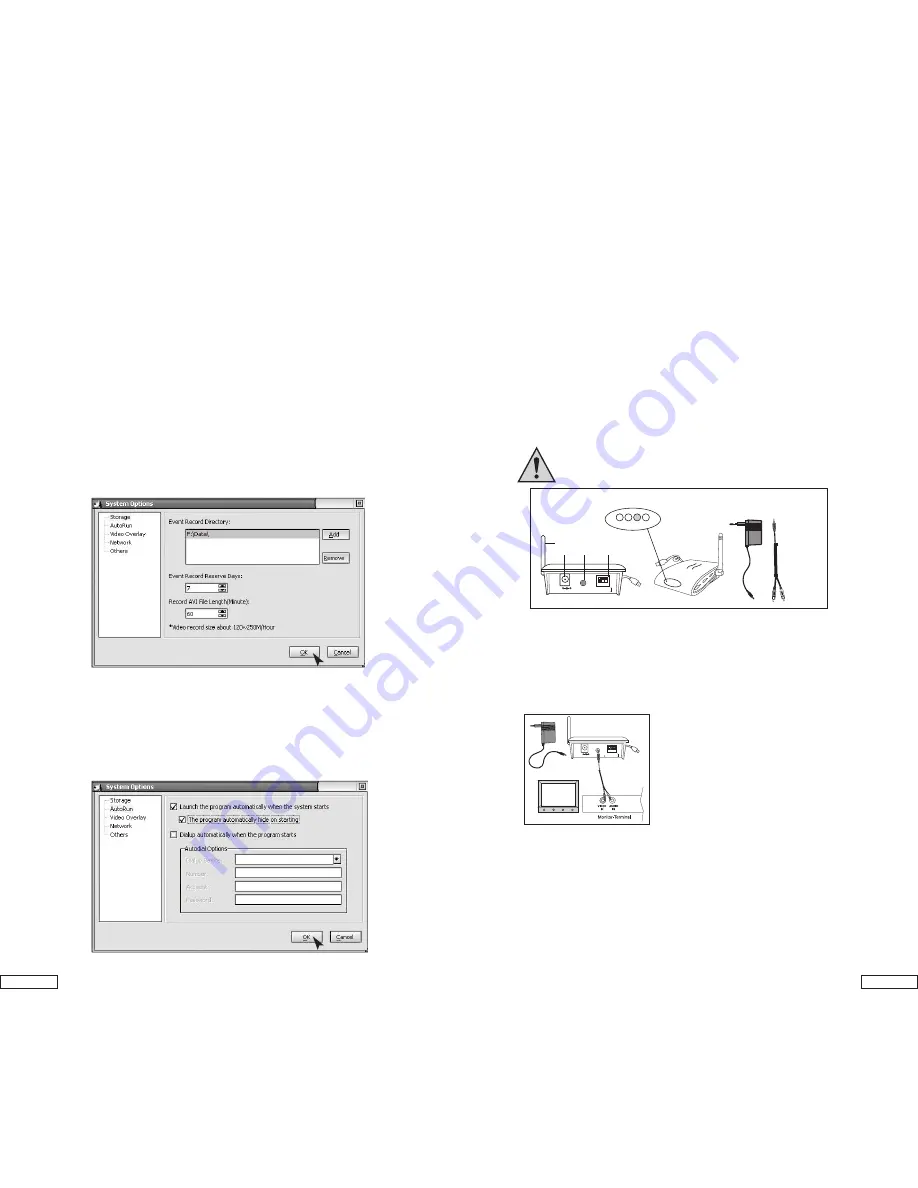
Installing the Receiver
1. Receiver antenna
2. Power plug
3. A/V Output
4. LED (RED for Channel1,2,3
BLUE for USB connection)
5. Channel selection switch
6. USB connector
7. AC Power supply
8. A/V cable
Connecting the receiver to monitor
7
8
1 2 3
5
6
DC IN
A/V
OUTPUT
7.5V 300mA
OFF
CH
ON
1 2 3
DC IN
A/V
OUTPUT
7.5V 300mA
OFF
CH
ON
1 2 3
4
CH1
2
3
System Options - Storage
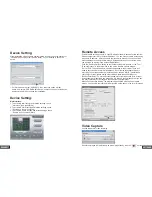
Path for Saving Record Files: Set the path for saving record files, which include scheduled record,
alarm record, and quick record. You can set multiple paths for saving. Click the "Add" button on the
right to add directory and click the "Delete" button on the right to delete the selected path.
Days for Retaining Record Files: The number of days for retaining the record files (including
scheduled records, alarm records and quick records) on the disk.
Files saved on the disk for more than the days set will be automatically deleted by the program. If
disk space is less than 100M, the program will automatically delete the oldest record files.
System Options - Auto Run
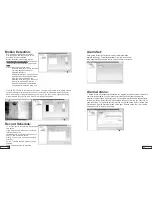
"Launch the program automatically when the system starts": Select this option to enable auto-run of the
program when the system starts and resume the status before the previous shutdown.
"Dialup automatically when the program starts": Select this option to enable auto dialup to access the
Internet according to the parameters set after the program starts. This setting is suitable for those networks
that require manual dialup to access the Internet. The setting for specific dialup parameters is the same as
that of system dialup.
Set up the receiver approx.3 feet above ground (better receiving condition). There should
be an electrical outlet nearby.
A TTENTION!
Only place the receiver on solid, stable surfaces.
Connect the A/V cable as shown above to a monitor or TV system with an A/V input.
The other end of the cable connects to the receiver (white plug = audio, yellow plug
= video).
Connect the AC Adapter.
Be sure the channel(s) selected matches the channel selected for the camera(s).
The receiver is now ready for use.
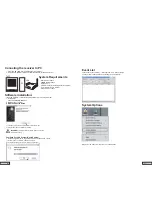
When the USB jack is plugged into USB port (USB 2.0 required) the blue LED (USB
connection LED) will light up. The RED LED is the channel indicator.

