


T
HERMO
R
ACK
800
T
HERMOELECTRIC
C
HILLER
52-13007-1
S
OLID
S
TATE
C
OOLING
S
YSTEMS
,
167
M
YERS
C
ORNERS
R
OAD
,
W
APPINGERS
F
ALLS
,
NY
12590
11
T
ELEPHONE
:
(845)
296-1300
F
AX
:
(845)
296-1303
WEB
:
WWW
.
SSCOOLING
.
COM
V
ERSION
M8
S
ECTION
4
S
TART
U
P
______________________________________________________
Note: In order to avoid injury or damage, operators must only use this product in the
manner specified below.
Start-up the ThermoRack 800 and ensure priming of the pump,
follow these steps:
1)
Connect USB signal cable (optional).
2)
Connect the drain hose (14-13851-1) to the process outlet
fitting. Place the open end into a small bucket.
3)
Remove the reservoir cap on top and add more coolant as
necessary to bring the coolant level to maximum (per section
3.4). Replace cap.
4)
Plug line cord into 100 - 240 VAC, 50/60 Hz.
5)
Turn chiller on via the switch located on the front. Fluid should
begin flowing into the bucket. If it does not, turn off the chiller,
wait 30 seconds, then turn the chiller back on. Once fluid
begins flowing, turn off the chiller.
6)
Remove the drain hose.
7)
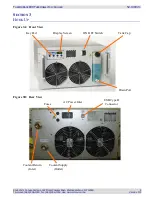
Connect coolant tubing to fluid connections located on the rear
panel, labeled Process Out (supply) and Process In (return).
8)
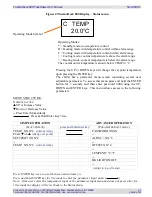
Turn on the chiller. The front display should read the current
coolant temperature. If the front display reads “TANK LEVEL
LOW”, add more coolant to the reservoir until the display
changes to read the coolant temperature. If the tank level low
alarm persists, or if another alarm is displayed, consult section
6.0 of this manual.
Caution:
Do not externally shut off the flow of coolant for more than
a ten second period; pump damage will result if run deadheaded for
extended periods of time.
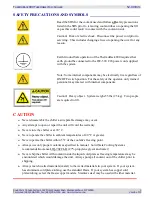
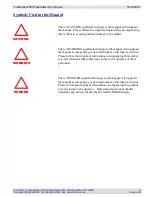
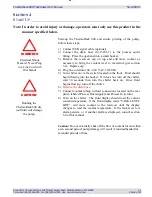
WARNING
Electrical Shock
Hazard: Never Plug
in a Line Cord with
Wet Hands
CAUTION
Running the
ThermoRack 800 dry
(no fluid) will damage
the pump