FUNKTION /
FUNCTION
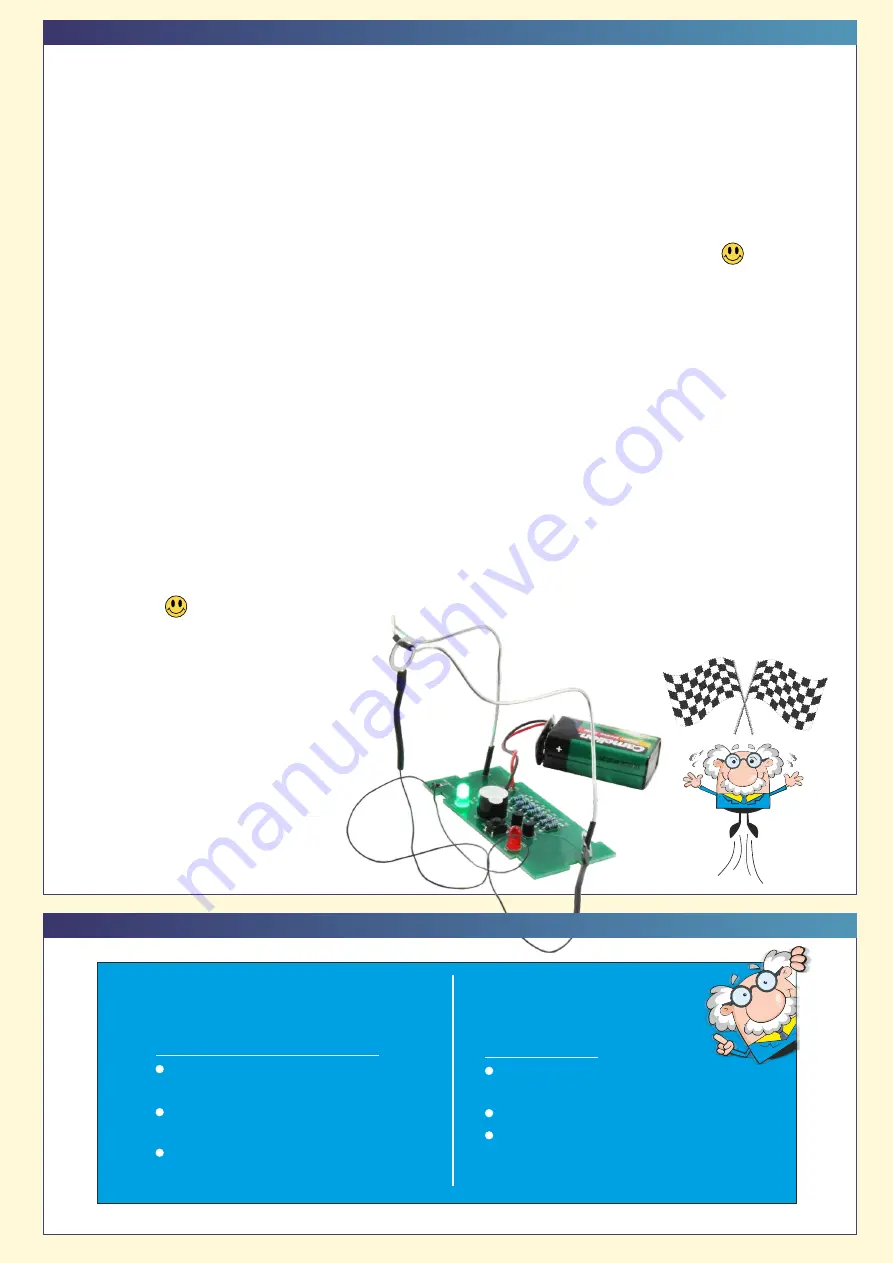
Nun musst du versuchen, die Öse mit dem größeren Innendurchmesser von der einen Seite auf die andere zu führen, ohne dass
du dabei den blanken Draht berührst. Denn bei Berührung zwischen Öse und Draht wird umgeschaltet, von der grünen LED auf
die Rote. Der Summer beginnt zu brummen und signalisiert dir: „Du Wackelhand, versuch es nochmal“. Mit dem Taster setzt du
dann die Schaltung zurück und kannst es gleich nochmal versuchen. Aber bitte mit mehr Fingerspitzengefühl .
Zum Starten des Bausatzes musst du beide Ösen so legen, dass diese den blanken Draht nicht berühren. Gerne kannst du eine
Öse auf der einen Seite und die andere Öse auf der gegenüberliegenden Seite platzieren. Das macht es beim Spielbeginn etwas
leichter. Dann schließt du einen 9 Volt Block an. Es sollte nun die grüne LED leuchten und der Summer ausbleiben. Leuchtet
sofort die rote LED auf und der Summer brummt, berührt eine Öse den blanken Draht. Korrigiere das und drücke den Taster.
Die rote LED geht aus, der Summer verstummt und die leuchtende grüne LED signalisiert: ready for play.
Versuche es danach mit der kleineren Öse. Wenn du mit dieser den ganzen Weg entlangfährst und das berührungsfrei, dann
bist du ein wahrer Profi.
Nach dem Spielen steckst Du den 9 Volt Block ab, um Energie zu sparen.
Und jetzt, viel Spaß und eine ruhige Hand!
Änderungen und Irrtümer vorbehalten, Juli 2022, Christian Repky © / Subject to change without notice, july 2022 / Christian Repky ©
And now, have fun and keeü a steady hand!
After playing, disconnect the 9 volt block to
save energy.
Now you have to try to guide the eyelet with the larger inner diameter from one side to the other without touching the bare wire.
This is because contact between the eyelet and the wire causes a switchover. From the green LED to the red one, the buzzer
starts to buzz and signals: "Wobbly hand, try again". You can then reset the circuit with the button and try again. But please
be more careful . Then try it with the smaller eyelet. If you can move it all the way along without touching it, then you're a
real pro.
To start the kit, place both eyelets so that they do not touch the bare wire. You can place one eyelet on one side and the other
eyelet on the opposite side. This makes it a little easier when you start playing. Then connect a 9 volt block. The green LED
should now light up and the buzzer should stop. If the red LED lights up immediately and the buzzer buzzes, an eyelet is
touching the bare wire. Correct this and press the button. The red LED goes out, the buzzer stops and the lit green LED signals:
ready for play.
- 6 -
FEHLERSUCHE:
Wenn keine Funktion gegeben ist:
Kontrolliere alle Lötstellen an den
LED‘s und den Transistoren
Kontrolliere die Transistoren auf
Kurzschluss
Ist die Batterie voll?
LEDs and the transistors
Check the transistors for short circuits
TROUBLESHOOTING:
No LED lights up:
Check all the soldering points on the
Is the battery full?
FEHLERFIBEL /
REASONS FOR ERROR


