pg. 13
The default display is Quad view (2x2) with all cameras shown, to change the video
display channel, press the [M2] button to select which camera to view. Each press will
change the camera on display with the last option being all camera views.
8.
Final steps
After installation of the CP4 and accessories into the vehicle you can turn on the
ignition and CP4 recorder will power on. There will be a sequence of red, blue &
green LED lights on the Remote/Panic Button during the boot-up process.
o
Once boot-up is complete, the red light will turn off and there will be only a
solid blue & green (only for connected device) light on. This indicates proper
operation and recording. If the red light is blinking, then there is an error, then
contact your supplier or visit
www.support.smartwitness.com
to create a
support ticket.
Please see step 8 for more details on LED status indicators.
G-Sensor Calibration
G-sensor calibration is needed after installing the CP4.
a)
Turn on the unit and wait until it starts recording.
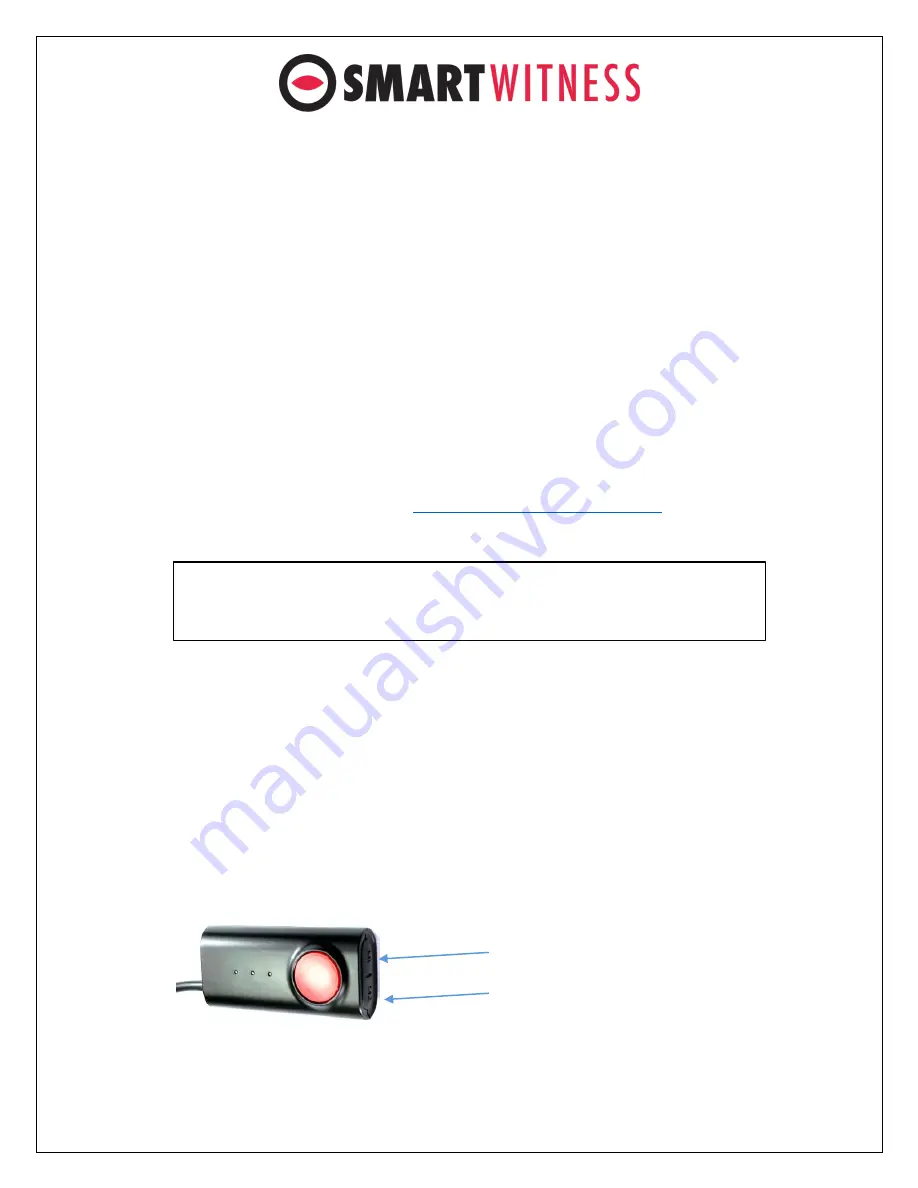
b)
Press and hold
M1
button (located at the remote controller) for more than 2
seconds.
c)
You will hear a
beep
when you press
M1
, and then you will hear another
beep
after 2 seconds. Upon the second beep, you can release
M1
button.
d)
Then the calibration will be done within 2 seconds.
Note:
The unit will not start recording immediately after power on. It takes around 30
seconds for the built-in power backup system to charge. Thereafter, the SD card will
be ready to record.
M1
M1
Содержание CP4
Страница 15: ...pg 15 ...


