SMARTRG INC. PROPRIETARY AND CONFIDENTIAL. ALL RIGHTS RESERVED. COPYRIGHT © 2016
6
Installing your WE65ac Extender
Extending the access range for your router is easy. If your router supports WPS, follow the instructions in the
""
section. If your router does
not
support WPS (most do not), or the WPS method fails, follow the instructions in the
"WITHOUT WPS"
section.
Note:
The default IP address for the WE65ac extender is http://10.0.10.254.
WITH WPS
To set up the extended network, press the
WPS
button on your
router
and then gently press the
WPS
button on
the
extender
.
Alternatively, you can activate WPS connection as follows:
1. Connect the extender to your PC using an Ethernet cable.
2. Plug the WE65ac extender into a power outlet near your PC. The lights on the extender flash. Wait about
25 seconds while the unit starts up. When the extender is ready, a browser window opens.
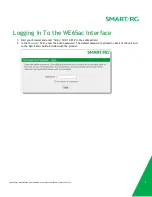
3. Enter the password for the extender and click
Login
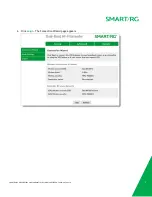
. The Connection Wizard page appears.
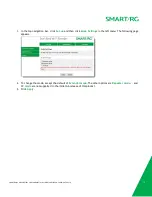
4. Click the
Advanced
tab and then, in the left navigation menu, click
WPS Settings
.
5. Press the
WPS
button on your router
6. Click the
WPS
button in the interface. A progress popup appears. When the connection is made, the pro-
gress popup closes.
WITHOUT WPS
Look at the back of the WE65ac extender. On the round label is information you will need to set up your
extended network. This information is also on the WE65ac Settings label on the back of the Quick Start Guide
included with the extender.
You may wish to note the following as a safeguard.:
l
ADMIN PASSWORD
- at the bottom of the label
l
WIFI KEY
- above the ADMIN PASSWORD
l
MAC ADDRESS
- further up on the extender
Install your extender using the instructions below:
1. Follow steps 1-3 in the "
WITH WPS
" section
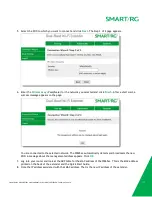
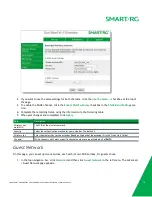
2. On the Connection Wizard page, click
Start
at the bottom of the page. The Step 1 of 2 page appears.
3. Select a network from the list of available networks.
4. Click
Next
. The Step 2 of 2 page appears.


