- 17 -
USER CONTROLS - Menu Operations
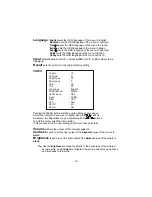
PC
Brightness
Contrast
Clock
Phase
Auto
H Position
V Position
RGB Offset
Image Effect
Volume
Language
Input
Recall
: 25
: 41
: 125
: 16
: Stop
: 0
: 0
: 0
: 5
: 10
: English
: PC
: No
Brightness
is used to set the light output of the
darkest
areas of the picture to
black
.
Contrast
is used to set the light output of the
brightest
areas of the picture to
white
.
Clock
is used to adjust best picture quality. It adjusts the numbers of the pixel
clock across one line time. Therefore it can affect the picture poisition and size.
Phase
is used to adjust best picture quality. It adjusts the sampling phase across
one pixel time. When the phase is not adjusted properly, the picture quality is not
good. Therefore this value should be carefully adjusted.
Auto
Select "Yes" using or buttons to adjust the best picture quality automatically.
Execute repeatedly if the picture quality is not good.
H Position
is used to adjust the horizontal position of the image on the screen.
V Position
is used to adjust the vertical position of the image on the screen.
RGB Offset
RGB Offset is used to adjust the video input range. When the bright areas of the
picture is too high (low), increase (decrease) the RGB Offset value.
Image Effect
is used to soften or sharpen the image.
Volume
controls the output of the internal speakers.
Pushing the MENU
button will bring up the Menu shown above.
Select the item which you want to adjust using the , buttons
As shown, the Brightness may be adjusted with the or buttons.
To exit the menu, push the MENU button.
(This process store the new settings which you have selected.)
Содержание STM-150
Страница 1: ...www smartec security eu Smartec STM 150 170 190 LCD Monitors User Manual...
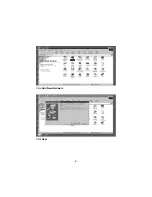
Страница 8: ...Click Add New Hardware Click Next 8...
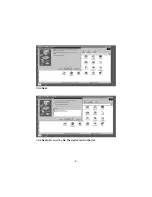
Страница 9: ...Click Next Click Next after selecting No the device isn t in the list 9...
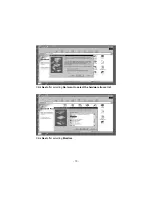
Страница 10: ...Click Next after selecting No I want to select the hardware from a list Click Next after selecting Monitors 10...
Страница 11: ...Click Have Disk Insert the supplied 3 5 floppy disk in A Drive Select OK 11...
Страница 12: ...15 LCD MONITOR Select Next after selecting the same model which you purchased Click Finish 12...

