-12-
-19-
VEL
TEMP
m/s
C
READ
Figure 17
W
CMM
Wind flow
Wind velocity
Measurement of Windflow
(if the area value
has been set before ,
the last setting
will be shown )
Figure 5
CMM
W
Press the
“
VEL/FLOW
”
key to get into
“
FLOW
”
mode,
at this time the LCD screen as shown in figure 5:
Wind flow
Select your desired unit of wind flow and duct area:
a. Press the
“
UNIT
”
key, the wind flow unit will convert
between CMM and CFM (the defaulted unit is CMM)
b. Press the
“
UNIT
”
key, the area unit will convert between
“
M2
”
and
“
FT2
”
. (the defaulted unit is
“
M2
”
)
c. Area unit:
“
M2
”
and
“
FT2
”
will convert
according with the conversion of the wind flow unit.
If wind flow unit is CMM, the area unit will be
“
M2
”
;
If wind flow unit is CFM, the area unit will be
“
FT2
”
.
Press the
“
AREA
”
key, the 4 numbers on the upper LCD
Will be disappeared at this time press numeric keys to
enter a new duct area, such as 1.2, then press the
“
ENTER
”
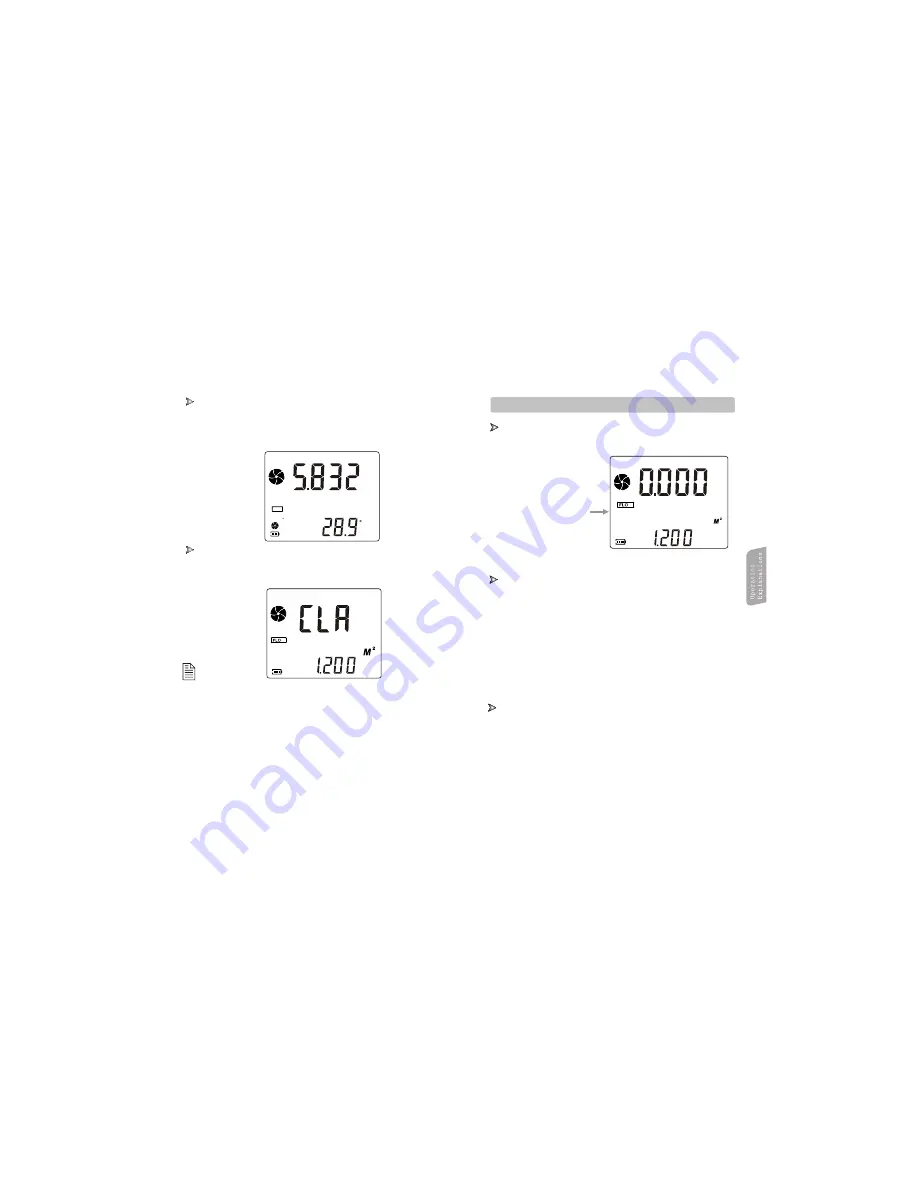
key to confirm. At this time the LCD screen as shown
in figure 6:
Reading Data stored In memory Ramdomly:
On read Status ,Press the
“
SAMPLE
”
Key and enter the
number of the record in questions and press
“
ENTER
”
Key
then the desired data will be displayed Press
“
RESET
”
Key to exit As shown in figure17:
.In instantaneous data storeage mode,you should first
press
“
SAMPLE
”
Key and input
“
o
”
second ,then press
“
ENTER
”
to finish the rate set up.
b.You should press the
“
REC
”
Key to finish the recording ,
otherwise the recording will in invalid.
c.The maximum number of readings can be stored 500.
d.If your reading number is bigger then the total quantity
of data stored in memory ,the LCD will shows the last
stored store
Note :
a
Clearing the Stored data:
Press down the
“
CLEAR
”
Key for 5 seconds then a
“
CRL
”
Logo will be shown on the LCD ,ALL THE stored data
being Cleared. As shown in figure18:
Figure 18


