background image

Montage System Parts

Hardware Installation

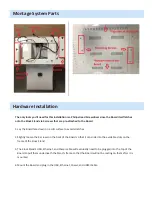
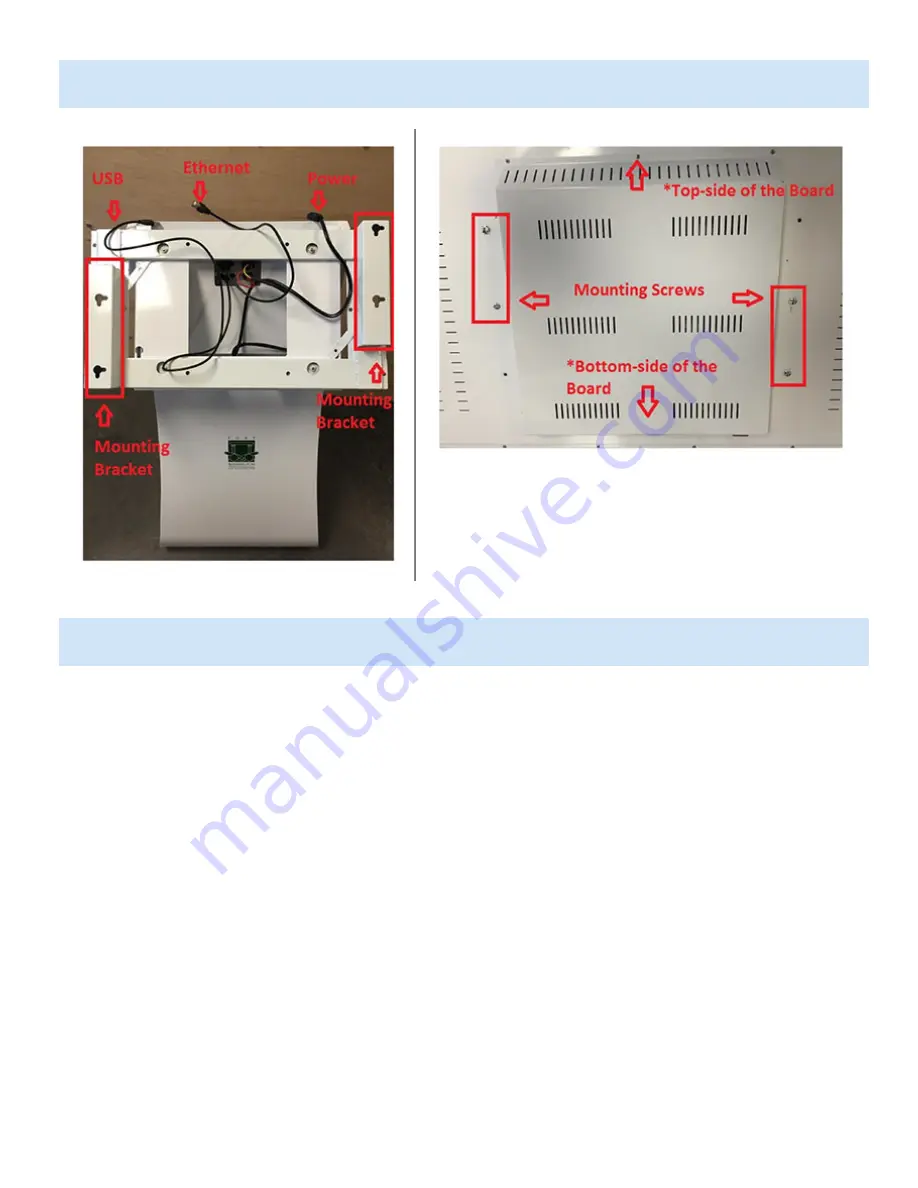
The only tools you’ll need for this installation is a Philips Head Screwdriver since the Board itself latches 
onto the Kiosk Stand via 4 screws that are pre-attached to the Board.

1. Lay the Board face down on a soft surface to avoid scratches

2. Slightly loosen the 4 screws on the back of the Board so that it can slide into the available slots on the 

frame of the Kiosk Stand

3. The Kiosk Stand’s USB, Ethernet, and Power cable will eventually need to be plugged into the top of the 

Board so pull them underneath the Stand’s frame so that the Board will not be resting on them after it is 
mounted

4. Mount the Board and plug in the USB, Ethernet, Power, and HDMI Cable

Содержание 350

Страница 1: ...e into the available holes on the mounting bracket of the Kiosk Stand The Kiosk Stand with the mounting bracket will be shipped to you in another crate The Computer Unit is integrated within the Board A4 Actual size of board 42 Board Width 40 1 4 Depth 1 1 2 Height 24 1 4 The Sling box cables to your TV signal provider typically Comcast Dish or Direct TV We support both standard and high definition...

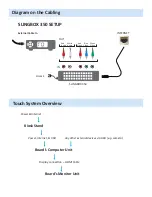
Страница 2: ...GBOX 350 SETUP OUT IN POWER Red Audio White Audio Red Video Blue Video Green Video Touch System Overview Power Internet Kiosk Stand Power Internet USB Any other external devices via USB e g camera Board s Computer Unit Display connection HDMI Cable Board s Monitor Unit ...

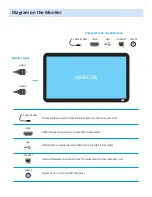
Страница 3: ...itor Input Computer Unit Input Output Power cable connection from the Kiosk Stand to the Computer Unit HDMI display connection for Computer Unit Monitor USB Ports for external devices USB 3 0 x2 slot USB 2 0 x2 slots Internet Network connection from the Kiosk Stand to the Computer Unit Power button to turn on off Computer ...

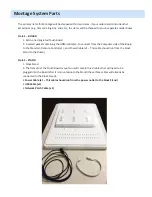
Страница 4: ...e x1 to connect from the Computer side of the Board to the Monitor Remote Control x1 and Power Cable x1 This cable should run from the Kiosk Stand to the Board Crate 2 STAND 1 Kiosk Stand 2 The frame that the Touch Board mounts on will contain three cables that will need to be plugged into the Board after it is mounted onto the Stand these three cables will already be connected to the Kiosk Stand ...

Страница 5: ...a soft surface to avoid scratches 2 Slightly loosen the 4 screws on the back of the Board so that it can slide into the available slots on the frame of the Kiosk Stand 3 The Kiosk Stand s USB Ethernet and Power cable will eventually need to be plugged into the top of the Board so pull them underneath the Stand s frame so that the Board will not be resting on them after it is mounted 4 Mount the Bo...

Страница 6: ... Power Switch you will need to push the Round Silver Button right next to the power connection situated on top of the Board s Computer Unit Note the Silver Button will light up blue if the Computer Unit is running 4 The Board s Monitor should boot on automatically but if it does not you will need to hit the power button on the remote control 5 The Remote Control also controls the input options to ...

Отзывы: