Imani
17
18
6. Web interface
Enter indoor monitor IP adress into PC’s browser address line to enter web interface. Note that your PC
must be in the same segment of local network.
Enter to the web interface using next parameters (by default):
Login: admin
Password: 123456
Then press “SIGN IN” button.
6.1. «Main» bookmark
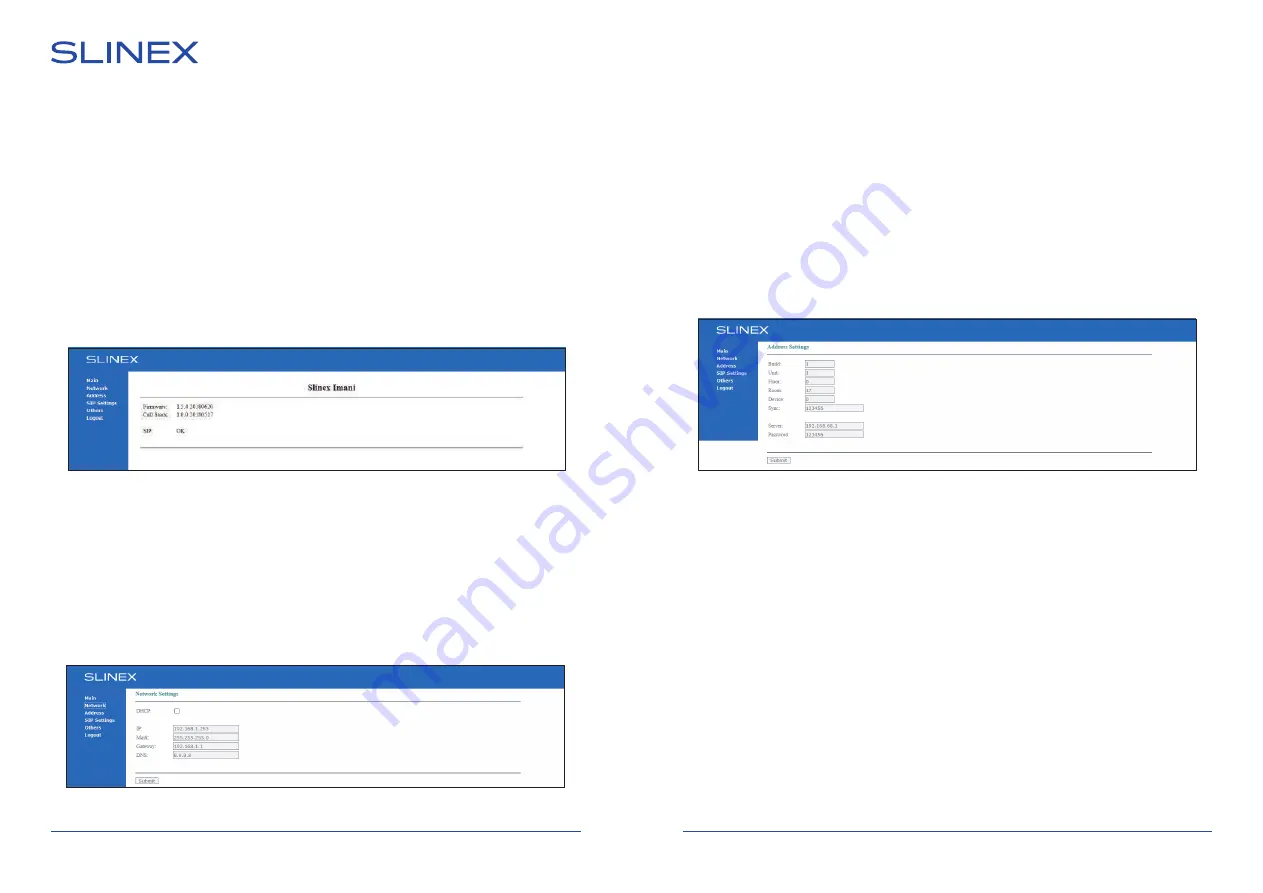
Below you can see web interface main screen:
Here you can find current door station firmware version and SIP status.
6.2. «Network» bookmark
Press «Network» bookmark on the left side of the screen to enter monitor network settings:
DHCP –
disable to enter IP address manually or enable to receive IP address automatically from network
device (like router);
IP –
device IP address;
Mask –
device subnet mask;
6.4. «SIP Settings» bookmark
Press «IP Settings» bookmark on the left side of the screen to enter monitor SIP settings:
Enable/Disable –
enable/disable SIP function;
Proxy –
proxy server name (default value – sip:pbx.slinex.com );
Realm –
authentication host (default value – pbx.slinex.com);
User –
SIP account user name;
Password –
SIP account password;
H.264 –
H.264 profile (default value – 102);
STUN IP –
STUN server name (default value – stun.I.google.com);
STUN port –
STUN port number (default value – 19302);
Timeout –
SIP call timeout in seconds.
6.3. «Address» bookmark
Press «Address» bookmark on the left side of the screen to enter monitor logical address settings:
Build –
building number (2 figures);
Unit –
unit number (2 figures);
Floor –
floor number (2 figures);
Room –
room number (2 figures);
Device –
if there are several indoor monitors then use different device numbers for each device (0-8);
Sync –
synchronization password must be the same for all devices with the same room number.
Server –
management server IP address;
Password –
management server password.


