background image

8. 

假如不慎讓機器及配件使用之油或油

脂,接觸到眼睛、皮膚或誤食時,請立
刻以水清洗接觸部位及就診。


9.

請勿擅自碰觸運轉中之零件或配件及注

意機器電源是否已開啟,以免導致人員
受傷。

10. 

維修、修改及調整等工作,須由受過

適當訓練的技師或熟手為之。維修時
只許使用指定之零件。

11. 

一般維修及檢查工作必須由受過適當

訓練的人員為之。

12. 

電子零件維修及保養工作必須由資深

的電子技師為之,或由非常熟練的人
員檢查及指導,當發現零件損壞時,
請立刻停止機器運轉。

13. 

在做裝有氣動式零件

(

例如氣缸

)

機器

的維修及保養工作前,機器連接空壓
機及高壓空氣必須予以關閉及卸除,
機器中殘存高壓氣體必須予以消除,
此外調整及性能檢查只能由受過適當
訓練的技師或熟手為之。

14.

機器使用一段時間,必須定期清理。

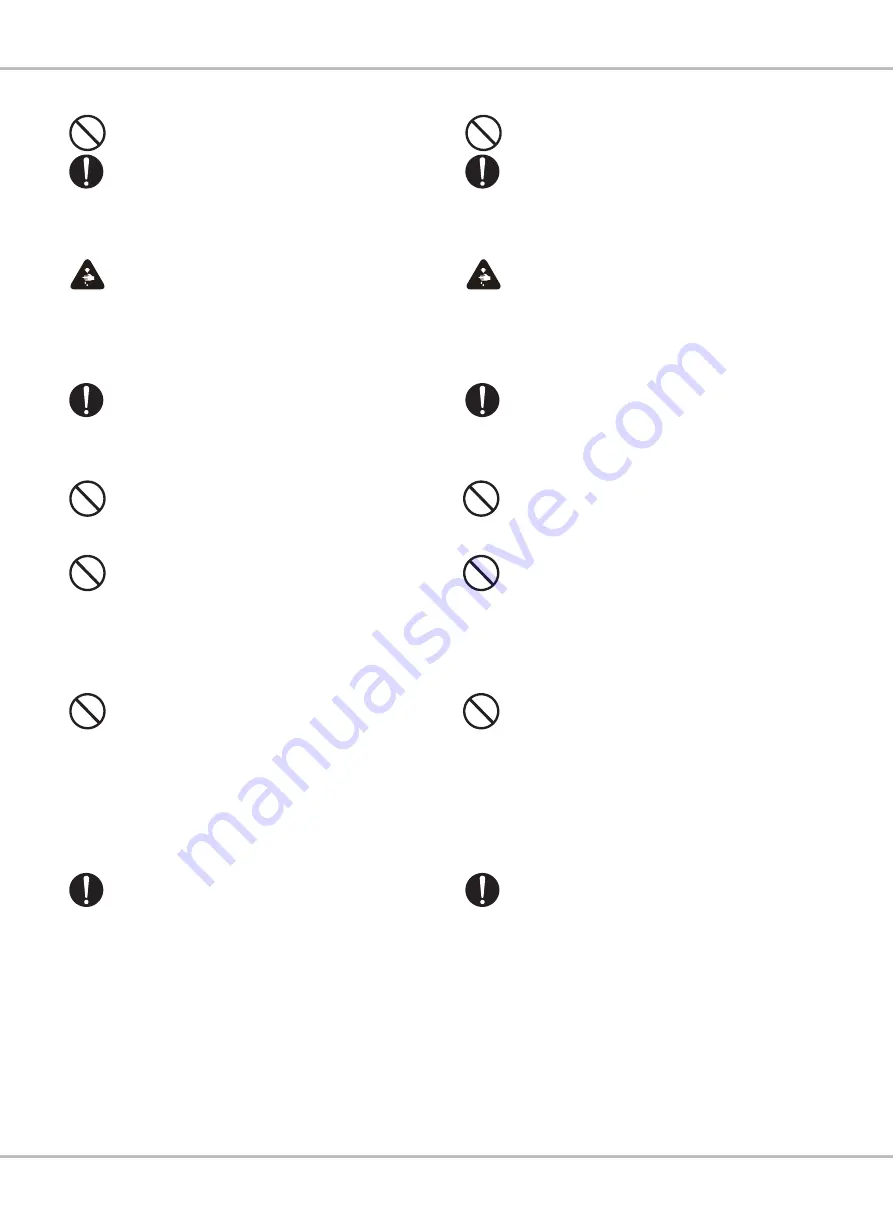
8. If grease, oil, or any fluid contacts  your 

skin or eyes by any chance,  please 
wash the contacted area completely 
with clean water and consult a doctor. 
Or, swallow any fluid mistakenly,consult 
a doctor immediately.

9. Do not touch any functioning parts 

and devices. Always attend to whether 
power switch is on or off before 
operating in order to prevent anyone 
from getting hurts.

10. Qualified technicians are required 

for adjustment, modification, and 
repair. Only use assigned parts for 
replacement.

11. Routine maintenance and service 

must be performed by well trained 
persons, or qualified technicians.

12. Maintain and check the electronic 

parts must be done by qualified  
electrician or well-trained persons. 
If any electronic part damaged or 
malfunctioned, stop the machine 
immediately.

13. The air house has to be detached 

from the machine and the compressor 
or air supply has to be cut off before 
repairing and servicing the machine 
equipped with pneumatic parts such 
as an air cylinder. Qualified technicians 
or well-trained persons are required 
for adjustment and repairs.

14. To ensure the best performance, 

periodically clean the machine is 
necessary.

P4

Introduction

Содержание NC008

Страница 1: ...NC008 INSTRUCTIONS BOOK PARTS LIST...

Страница 2: ...Moving part beware of industrial accident High voltage beware of electric shock High temperature beware of burns Prohibited Indication of ground wiring...

Страница 3: ...E UPPER AND THE LOWER SHAFT 12 TIMING OF THE LOOPER TO THE NEEDLES 12 TIMING OF THE RETAINER LOOPER 15 ADJUSTING CLEARANCE BETWEEN NEEDLE AND NEEDLE GUARD 17 ADJUSTING OF THREAD RECEIVER 17 ADJUSTING...

Страница 4: ...where there is risk to cause any fire or explosion 3 Guard against electric shock Avoid body contact with earthed or grounded surfaces e g Pipes radiators ranges refrigerators 4 Keep children away Do...

Страница 5: ...f any accessory or attachment other than those recommended in this instruction manual may present a risk of personal injury 12 Have your tool repaired by a qualified person Repairs should only be carr...

Страница 6: ...using this machine please ascertain that it conforms with safety standards and regulations of your country 4 When the machine is ready for operation all the safety equipments must be ready Operate thi...

Страница 7: ...parts for replacement 11 Routine maintenance and service must be performed by well trained persons or qualified technicians 12 Maintain and check the electronic parts must be done by qualified electr...

Страница 8: ...essary No responsibility will our company take for damages caused by any modification or conversion of this machine without permission 19 Two safety warning signs are applied as warning signs 1 For th...

Страница 9: ...he machine when placing or lifting the machine head to avoid possible physical injuries f Please turn off the power before tilting the machine head to avoid possible accidents due to abrupt start of t...

Страница 10: ...e or 3 phase of motor are set correctly 4 Confirm that the power plug is correctly connected to the power supply 5 Never use the machine when the local voltage type is different from the marked voltag...

Страница 11: ...by pushing belt inward for 20mm Please install belt cover properly for safety purpose Fig 2 3 Motor pulley size and sewing speed please refer to Table 1 2 1 Fig 1 2 Fig 2 Model Maximum speed Standard...

Страница 12: ...kness of Table Top is about 45mm 4 Specification of motor Clutch motor 3 Phase 2 poles 400w 1 2 HP 5 Voltage 110V 220V 380V 6 Driving Belt M type V belt 1 To fill lubricant oil Fig 3 4 Loosen Knob A f...

Страница 13: ...il every 4 months 3 To replace oil filter Fig 6 Take filter out and clean up very month Replace with new filters if necessary Please refer to Table 3 for proper needle sizes Installation Fig 7 8 1 Loo...

Страница 14: ...B out to the arrow mark as shown in the illustration so that the looper holder C is tilted toward the front of machine Fig 10 1 For needle threading please thread arefully as Fig 9 Please note improp...

Страница 15: ...ning direction is above the V belt pulley D or not Fig 12 3 If not loosen screw 4pcs on the timing pulley E of the upper shaft to be adjusted to the above mentioned position Make sure of tightening sc...

Страница 16: ...C with the scale no 3 on the hand pulley B Fig 16 17 4 Detach your hand from the push button A Then turn the hand pulley C and align mark E with the scale LT on the hand pulley C Fig 18 5 In this cas...

Страница 17: ...needle Fig 21 9 The adjustment for the looper setting distance is made by removing plug J and loosening screw L for the lever K After adjusting tighten screw L Fig 22 10 The adjustment needle height w...

Страница 18: ...e and the point of looper retainer Fig 25 when adjusting loosen the screw C of the looper retainer bar B and adjust the front to back position When the stitch length is changed much necessary to the a...

Страница 19: ...Loosen the screw K 2 pieces of the retainer looper eccentric J Adjust by turning of the retainer looper eccentric It is a standard setting to align the mark M on the retainer looper eccentric J to the...

Страница 20: ...ETWEEN NEEDLE AND NEEDLE GUARD 1 C B 0 8 1mm C B 31 1 The clearance of left right direction between the needle B and the thread receiver C of the feed dog A is 0 8 1 0mm Fig 31 1 A B 30 1 Adjustment s...

Страница 21: ...also to be parallel between the feed dog and the feed grooves of the needle plate E Fig 32 2 Adjusting of height for the feed dog When the feed dog is at the upper dead point the feed dog G is to be...

Страница 22: ...ront back position of the needle With reference to the previous adjustment method Adjusting of stitch length align the number L of pulley position to the mark B Then the stitch length is maximum Fig 3...

Страница 23: ...E of the machine Adjust the needle clamp with the moving to front and back after loosening of the screw G of the needle swing lever arm F Fig 36 4 Adjusting of front back movement amount of the needle...

Страница 24: ...crew D clockwise To decrease the p r e s s u r e t u r n a d j u s t i n g s c r e w D counterclockwise Fasten the lock nut E after adjusting Fig 42 42 Fig 42 3 42 F G H 3 Adjusting the feeding amount...

Страница 25: ...tion of the looper thread take up eyelet The looper thread eyelet C is to be fastened by the screw D at the center of its long hole If turn the looper thread eyelet C to the left line is relaxation If...

Страница 26: ...2 3 4 5 E D B C A 159 50 203 229 5 60 250 R20 17 7 R30 320 2 R20 4 8 5 9 5 2 R15 0 220 600 0 370 530 302 202 169 235 191 5 0 305 647 655 716 5 796 5 906 5 932 5 1125 1200 65 60 205 UNIT mm TOLERANCE...

Страница 27: ...P24...

Страница 28: ...P25...

Страница 29: ...P26...

Страница 30: ...P27...

Страница 31: ...P28...

Страница 32: ...P29...

Страница 33: ...P30...

Страница 34: ...P31...

Страница 35: ...P32...

Страница 36: ...P33...

Страница 37: ...P34...

Страница 38: ...P35...

Страница 39: ...P36...

Страница 40: ...P37...

Страница 41: ...P38...

Страница 42: ...P39...

Страница 43: ...P40...

Страница 44: ...P41...

Страница 45: ...The specification and or appearances of the equipment described in this instruction book parts list are subject to change because of modification which will without previous notice NC008 JAN 2021...

Отзывы: