11
SimpliFire • SF-ALL40-BK, SF-ALL48-BK, SF-ALL60-BK, SF-ALL84-BK • 2040-981 Rev. M • 7/21
A. Appliance Preparation
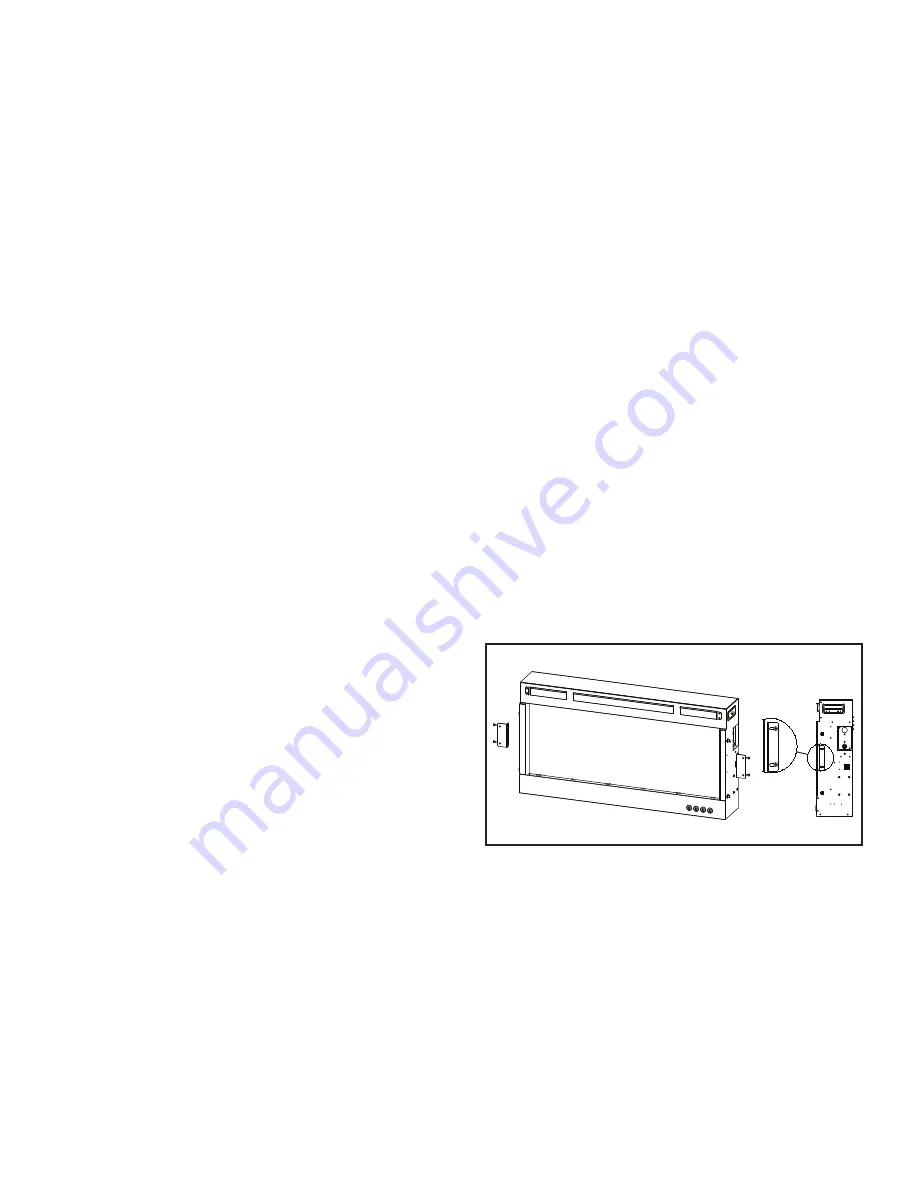
Figure 4.3 Fixing Brackets Attachment for Recessed Mounting
in 2 X 6 in. Framing
After determining the location and framing dimensions,
the appliance must be prepared for installation.
The appliance is shipped with its wall mounting bracket
attached. Remove the bracket by removing the two
(2) M5X10 screws on the bottom of the appliance, then
disengage the bracket from the appliance. Set the wall
mounting bracket aside for future use.
If the appliance is to be recessed into 2 X 6 in. framed
wall construction, refer to Section 4.B for installation
instructions.
If the appliance is to be recessed into 2 X 4 in. framed
wall construction, refer to Section 4.C for installation
instructions.
If the appliance is to be installed directly to the face of
the wall, refer to Section 4.D for installation.
B. Recessed in 2 x 6 Framed Wall
1. Finish wall construction per requirements in Figure
4.1.
The width of the framing on each side of the opening
must be 3 in. with 1-1/2 in. framing on the left and
right sides of the opening exposed. This is needed
for the wallboard finishing and to secure the appli-
ance into the opening. See Figure 4.1.
Allow 1-1/2 in. of wood exposed after finishing the
wallboard. See Figure 4.1 and Figure 4.6.
2
. Verify that the Fixing Brackets are securely attached
to the appliance with four (4) ST4X10 screws and
washers. See Figure 4.3. The attachment holes for
the brackets into the appliance are slotted to allow
adjustment for the thickness of the wallboard and/or
any finishing materials up to a total 5/8 in. thick. It
may be necessary to test fit the appliance and
adjust the location of the brackets on the appliance
so that the front face of the unit protudes 1/16 to 1/8
in. from the outside face of the finished wall. See
Figure 4.4 and 4.5.
3. Connect to electrical service. Reference Section
4.E.
4. Install the appliance into the opening so the weight
of the appliance is supported by the bottom framing.
Level with shims if necessary. Ensure that it is cent-
tered left to right, then fasten it directly to the framing
with four (4) ST4X40 screws through both the
left and right brackets. See Figure 4.6.


