


��
23
������
�������
����������������
�����
�
����
�
����
�
���
�
����
�
���
�
����
�
�
�
����
�
�
�
����
�
���������������������
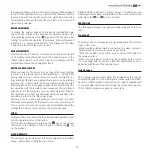
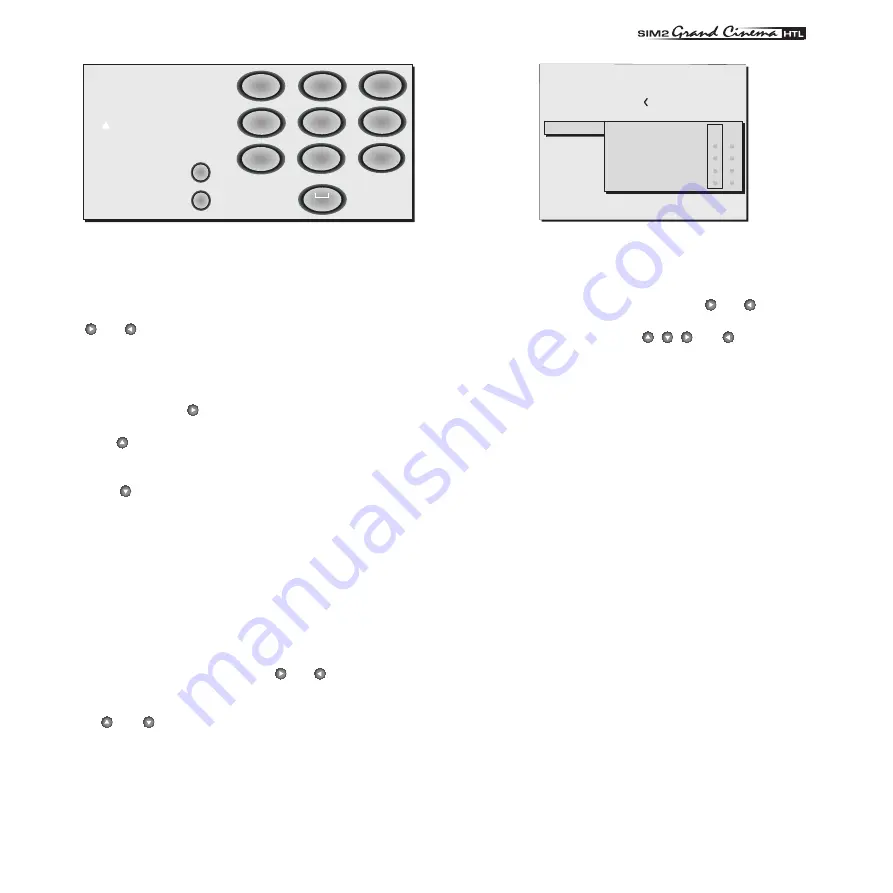
Fig.18
Text input mode is same whether you are editing an existing name
or entering a name for the first time. Characters can be inserted in
any of the available positions (represented by horizontal lines). Use
the and keys to move the cursor right or left respectively. Press
the numerical key corresponding to the character (Fig. 19); the first
press selects the first character, the second press selects the second
character, and so forth. Once you have entered a character, to enter
the next character move the cursor to a position immediately to the
right by means of the key on the remote control and repeat the
procedure described above.
Use the key to toggle between upper case and lower case
characters.
To delete any errors move the cursor to the incorrect character and
press the key.
Once you have terminated the text input procedure confirm your text
and save it by pressing the MENU+ key on the remote control. If you
want to cancel the changes you have made press the MENU- key.
F1-F2 KEYS
The remote control is equipped with two keys (F1 and F2) which are
associated with various different functions. To consult the available
functions select the option F1/F2 KEYS to display a table in which
the items on the rows describe the functions that can be assigned
to keys F1 and F2, which are represented by the table columns.
Choose the required column using the and keys on the remote
control; this will enable you to identify one of the two keys F1 or F2;
now select the function to assign to the key (F1 or F2) by means
of the and keys on the remote control.
The function performed by the key is confirmed by the appearance
of a dot on the corresponding column-row intersection.
The functions available for keys F1 and F2 are described below.
�����������
�����������
�����������
��������������
������������
�����������
��������
����
�������
�� ��
�������������
�����
������������������
����������������
Fig.19
MAGNIFICATION
Selects the electronic zoom function. Use the and keys to adjust
image magnification. If the key is pressed a second time you will
activate PAN mode in which the , , and keys enable you
to pan over the magnified image.
BLANCK
Switches off the video signal and displays a black page. As soon as
the key is pressed a message is displayed for a few seconds con-
firming that the function has been activated. To restore the previous
display status simply press any key on the remote control.
COLOR TEMPERATURE
Successive pressing of the key in question (F1 or F2) makes it pos-
sible to select a different colour temperature.
GAMMA CORRECTION
Successive pressing of the key in question (F1 or F2) makes it pos-
sible to select from among the available gamma curves.
SOURCE INFORMATION
When active (YES) each time the source is changed information is
displayed relative to the signal type. When disabled (NO) no infor-
mation is displayed relative to the selected source.
OSD BACKGROUND
Determines the type of background for the On Screen Display.
Содержание Grand Cinema HTL40 LINK
Страница 1: ...cod 46 0452 000 Manual and installation guide HTL40 ...
Страница 3: ... 3 1 INTRODUCTION Congratulations on your choice of the innovative SIM2 GrandCinema HTL40 system ...
Страница 6: ... 6 1 Fused power socket 2 Bushes 3 Keypad 4 Curved rear panel 5 Screen 6 Main power switch PARTS LIST ...
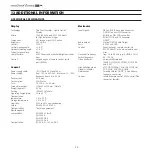
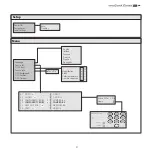
Страница 29: ... 29 B DIMENSIONS Screen Unit of measure mm ...
Страница 30: ... 30 C ON SCREEN MENU LAYOUT HDMI Video S Video YCrCb RGB Graphic RGB YCrCb 15kHz RGBS 15kHz ...
Страница 31: ... 31 ...
Страница 32: ... 32 ...


