C3X LINK
6
7
2 VIDEO
3 S-VIDEO
9 GRAPHICS RGB
10
11
5 COMPONENT / RGBS
6 COMPONENT / RGBS
COMPONENT / RGBS
7
COMPONENT / RGBS
8
COMPONENT / RGBS
1 VIDEO
1
2
3
4 S-VIDEO
4
5
6
7
8
9
10
GRAPHICS RGB
11
DVI-D
VIDEO 2
S-VIDEO 3
GRAPH RGB 9
GRAPH RGB 10
DVI-D 11
COMP RGB 5
COMP RGB 6
COMP RGB 6
COMP RGB 7
COMP RGB 8
VIDEO 1
S-VIDEO 4
12
12
HDMI
HDMI 12
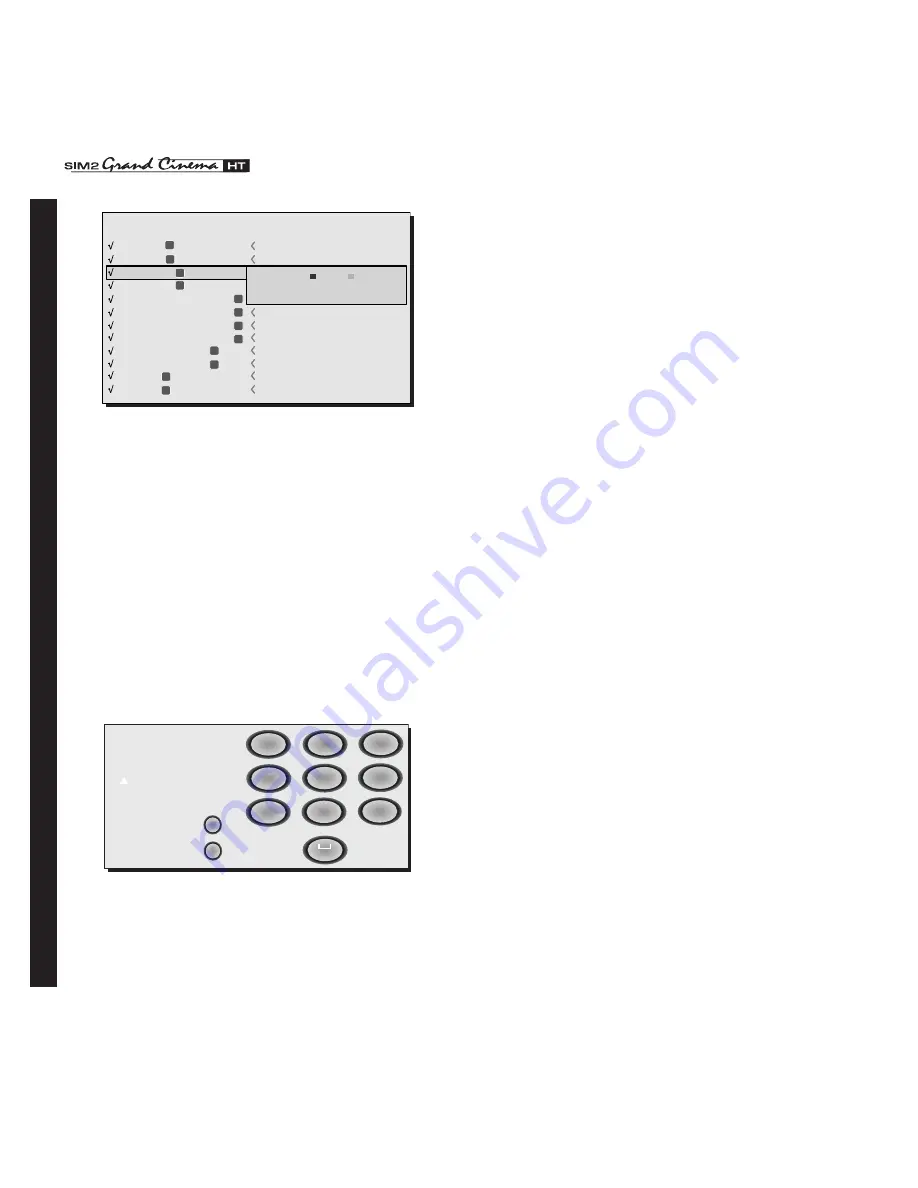
3OURCELIST%DITSOURCENAME
ACTIVE
NAME
Yes
No
Fig.27
Active video signal sources (shown in the inputs selection menu)
are distinguished by tick symbols.
You can also identify the input with a more significant name for
the user (e.g. with the name of the connected device).
After deciding to make an input visible, in the pull-down menu
you can rename the current source by selecting the NAME op-
tion. This will make it easier to remember the source connected
to a particular input. To assign a name to a source you can use
up to twelve alphanumeric characters (for more details refer
to the
tExt inSErt
section).
Text insert
The Text Insert menu shown in
(Fig.28)
permits entering cha-
racters easily and quickly.
Cancel
Confirm
Edit source name
()?@
1
ABC
2
DEF
3
GHI
4
JKL
5
MNO
6
PQRS
7
-
+
TUV
8
0
WXYZ
9
_ _ _ _ _ _ _ _ _ _ _
Fig.28
Text input mode is the same whether you are editing an existing
name or entering a name for the first time. Characters can
be inserted in any of the available positions (represented by
horizontal lines). Use the
◀
and
▶
keys to move the cursor left
or right respectively.
•
•
Press the numerical key corresponding to the character
(Fig.28)
; the first press selects the first character, the second
press selects the second character, and so forth. The available
characters are shown in the text insert menu that appears in this
configuration mode. Use the
▲
key to switch from upper case
to lower case characters and vice versa. To delete any errors
move the cursor to the incorrect character and press the
▼
key.
Once you have terminated the text input procedure confirm
your text and save it by pressing the MENU+ key. If you want to
cancel the changes you have made press the MENU- key on
the remote control.
F1-F2 KEYS
To assign various functions to the keys on the remote control,
called F1 and F.
The screen comprises six items, one for each line and two colu-
mns indicating the F1-F keys. The choice between F1 and F is
made with the
◀
and
▶
keys on the remote control; the function
assigned to F1 or F is chosen with the
▲
and
▶
keys.
The function performed by the key is confirmed by the ap-
pearance of a dot on the corresponding column-row inter-
section.
The six menu items are described below.
Select the position for entering the character with the arrow
keys
◀
and
▶
(available positions are shown with “_”.
Enter the character by pressing the numerical key corre-
sponding to the required character. Press once for the first
character, twice for the second one and so on. The available
characters and their assignment to the numerical keys are
shown on the OSD.
ON-SCREEN MENU


