background image

09

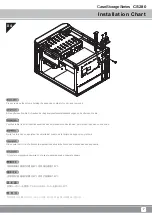
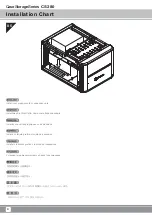
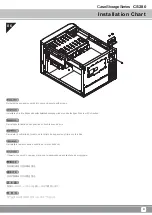
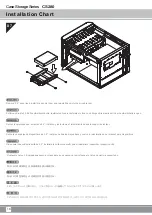
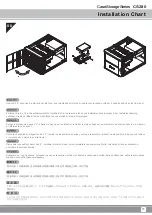
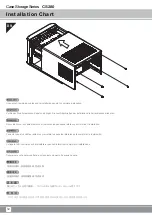
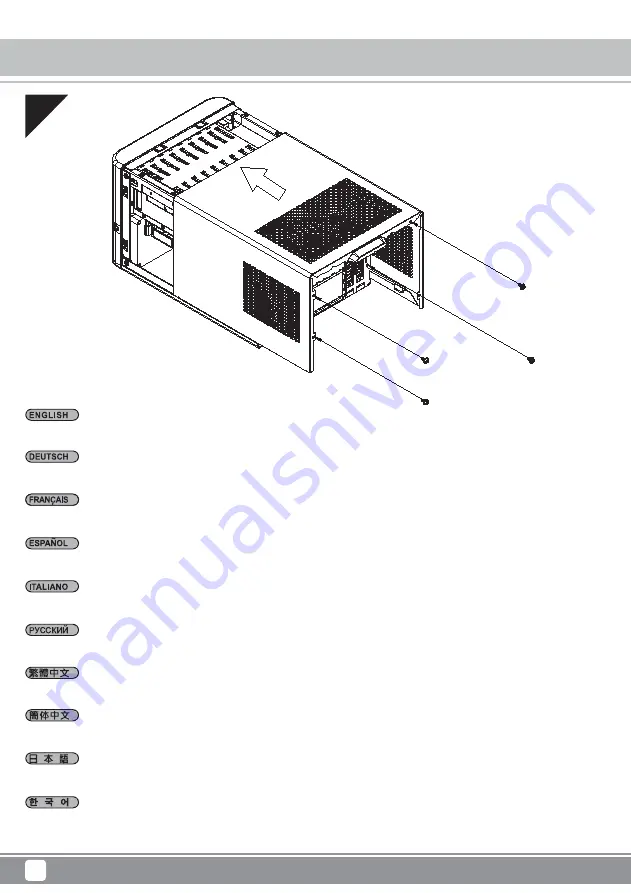
Verbinden Sie alle restlichen Kabel und bringen Sie zum Abschließen der Installation die Seitenblenden wieder an.

Conecte todos los cables restantes y reinstale los paneles laterales para completar la instalación.

Collegare tutti i cavi rimanenti e reinstallare i pannelli laterali per completare l'installazione.

Connect all remaining cables and reinstall side panels to complete installation.

Подключите


остальные


кабели


и


установите


на


место


боковые


панели

.

連接所有線材,裝回機殼側板,完成安裝。

连接所有线材,装回机箱侧板,完成安装。

나머지 모든 케이블을 연결하고 측면 패널을 제자리에 다시 끼워 설치를 완료합니다.

残りのケーブルを全て接続し、サイドパネルを戻すとインストール完了です。

Raccordez tous les câbles restants et remontez les panneaux latéraux pour terminer l'installation.

Case Storage Series

CS280

12

Installation Chart

Содержание CS280

Страница 1: ...Case Storage Series Premium 8 bay 2 5 small form factor NAS chassis CS280...

Страница 2: ...en upgrading or performing maintenance on your system A copy of this manual can also be downloaded from our website at Warranty Information Installation and system optimization guide Product Overview...

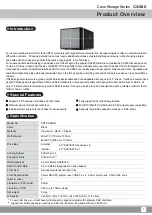
Страница 3: ...ng a larger case with extra drive bays may defeat the purpose of going SFF in the first place For seasoned enthusiasts looking to downsize even further beyond the popular DS380 SilverStone created the...

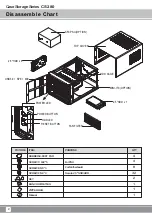
Страница 4: ...BAG KEY BUNCH WIRE TIES SCREW F M3 4 SCREW E M3 5 SCREW C 632 5 RUBBER E FEET PAD 4 4 8 32 2 1 1 1 For PSU For Motherboard Secure 2 5 SSD HDD USB3 0 SPK MIC TOP COVER HDD CAGE MINI ITX OPTION 2 5 HDD...

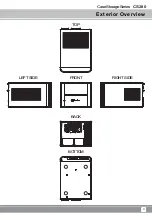
Страница 5: ...Case Storage Series CS280 Exterior Overview TOP BOTTOM FRONT BACK RIGHT SIDE LEFT SIDE 3...

Страница 6: ...5 Before you begin please make sure that you 01 Entfernen Sie die Schrauben an der Geh user ckseite und ziehen Sie dann die obere Abdeckung zum Entfernen nach hinten Retire los tornillos de la parte t...

Страница 7: ...ad essa Install memory CPU cooler and SATA cables onto the motherboard first Then install the motherboard through the side of the case and connect front I O fans and power supply cables to it SATA CPU...

Страница 8: ...6 Installation Chart 03 Installieren Sie das Netzteil wie abgebildet Instale la fuente de alimentaci n como se muestra Installare l alimentatore come mostrato Install power supply as shown Installez l...

Страница 9: ...s que sujetan la cubierta del zocalo de la tarjeta de expansion y retirela Rimuovere le viti che che fissano la mascherina dello slot delle schede di espansione ed asportarlo Please remove the screws...

Страница 10: ...stallieren Sie Ihre Grafik oder andere Expansionskarte Instale su tarjeta grafica o tarjeta de expansion Installare la scheda grafica o la scheda di espansione Install your graphics card or expansion...

Страница 11: ...r und befestigen Sie sie mit Schrauben Reinstale la cubierta del zocalo de la tarjeta de expansion y fijela con tornillos Reinstallare la mascherina e serrarlo per mezzo delle viti Reinstall the expan...

Страница 12: ...instale en ellas los dispositivos y vuelva a reinstalarlas en el bracket para dispositivos Rimuovere i cassetti delle unit da 2 5 installare le unit sui cassetti quindi reinstallare i cassetti sul su...

Страница 13: ...io y cierre la puerta frontal Rimuovere i cassetti per dischi da 2 5 installare i dischi su di essi quindi reinstallare nuovamente nell unit chiudere a chiave se necessario e chiudere lo sportello fro...

Страница 14: ...eles laterales para completar la instalaci n Collegare tutti i cavi rimanenti e reinstallare i pannelli laterali per completare l installazione Connect all remaining cables and reinstall side panels t...

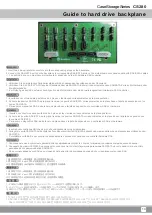
Страница 15: ...a madre o della scheda di espansione utilizzando cavi SAS SATA Per utilizzare unit SAS necessaria una scheda madre o scheda di espansione con controller hardware SAS 1 Insert two 4pin peripheral conne...

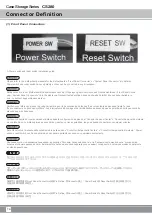
Страница 16: ...broches des connecteurs du panneau frontal et des des connecteurs du panneau syst me Les interrupteurs d allumage et de r initialisation ne poss de pas de polarit donc ils peuvent tre branch dans les...

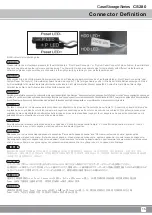
Страница 17: ...anneau frontal et des broches des connecteurs du panneau syst me Les c bles color s en blanc noir sont n gatifs alors que ceux d une autre couleur sont positifs Les c bles de la LED Power sont s par s...

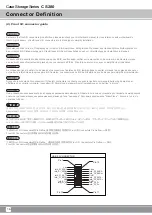
Страница 18: ...ntinuaci n tiene la definici n de pines de los conectores frontales de E S tambi n debe consultar el manual de su placa base para c omprobar la referencia de los pines para E S frontales Los conectore...

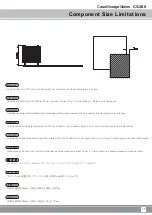
Страница 19: ...tion de hauteur des refroidisseurs de processeurs est 65mm avec un espace de 7mm au dessus du bord sup rieur de la carte mere La limitaci n de altura para disipadores de CPU es de 65mm con un espacio...

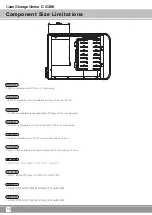
Страница 20: ...t SFX Netzteilen mit einer Tiefe bis 100 mm Le CS280 est compatible avec les alimentations SFX jusqu 100 mm de profondeur La CS280 es compatible con FA SFX de hasta 100mm de profundidad CS280 compatib...

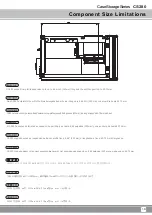
Страница 21: ...prend en charge les cartes d extension low profile jusqu 8 66 pouces 220mm de long et jusqu 60 75mm de haut El CS280 acepta una tarjeta de expansi n de perfil bajo de hasta 8 66 pulgadas 220mm y una...

Страница 22: ...lops during the warranty period please contact your retailer reseller SilverStone authorized distributors or SilverStone http www silverstonetek com Please note that i You must provide proof of origin...

Страница 23: ......

Страница 24: ...NO G11226800...

Отзывы: