19
Connecting the Devices
EN
Getting Started
When powering on the device for the first time, you may not watch TV yet as no channels have been
stored for your location. First you have to specify your location and perform an automatic channel
search in order for the available channels to be saved.
Automatic Channel Search
First connect your TV antenna (indoor or outdoor antenna) or the cable network box
to the antenna receptacle (13) before you perform the following steps, otherwise no or
only a few channels will be found during channel search.
1. Select the signal source “TV”. See page 19 – Selecting the Signal Source.
2. Press the
MENU
button (53) on the remote control to display the setup menu.
3. Press the
button (35) on the remote control four times to display the “CHANNEL” menu.
4. Press the direction buttons
or
(35) on the remote control and select the “Program area”
option. Select your location with the
or
buttons (35) on the remote control.
5. Press the
MENU
button (53) on the remote control to return one menu level up.
6. Press the direction buttons
or
(35) on the remote control, select “Auto Tuning” and press
(35) on the remote control to start the automatic channel search.
It will take several minutes until all frequency bands have been scanned and the available
channel have been found. During channel search, a thumbnail view of the found channels will
appear, displaying a live preview of 9 channels simultaneously.
To cancel the channel search at any time, press MENU (53) on the remote control.
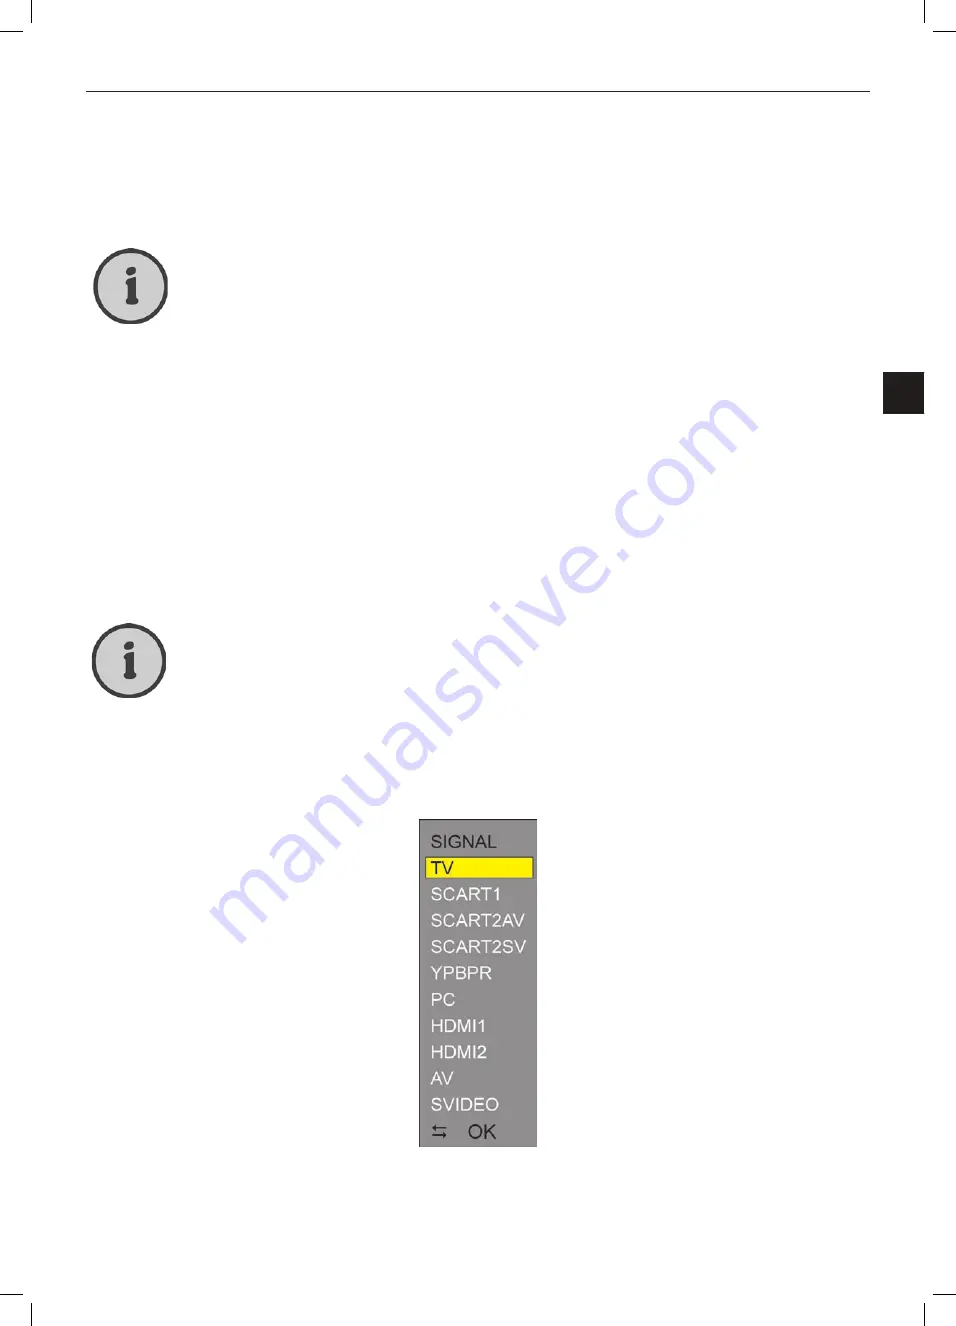
Selecting the Signal Source
1. Press the
INPUT
button (33) to display the signal source selection menu.
2. Press the direction buttons
or
(35) on the remote control to select the desired signal
source.
3. Press the
OK
button (35) on the remote control to confirm. The device will switch to the select
-
ed signal source.
Содержание LT 2310
Страница 3: ...hb cover_lcd tv_2310_lb6_1002 qxd Layout 1 23 02 2010 10 12 Uhr Seite 4 ...
Страница 46: ...43 Warranty Information EN Warranty Information PRQWK ZDUUDQW ...
Страница 47: ...44 Warranty Information PRQWK ZDUUDQW ...
Страница 49: ...46 Appendix ...


