

ENGLISH
Hardware Installation Guide
For use with silex PocketBasic Print Servers
Introduction
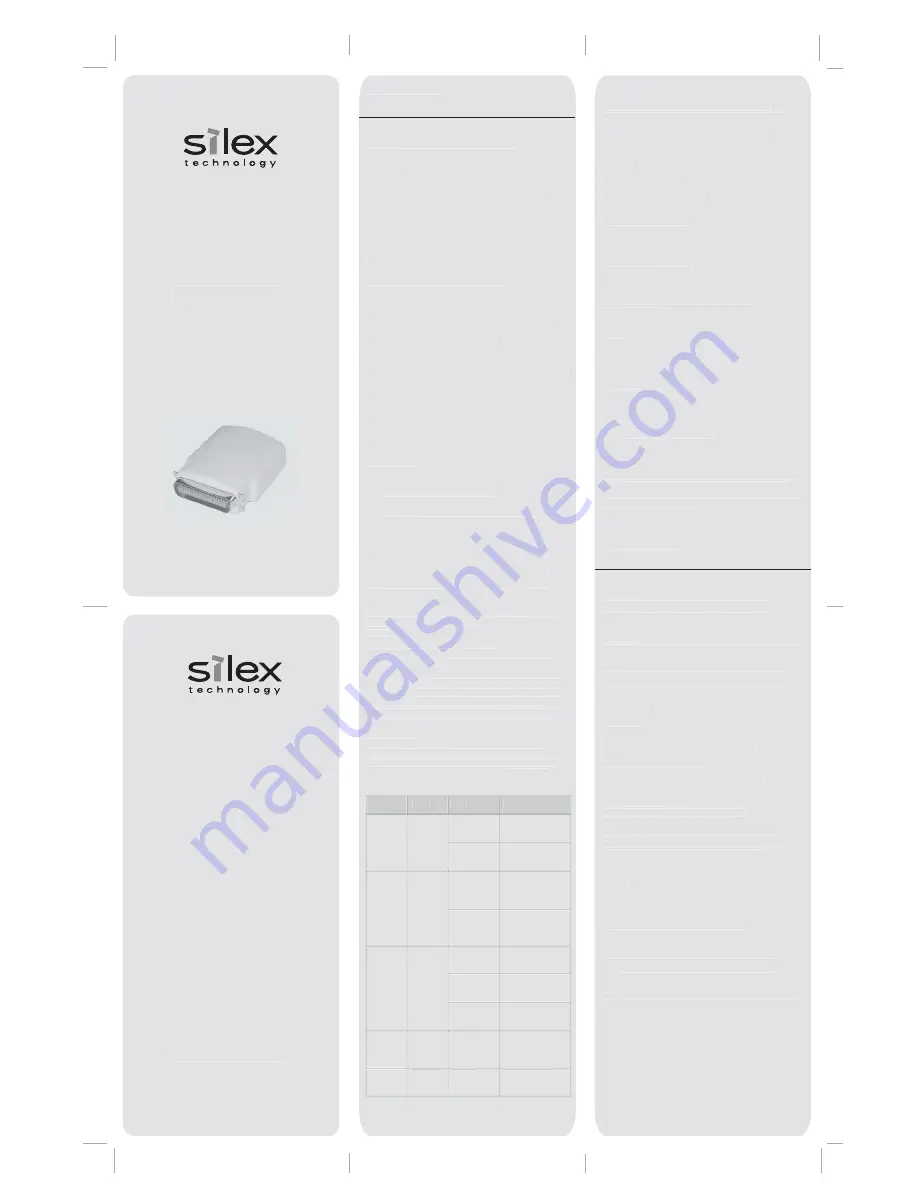
The silex PocketBasic is a high-performance compact print
server that plugs directly into the parallel port of your
printer. This print server supports and automatically
senses both 100baseTX Fast Ethernet and 10baseT
Ethernet network connections.
Package Contents
• silex
PocketBasic
•
Power Supply Adapter
•
Hardware Installation Guide (this document)
•
silex Installation/Documentation CD
Installation Requirements
•
A printer or plotter that uses a Centronics 36-pin
female parallel port connector used to receive print
data
•
A computer with a CD-ROM drive
NOTE: After the CD is inserted into the CD-ROM drive,
Windows operating systems will automatically run the CD.
For all other operating systems, browse the CD for the
desired user documentation provided in Adobe Acrobat
(PDF) format.
•
An Internet connection (for online product
registration)
•
An Ethernet (category 5) network cable
Hardware Setup
1.
Plug the print server directly into the parallel port
(36-pin female connector) on your printer. No
additional data cable is required.
2.
Plug the power adapter into a suitable power outlet,
and then connect the power cable to the print server.
Verifying Successful Installation
Switch your printer power ON. The print server will run
through a set of power-up diagnostics for a few seconds.
If the print server is operating properly, the green LED will
blink momentarily and then go out. If the green LED
blinks continuously in a regular pattern, there is a
problem. If this is the case, first verify that you have a
good Ethernet connection, and then try powering the unit
OFF and then ON again. When the green LED goes out,
the other LEDs on the print server will blink in a random
pattern.
Verifying the Connection to the Printer
To verify the connection, make sure that both the print
server and the printer are powered on and ready, and then
print a test page by briefly (more than one-eighth second
but less than five seconds) depressing the Test button. If
the connection is good, a test page will print on the
printer. If nothing prints out, make sure that the cable or
I/O connection is good and that it is securely fastened.
LED Indicators
The back edge of the silex print server provides LED
indicators (Light Emitting Diodes) for easy monitoring.
The following table defines the function
of each LED.
Management and Configuration Methods
silex offers a variety of methods to conveniently
configure and monitor the print server. Refer to the
Installation CD to install the utilities and to access the
user documentation for detailed configuration
information.
Contacts
Corporate Headquarters
silex technology america, Inc.
157 West 7065 South
Salt Lake City, UT 84047 USA
Phone +1 (801) 748-1199
www.silexamercia.com
Technical Support
North and South America
U.S. 48 contiguous States: +1 (866) 765-8761
Canada, Alaska, Hawaii, and South America:
+1 (801) 748-1199
E-Mail: [email protected]
Europe
silex technology europe GmbH
Mollsteld 5
40670 Meerbusch Germany
Phone: +49-(0)2159-6750-0
www.silexeurope.de
Technical Support
E-Mail: [email protected]
This product is certified to comply within the limits for a
Class B digital device per Part 15 of the FCC Rules, CE
Directives 89/336/EEC and 73/23/EEC. See User's Manual
on CD for more information.
DEUTSCH
Hardware Installationsanleitung
Für silex-Printserver PocketBasic
Einleitung
Der silex PocketBasic ist ein leistungsfähiger kompakter
Printserver, der direkt mit dem Parallelanschluss des
Druckers verbunden wird. Der Printserver unterstützt
100baseTX Fast Ethernet und 10baseT Ethernet und
passt sich automatisch an die Art der Verbindung an.
Lieferumfang
• silex
PocketBasic
• Netzteil
•
Hardware Installationsanleitung(dieses Dokument)
• silex
Installations-/Dokumentations-CD
Installationsvoraussetzungen
•
Drucker oder Plotter mit Parallelanschluss
(36-polige Centronics-Buchse) für den
Datenempfang
•
Ein Computer mit CD-ROM Laufwerk
Hinweis: nachdem die CD in das CD-ROM Laufwerk
eingelegt wurde, wird das Windows Betriebssystem
automatisch die CD einlesen. Für die anderen
Betriebssysteme suchen Sie bitte auf der CD nach der
gewünschten Dokumentation im Adobe Acrobat (PDF)
Format.
•
Internetanbindung (für die
Online-Produktregistrierung)
•
Ethernet-Netzwerkkabel (Kategorie 5)
Hardwareeinstellungen
1. Verbinden Sie den Printserver direkt mit dem
Parallelanschluss des Druckers oder Plotters
(36-polige Buchse). Es werden keine weiteren
Datenkabel benötigt.
2. Verbinden Sie das Netzteil mit einer Steckdose und
mit dem Printserver.
Part number 40182-200 Rev. A
© 2006 silex technology, Inc. All rights reserved.
PocketBasic
10/100 Print Server
PocketBasic
10/100 Print Server
Part number 40182-200 Rev. A
© 2006 silex technology, Inc. All rights reserved.
ENGLISH
Hardware Installation Guide
For use with silex PocketBasic Print Servers
Introduction
The silex PocketBasic is a high-performance compact print
server that plugs directly into the parallel port of your
printer. This print server supports and automatically
senses both 100baseTX Fast Ethernet and 10baseT
Ethernet network connections.
Package Contents
•
silex PocketBasic
• Power
Supply Adapter
• Hardware Installation Guide (this document)
• silex Installation/Documentation CD
Installation Requirements
•
A printer or plotter that uses a Centronics 36-pin
female parallel port connector used to receive print
data
•
A computer with a CD-ROM drive
NOTE: After the CD is inserted into the CD-ROM drive,
Windows operating systems will automatically run the CD.
For all other operating systems, browse the CD for the
desired user documentation provided in Adobe Acrobat
(PDF) format.
•
An Internet connection (for online product
registration)
• An
Ethernet (category 5) network cable
Hardware Setup
1. Plug the print server directly into the parallel port
(36-pin female connector) on your printer. No
additional data cable is required.
2. Plug the power adapter into a suitable power outlet,
and then connect the power cable to the print server.
Verifying Successful Installation
Switch your printer power ON. The print server will run
through a set of power-up diagnostics for a few seconds.
If the print server is operating properly, the green LED will
blink momentarily and then go out. If the green LED
blinks continuously in a regular pattern, there is a
problem. If this is the case, first verify that you have a
good Ethernet connection, and then try powering the unit
OFF and then ON again. When the green LED goes out,
the other LEDs on the print server will blink in a random
pattern.
Verifying the Connection to the Printer
To verify the connection, make sure that both the print
server and the printer are powered on and ready, and then
print a test page by briefly (more than one-eighth second
but less than five seconds) depressing the Test button. If
the connection is good, a test page will print on the
printer. If nothing prints out, make sure that the cable or
I/O connection is good and that it is securely fastened.
LED Indicators
The back edge of the silex print server provides LED
indicators (Light Emitting Diodes) for easy monitoring.
The following table defines the function
of each LED.
Management and Configuration Methods
silex offers a variety of methods to conveniently
configure and monitor the print server. Refer to the
Installation CD to install the utilities and to access the
user documentation for detailed configuration
information.
Contacts
Corporate Headquarters
silex technology america, Inc.
157 West 7065 South
Salt Lake City, UT 84047 USA
Phone +1 (801) 748-1199
www.silexamercia.com
Technical Support
North and South America
U.S. 48 contiguous States: +1 (866) 765-8761
Canada, Alaska, Hawaii, and South America:
+1 (801) 748-1199
E-Mail: [email protected]
Europe
silex technology europe GmbH
Mollsteld 5
40670 Meerbusch Germany
Phone: +49-(0)2159-6750-0
www.silexeurope.de
Technical Support
E-Mail: [email protected]
This product is certified to comply within the limits for a
Class B digital device per Part 15 of the FCC Rules, CE
Directives 89/336/EEC and 73/23/EEC. See User's Manual
on CD for more information.
DEUTSCH
Hardware Installationsanleitung
Für silex-Printserver PocketBasic
Einleitung
Der silex PocketBasic ist ein leistungsfähiger kompakter
Printserver, der direkt mit dem Parallelanschluss des
Druckers verbunden wird. Der Printserver unterstützt
100baseTX Fast Ethernet und 10baseT Ethernet und
passt sich automatisch an die Art der Verbindung an.
Lieferumfang
•
silex PocketBasic
• Netzteil
•
Hardware Installationsanleitung(dieses Dokument)
• silex
Installations-/Dokumentations-CD
Installationsvoraussetzungen
• Drucker oder Plotter mit Parallelanschluss
(36-polige Centronics-Buchse) für den
Datenempfang
• Ein
Computer mit CD-ROM Laufwerk
Hinweis: nachdem die CD in das CD-ROM Laufwerk
eingelegt wurde, wird das Windows Betriebssystem
automatisch die CD einlesen. Für die anderen
Betriebssysteme suchen Sie bitte auf der CD nach der
gewünschten Dokumentation im Adobe Acrobat (PDF)
Format.
• Internetanbindung (für die
Online-Produktregistrierung)
•
Ethernet-Netzwerkkabel (Kategorie 5)
Hardwareeinstellungen
1. Verbinden Sie den Printserver direkt mit dem
Parallelanschluss des Druckers oder Plotters
(36-polige Buchse). Es werden keine weiteren
Datenkabel benötigt.
2. Verbinden Sie das Netzteil mit einer Steckdose und
mit dem Printserver.
Label
POWER
DATA
LINK
DATA+LINK
DATA+LINK
Color
ORANGE
GREEN
YELLOW
YELLOW
GREEN
YELLOW
GREEN
State
ON
OFF
ON
OFF
ON
OFF
Blinking
Blinking
Alternately
Blinking
Simultaneously
Status
The unit is
receiving power.
The unit is not
receiving power.
The unit is
transmitting at
100 Mbps.
The unit is
transmitting at 10
Mbps.
There is an
Ethernet link.
There is no
Ethernet link.
There is network
activity.
A fatal error or
exception has
occurred.
The firmware is
being updated.
YELLOW
Bli ki
Th fi
i
y
Color
Label
State
Status


