32
OPERATION
Getting Started
After turning on the range for the first time, adjust the
settings to suit your preferences.
1
Touch POWER on the LCD display.
2
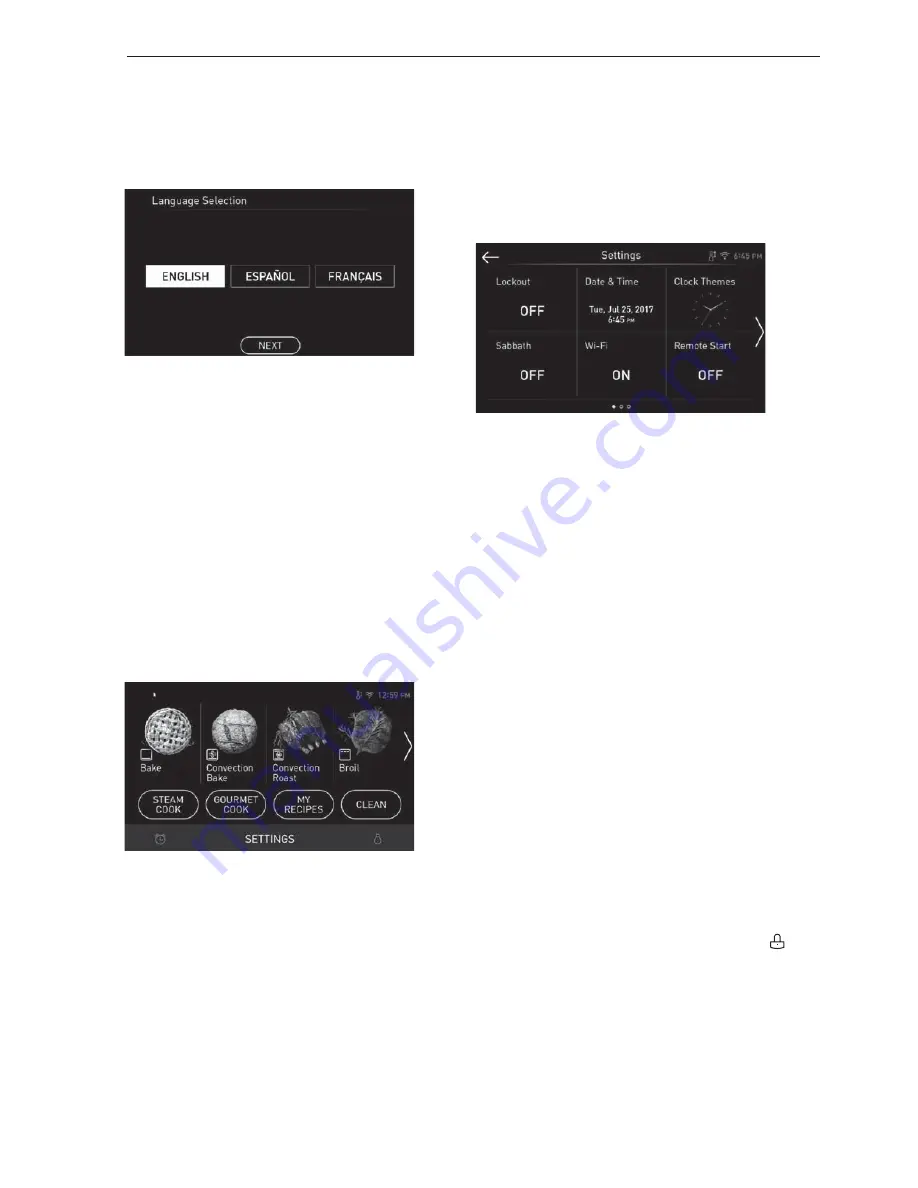
After the startup animation, select the desired
language and touch NEXT.
3
Scroll the fields up or down to set the correct
date, then touch NEXT.
4
Set the correct time of day and choose between
a 12-hour or 24-hour time format, then touch
NEXT.
5
If desired, change the default clock theme by
swiping through the examples, then press NEXT.
6
Read through the application guide in the display
and touch DONE.
7
The Mode Selector screen appears in the
display.
Changing Oven Settings
Settings
To adjust settings after the initial setup, touch the
display to open the Main screen. Touch Settings at
the bottom center of the Main screen.
Swipe the screen or touch the <> arrow keys to
navigate through the Settings screens.
Location of Settings
%
Page 1: Lockout, Date & Time, Clock Themes,
Sabbath Mode, Wi-Fi Setup, Remote Start
%
Page 2: Brightness, Display, Convection Auto
Conversion, Language, Volume, Preheat Alarm
Light
%
Page 3: Thermostat Adjustment, Temperature Units,
Smart Diagnosis™, Program Update, Factory Data
Reset, Open Source License
Lockout
The Lockout feature automatically locks the oven
door and prevents most oven controls from being
turned on. It does not disable the clock, timer and the
interior oven light.
%
If Lockout is turned on, all cooktop modules except
for gas burners are disabled.
Lock
1
Touch Settings at the center bottom of the Main
screen.
2
Touch Lockout on the first Settings screen.
3
When Lockout is turned on, the lock icon
appears at the top of the display.
Unlock
1
Touch any part of screen while Lockout is on.
2
A popup screen appears. Touch Unlock for 3
seconds.
3
The lock icon disappears from the top of the
display.


