6
6
.
.
5
5
V
V
i
i
e
e
w
w
i
i
n
n
g
g
I
I
m
m
a
a
g
g
e
e
s
s
w
w
i
i
t
t
h
h
H
H
i
i
g
g
h
h
l
l
i
i
g
g
h
h
t
t
a
a
n
n
d
d
S
S
h
h
a
a
d
d
o
o
w
w
W
W
a
a
r
r
n
n
i
i
n
n
g
g
s
s
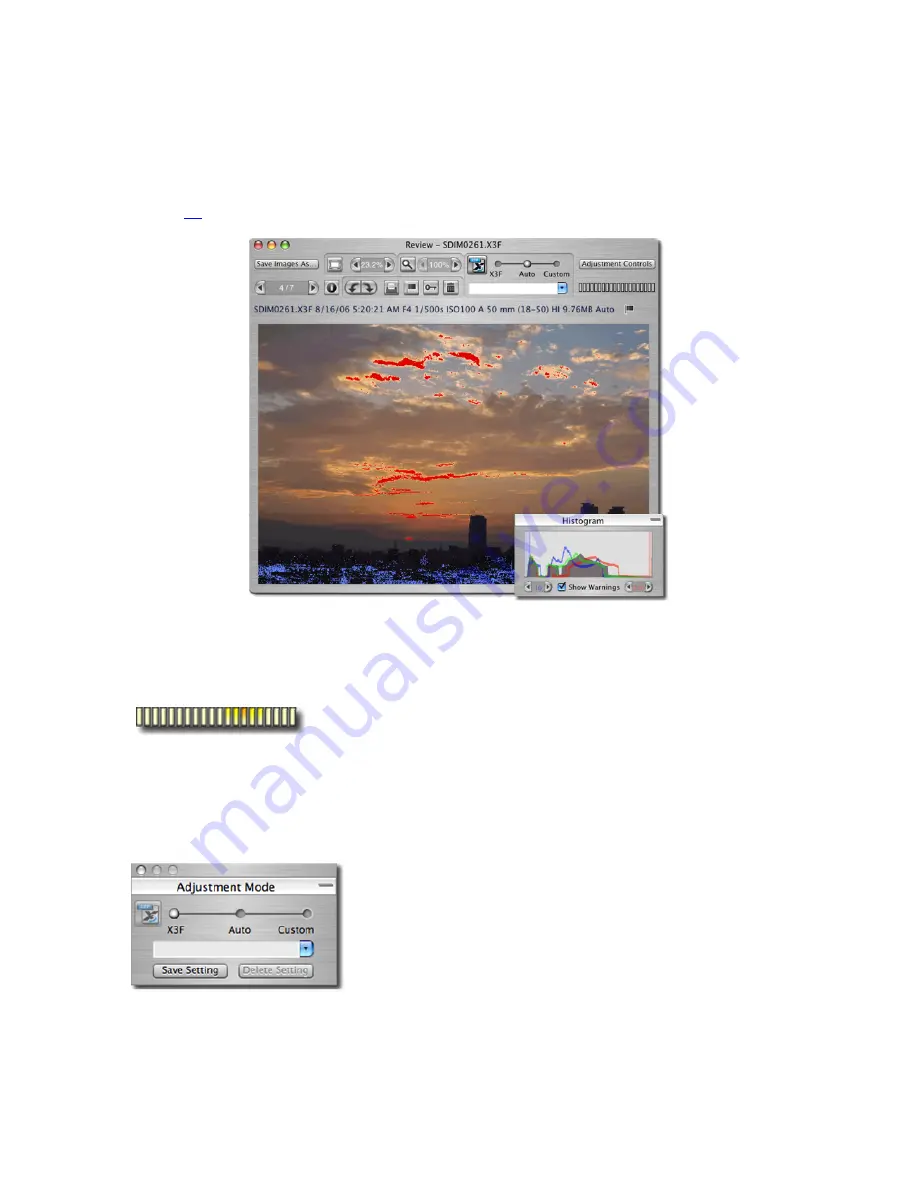
Using masks to analyze highlights and shadows
Red represents highlight areas exceeding the value set in the Histogram located in the Adjustment Controls
Palette, and blue represents shadow areas below the value set in the Adjustment Controls Palette. See
Section
8.4
for more information about the Highlight and Shadow Warning Mask.
6
6
.
.
6
6
U
U
s
s
i
i
n
n
g
g
t
t
h
h
e
e
A
A
d
d
j
j
u
u
s
s
t
t
m
m
e
e
n
n
t
t
M
M
o
o
d
d
e
e
S
S
e
e
t
t
t
t
i
i
n
n
g
g
s
s
Use the Adjustment Modes switch to control how image files are processed.
The indicator in the upper right corner of the Review Window animates
while the image is processing. When the animation stops, the display will
update to a higher resolution reflecting the current adjustment mode.
To select a different mode, drag the blue ball to another adjustment mode or click on the desired mode.
In the case of indicated images, files are X3F format.
X3F Mode: Reviewing images with default adjustments (to match in-camera preview)
With X3F selected, each image displayed in the Review Window first
appears as it was rendered on your SIGMA digital camera, without
further adjustment to tone, scale or color. You can later change the
stored X3F settings if you wish to store your own adjustment settings
in the X3F file, by clicking the X3F button.
X3F Mode remains selected until you choose another mode, or
manually adjust a setting using
Adjustment Controls
.
SIGMA Photo Pro User Guide
26


