5
5
M
M
A
A
N
N
A
A
G
G
I
I
N
N
G
G
I
I
M
M
A
A
G
G
E
E
S
S
Changing the size of the Main Window
Use the green Zoom (+) button to change the Main Window size. Click it again to return to the previous
size. If the Window in the way, click the yellow Minimize (-) button to put it in the Dock. You can drag the
tab in the lower right hand corner of the window to any desired size.
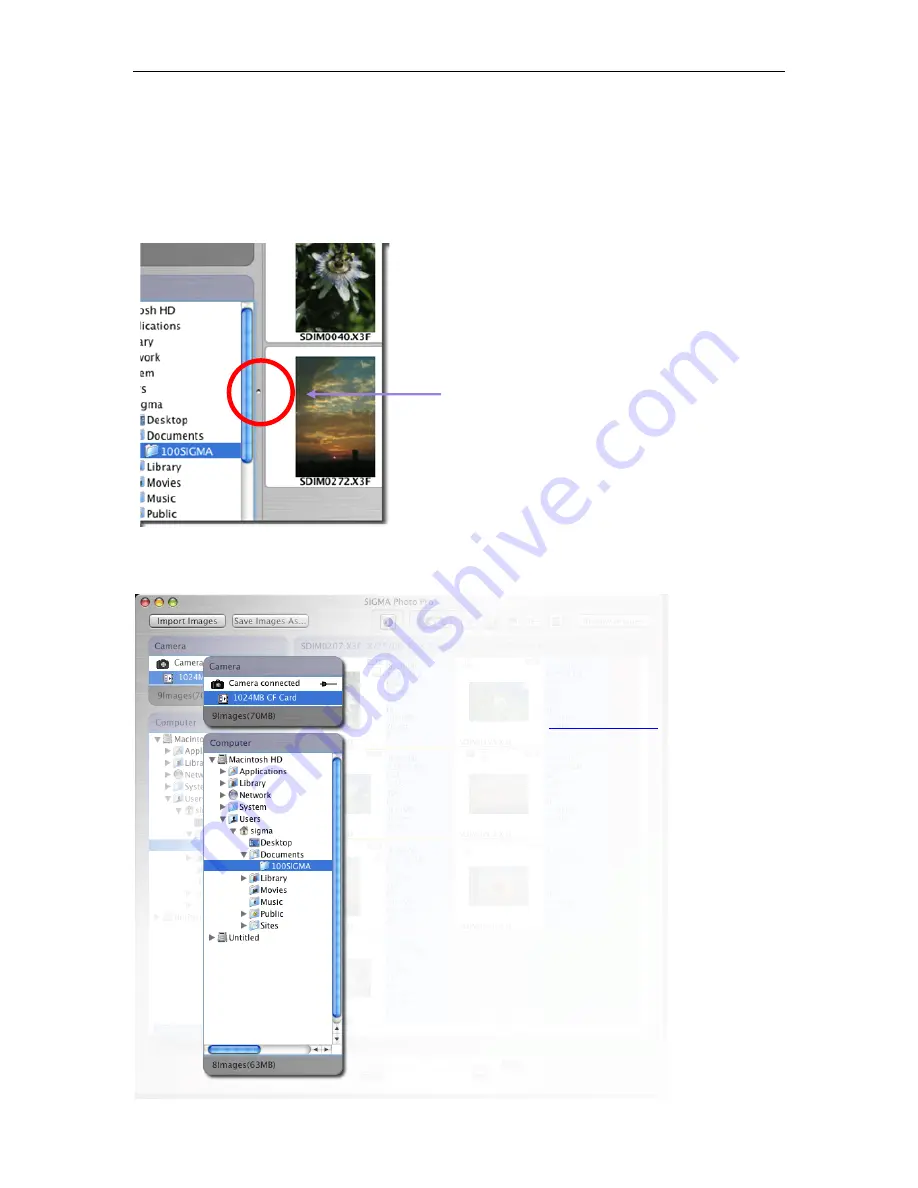
Changing the size of the Navigation Pane or Thumbnail Pane
To change the relative size of the Computer and Thumbnail
Panes, click and drag the splitter-bar located between the two
panes. SIGMA Photo Pro will remember the new size the next
time you launch the application.
Drag the gray bar left or right to change the size
of the Navigation Pane or Thumbnail Panes.
5
5
.
.
2
2
D
D
i
i
s
s
p
p
l
l
a
a
y
y
i
i
n
n
g
g
i
i
m
m
a
a
g
g
e
e
s
s
i
i
n
n
t
t
h
h
e
e
M
M
a
a
i
i
n
n
W
W
i
i
n
n
d
d
o
o
w
w
Viewing images stored on the camera
Click anywhere on the Camera Pane to display camera images. The
Camera Pane title will be highlighted in blue and the images on the
camera will be displayed in the
Thumbnail Pane
.
View images stored on your computer
Click on the Computer Pane to select the last folder viewed. The
Computer Pane title will be highlighted and the images in the folder
will appear in the Thumbnail Pane.
If the last folder viewed has been deleted, the Computer Pane will be
highlighted, but no folder will be selected.
Click on a volume or folder to select it. A blue band indicates a
selected folder. Click the arrow of Volume or folder to reveal its sub-
folders.
If no images appear in the Thumbnail Pane, this indicates that no X3F
images were detected on the camera, or no TIFF, JPEG, or X3F
images were found in the selected folder.
If your computer is connected to a computer network, click
“Network” to access files on another computer.
SIGMA Photo Pro User Guide
17


