28
As-found and vacuum-integrity check
tests
Perform and record the results of both the as-
found insulation test and the vacuum-
integrity check (dielectric) test. Procedures for
these tests are described in the Maintenance
section of this instruction manual beginning
on page 35.
Capacitor charging check
The capacitor charging system of the circuit
breaker must be checked. Control power is
required for capacitor charging.
Note:
A temporary source of control power
and test leads may be required if the control
power source has not been connected to the
circuit breaker. Refer to the specific wiring
information and rating label for your circuit
breaker to determine the voltage required
and the terminal points where the control
voltage signal should be applied. When
control power is connected to the circuit
breaker, the capacitors should automatically
charge.
1. Close the control power disconnect device
in the relay and control compartment to
energize the circuit breaker control circuit.
If not previously charged, the capacitors
should charge automatically. When the
capacitors are fully discharged and control
power is then applied, the red LED lights,
and the green LED lights after
approximately 30-35 seconds. The red
LED is off when the green LED lights.
If the capacitors have been fully
discharged for a very long time, charging
time may be significantly longer than
indicated. If capacitor charging time is
much longer than expected on initial
energization, refer to “Capacitor charging
after very long de-energization” of the
“Maintenance” section of the type 3AH35-
MA vacuum circuit breaker magnetic-
actuator operator module instruction
manual, E50001-F710-K378-X-XXXX.
2. Use the Close and Open pushbuttons on
the circuit breaker operating mechanism
(refer to Figure 7: Operator controls and
discharging capacitors on page 26) to first
close, and then open the circuit breaker
contacts. Verify contact positions visually
by observing the OPEN/CLOSED indicator
on the circuit breaker.
3. In step 2, when the close pushbutton was
pressed, the circuit breaker should have
closed, and the capacitors should have
recharged automatically. Upon closing,
the yellow LED should be on, followed by
the green LED when full capacitor charge
has been obtained. The yellow LED is off
when the green LED lights. The meaning
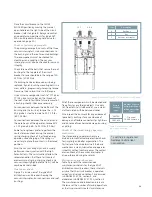
of the LEDs (105.1) on the controller
board:
a) Green LED indicates ready (energy
sufficient for OPEN-CLOSE-OPEN cycle).
b) Yellow LED indicates open possible
(energy sufficient for OPEN operation).
c) Red LED indicates error.
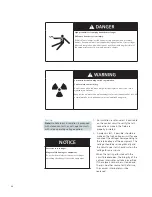
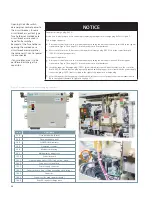
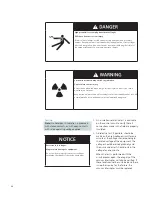
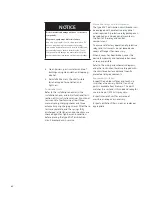
NOTICE
Capacitor discharge plug (105.2)
Disconnect control power prior to removing or
replacing the capacitor discharge plug. Refer to
Figure 7 on page 26.
To discharge capacitors:
Disconnect control power to the circuit breaker
by opening the disconnect device (device 08 in
the typical schematic in Figure 10 on page 51)
located in the control compartment.
After control power is off, disconnect the
capacitor discharge plug (105.2) from the
controller board (105.0) to discharge capacitors.
To reconnect capacitors:
Disconnect control power to the circuit breaker
by opening the disconnect (device 08 in the
typical schematic in Figure 10 on page 51)
located in the control compartment.
Insert the capacitor discharge plug (105.2) (with
six pins) into the left-hand receptacle on the
controller board (105.0). Ensure that the plug is
properly seated and the plug position is level
with the power supply connection plug (105.5)
that is located to the right of the capacitor
discharge plug.
After the capacitor discharge plug is firmly
seated, reconnect control power to the circuit
breaker (device 08 in the typical schematic in
Figure 10 on page 51).
4. Perform the magnetic actuator-discharge
check.
a) Initial status: circuit breaker open.
b) Press red Open pushbutton (54.0).
Содержание SDV7
Страница 54: ...54 Table 16 Remarks ...
Страница 55: ...55 Table 16 Remarks continued ...

