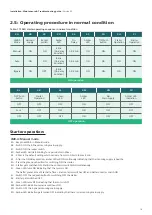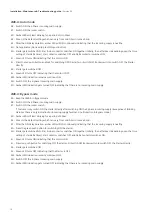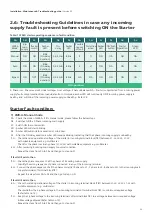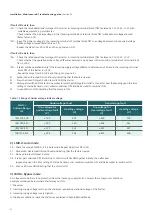
15
2.4: Installation
• Open the door by rotating the door lock anticlockwise.
• Mount the starter on a vertical wall/ plate free from vibrations with proper nuts and bolts.
Refer operating instruction for mounting dimensions.
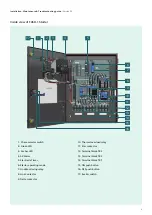
• Remove the rubber grommets for the incoming and outgoing cable connections. (Refer Fig. 4)
• Connect incoming and outgoing cables as follows (Refer Fig. 4):
- Use proper cable glands to ensure dust proofing. For conduit entry use packed washers.
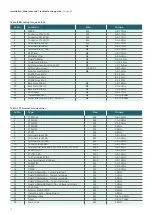
- Select correct size of cables from Table 8
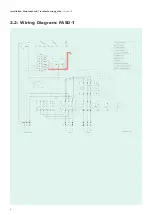
- Connect line and motor leads exactly as per wiring diagram pasted inside the cover of the starter.
- Terminate the incoming supply cables on terminal block TB1 & outgoing cables to motor on terminal block
TB2,TB3 except for FASD3 (Tightening torque -Refer table 10)
For FASD3 all connections are terminated on incoming & outgoing links.
NOTE: LMRA is set in Manual mode (Factory setting)
- Connect the earthing conductor to terminals marked (earth) on the starter body with torque 1.2 to 1.6Nm.
The Starter is now ready for commissioning.
• Initially set the overload relay to 0.58 times the rated motor current.
• Set the timer dial to the nearest value of starting time available on motor nameplate
• If it is not available, then set the dial to approximately 6-8secs.
Installation, Maintenance & Troubleshooting guide
| Version 02
• Overload relay setting:
- For closer protection set the overload relay to actual phase current as measured by an ammeter.
In the absence of anammeter, use the procedure given below:
- Start the motor and let it run for 30 mins. Then gradually reduce the relay settings till it trips. Set the relay at a slightly higher
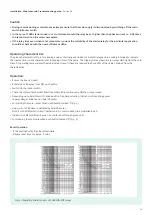
value than this setting. Overload relay characteristics shown in Fig. 6 can be used to estimate the average tripping time at
different multiples of set current.
- Allow a reset time of approx. 4 min. before pressing the blue knob on the relay to reset it.
- Restart the motor after some time. If the relay does not trip then consider it to be properly set. If the relay trips,
set at a little higher value than before and recheck.
• Close the front door.
Commissioning :
For exact setting of timer and overload relay, follow the instruction given
below:
Before switching ON recheck all externa
connections.
• Star-Delta Timer setting for FASD:
- First Switch ON the Rocker switch.
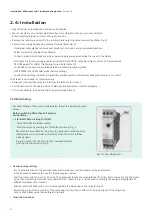
- Start the motor by pressing the ‘ON’ button shown in Fig. 3
- Measure the time taken by the motor to nearly reach rated speed or
steady state current condition (indicated when the motor reaches
asteady hum).
- Stop the motor. Set the timer to this measured value by
rotating the dial shown in Fig. 5.
Fig. 5: Timer Adjustment
Содержание RAJA+
Страница 1: ...Installation Maintenance Troubleshooting Guide For RAJA Agriculture Starters Controllers ...
Страница 5: ...2 2 Wiring Diagram FASD 1 Installation Maintenance Troubleshooting guide Version 02 5 ...
Страница 6: ...Control logic diagram 6 Installation Maintenance Troubleshooting guide Version 02 ...
Страница 7: ...Power circuit diagram 7 Installation Maintenance Troubleshooting guide Version 02 ...
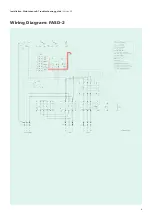
Страница 8: ...8 Wiring Diagram FASD 2 Installation Maintenance Troubleshooting guide Version 02 ...
Страница 9: ...9 Control logic diagram Installation Maintenance Troubleshooting guide Version 02 ...
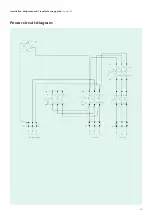
Страница 10: ...10 Power circuit diagram Installation Maintenance Troubleshooting guide Version 02 ...
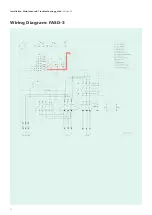
Страница 11: ...Wiring Diagram FASD 3 Installation Maintenance Troubleshooting guide Version 02 11 ...
Страница 12: ...Control logic diagram 12 Installation Maintenance Troubleshooting guide Version 02 ...
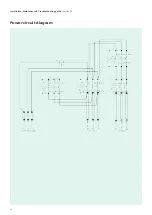
Страница 13: ...Power circuit diagram 13 Installation Maintenance Troubleshooting guide Version 02 ...

