


Java User’s Guide
3.4 Set up Java Development Environment with Eclipse IDE (Quick Start-up)
27
s
wm_java_usersguide_v12
Page 23 of 123
2008-02-25
Confidential / Released
- Select the path where Eclipse ME plugin is located on CD (EclipseMEplugin_123\.....")
and select „eclipseme.feature_1.2.3_site.zip"
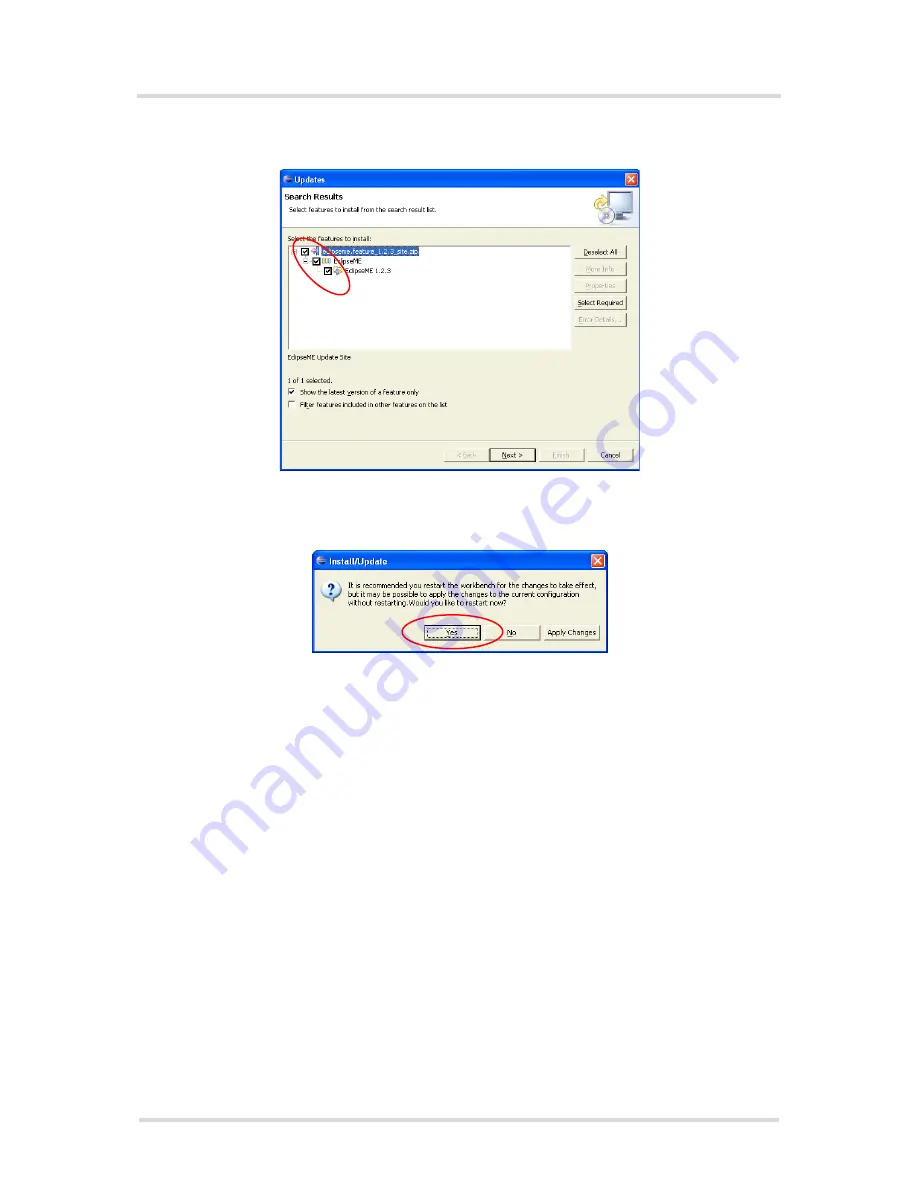
Figure 4:
Installation of Eclipse ME-Plugin 1.2.3: dialog box
Search Results
- In the dialog box
Verification
, select
Install All
.
- In the dialog box
Install/Update,
select
Yes
to restart Eclipse.
Figure 5:
Installation of Eclipse ME-Plugin 1.2.3: dialog box
Restart Eclipse
- Eclipse IDE is restarted. Please close Eclipse IDE before continuing with installation of
SMTK!
Step 4:
Installation of the product’s SMTK:
- Start "setup.exe" from CD root path.
- Choose the destination folder of Eclipse "C:\Program Files\Eclipse" in the dialog box
Select Eclipse Folder.
- Select SMTK (e.g. C:\Program Files\Siemens\SMTK) in dialog box
Destination Folder
.
- Use the the dialog box
Select COM Port
to specify the connection type for on-device
debugging and MES transfer (downloading the MIDlet to the module):
a) Standard 19200 Modem: Choose the
COM port
and set the
baud rate
(e.g. 115200).
b) USB modem: Select
"Siemens AG WM USB Modem"
. Note that the USB modem has
to be installed previously using Siemens "usbmodem.inf" file.
- After that, MES will be installed without further user action. Please wait until setup is com-
plete.
- Click
Finish
in the summary dialog to confirm the completed installation.
A detailed description of the SMTK installation is given in the following chapters.


