Seite
22
von
27
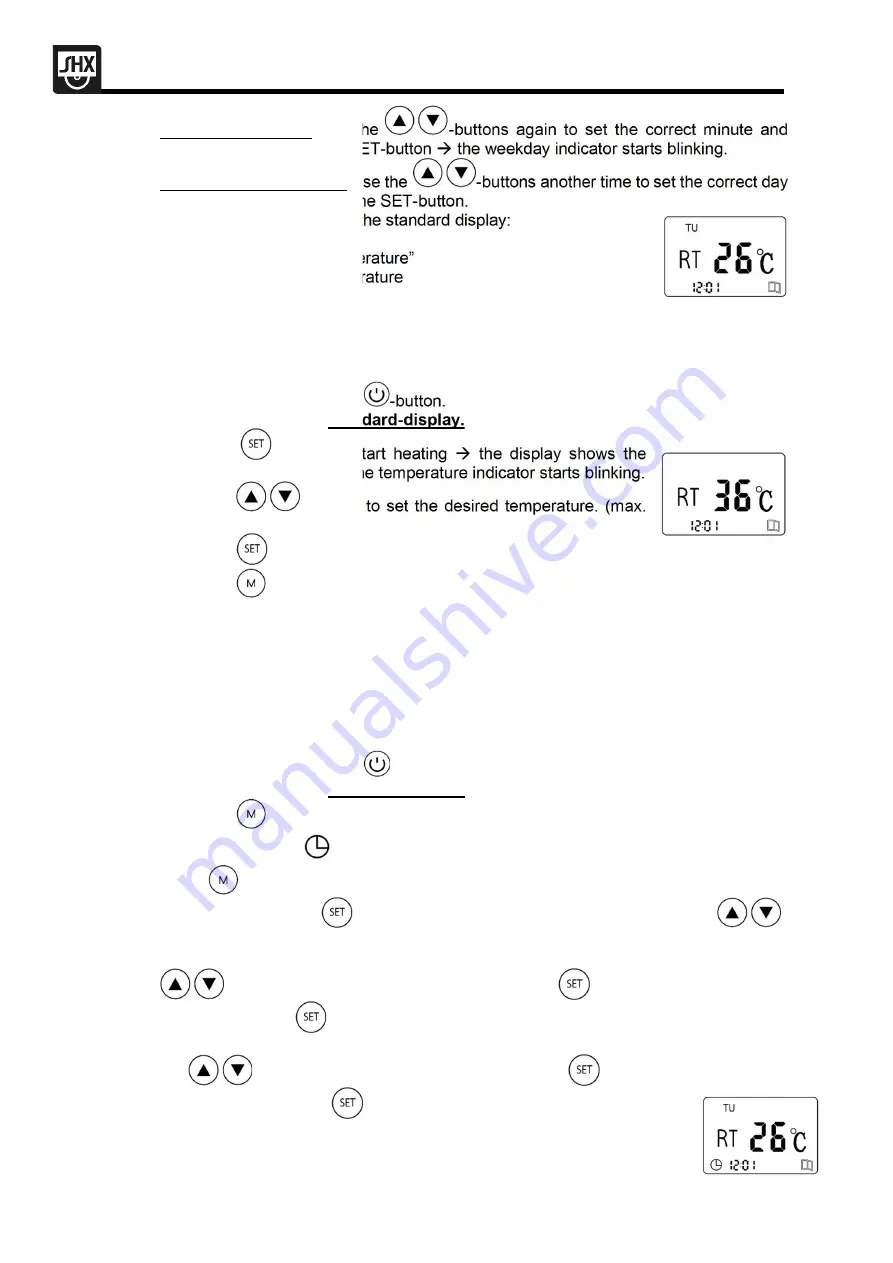
3. Set MINUTE (0-60): Use the
-buttons again to set the correct minute and
confirm it by pressing the SET-button
the weekday indicator starts blinking.
4. Set WEEKDAY (MO-SO): Use the
-buttons another time to set the correct day
and confirm it by pressing the SET-button.
5. Afterwards it will show you the standard display:
Weekday
Symbol “room temperature”
Current room temperature
Time
3. HEATING-FUNCTION
1. Turn the device on with the
-button.
2. The display shows the
standard-display.
3. Press the
-button to start heating
the display shows the
heating mode screen and the temperature indicator starts blinking.
4. Press the
-buttons to set the desired temperature. (max.
37°C)
5. Press the
-button to confirm the set temperature.
6. Press the
-button and the display shows you the heating mode screen with the set
temperature. After 3 seconds, the display changes back to the standard-display.
4. TIMER
You can use the timer to make the device turn itself on and off automatically for every day of
the week.
1. Turn the device on with the
-button.
2. The display shows the
standard-display.
3. Press the
-button two times.
4. The timer indicator
and “MON”(first day of the week) show up on the display.
5. Press
until the desired day shows up on the display (for example FR
Friday)
6. Afterwards press the
-button and set the temperature by pressing the
-
buttons and press the SET-button again to confirm it.
7. Then "ON" flashes on the display
this is the start time which you can set with the
- buttons. First set the hour and confirm with
, then set the minutes and
confirm again with
.
8. Now "OF" flashes on the display
this is the end time which you can set again using
the
- buttons. First set the hour and confirm with
, then set the minutes and
confirm repeatedly with
.
9. As soon as you have set the timer, the
timer symbol
also appears on
the display on the standard display


