Shure Incorporated
4/17
•
•
•
Sample rate:
44.1 kHz, 48 kHz
Video resolution:
720p, 1080p, 4K
Frame rate:
24 fps, 30 fps, 60 fps
⑤
Reverse Camera
Use the front-facing camera to shoot selfie videos.
⑥
Settings
Tap the app settings sprocket to select light or dark theme appearance, to find version information, help materials,
and to send feedback.
⑦
Record/Stop Button
⑧
Device Setup
Access advanced settings for your audio device. See Device Setup section for more information.
⑨
Preview Window
Tap to review the most recently recorded video.
⑩
Grid/Level/Off Display
Tap through to display grid lines or a level for easy image composition. Or turn this feature off if you
prefer a clean display.
⑪
Device Status
Displays remaining battery life and available storage space for your recording device.
⑫
Input Meter/Microphone Gain
Displays the strength of the mono or stereo input signal. Tap the input meter to bring up the
mic gain and direct monitoring sliders. You can adjust microphone gain during recording to match the volume of the sound
source. Make live adjustments to ensure levels are in the target range (indicated by the shaded region of the input meter).
Note:
Display will read AGC when using the app with the built-in microphone. Automatic Gain Control (AGC) adjusts levels to ensure consistent volume.
Weaker signals are boosted and stronger signals are attenuated to control gain. The dynamic range is decreased but the result is a more even recording.
Visual Settings
Be sure to adjust your visual settings to get the best-looking video image. We recommend making adjustments in this order.
Zoom:
Pinch to zoom in or out and frame your shot.
Brightness:
Swipe up and down to set brightness level.
Focus:
Tap to focus or tap and hold to lock brightness and focus. Tap again to release the lock.
Record Mode
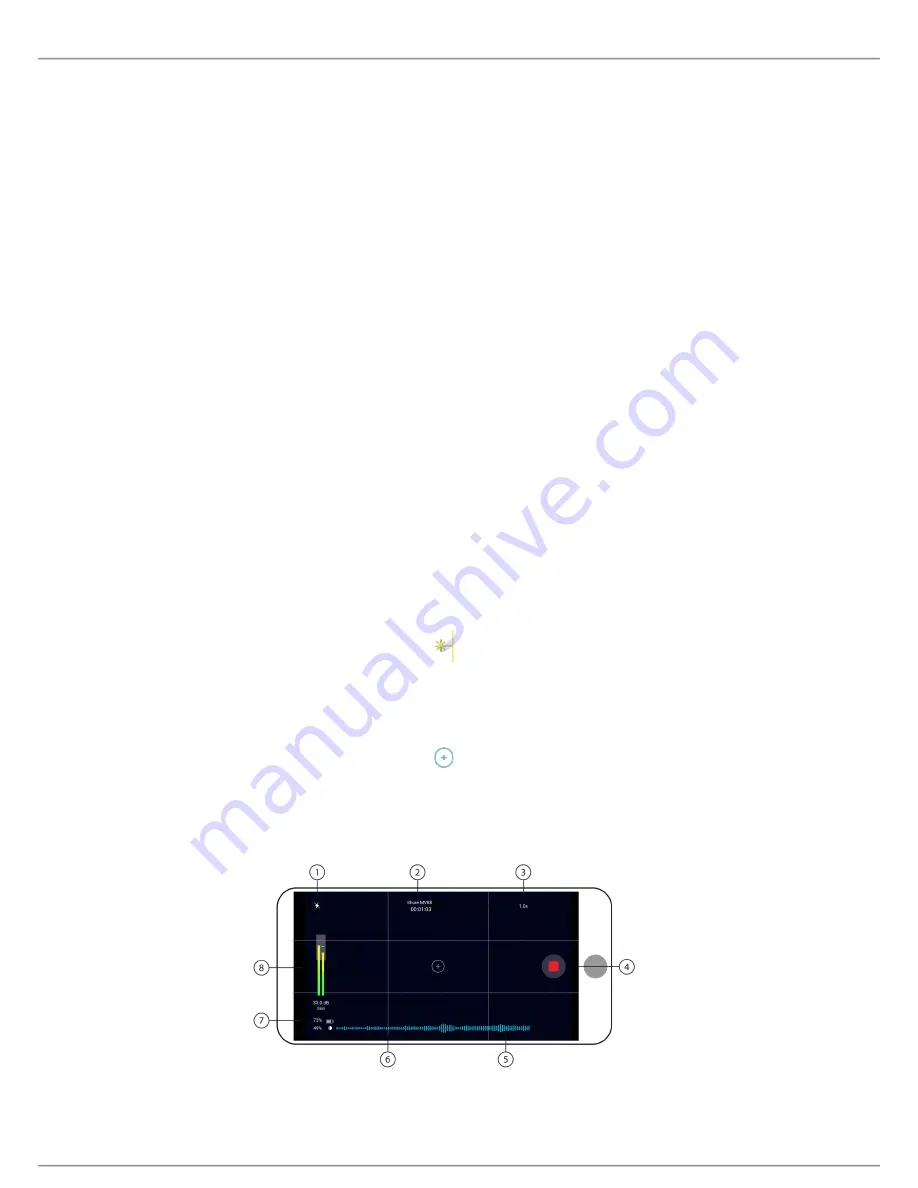
①
Flash
Use the flash when recording in low light situations.


