Automatic Tool Changer (ATC) Installation Manual
●
July 23, 2018
© Copyright 2018 ShopBot Tools, Inc.
page 13
ShopBot Setup (TS)
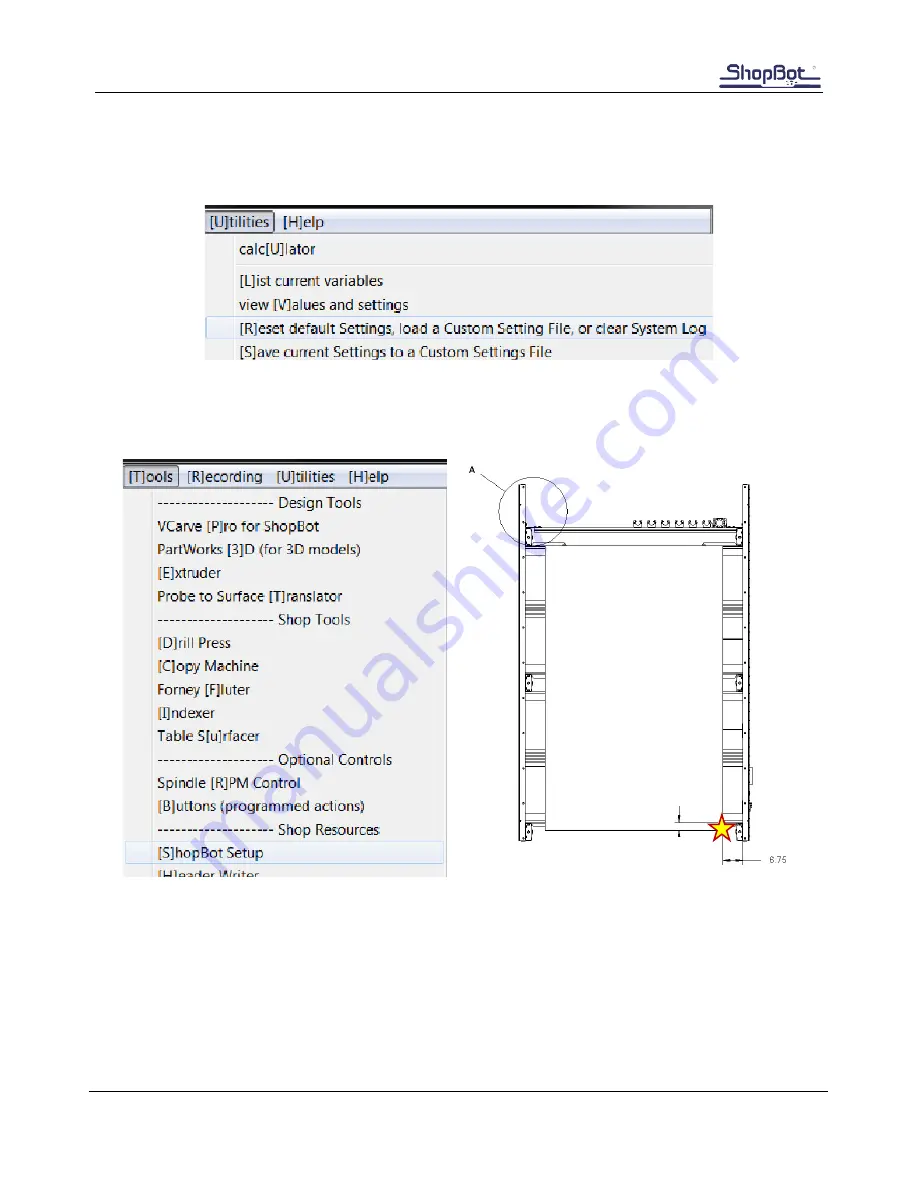
Type in “UR” or go to “Utilities” pull-down menu and select “Reset default Settings”. Select the file name
that correctly describes the table size, making sure it ends with ATC.
Move the cutter to the location that is to be “0, 0” (the reference point for programming) on the
table. Open the ShopBot control software and open the “ShopBot Setup” file in the “Tools” drop-
down (TS). Read through the window and click “Next”. The second window is the “Tool Settings”.
Go step-by-step through this window while verifying information about the machine. Make sure
that the check boxes for the Z zero plate and proximity switches are checked at the bottom of the
window. Select the radio button marked ATC4. (If your ATC tool has a pneumatically actuated
dust foot please call ShopBot for support and an alternate document).
MOVE TOOL HERE


