background image

Model D3736 Palm Finishing Sander

-6-

OPERATIONS

Getting Started 

To test the sander, do these steps:

1.

   Plug the cord into a 110V outlet.

2.

  Move the switch (located at the front 

of the sander) to the “—” position to 
turn the sander 

ON

, and move the 

switch to the “O” position to turn the 
sander 

OFF

The sander should run smoothly. Strange 
or unusual noises should be investigated 
and corrected before operating further. 

If you cannot easily locate the source of 
an unusual noise or vibration, contact 
Technical Support for help.

If you have not read the safety 
instructions in this manual, do not 
operate the sander.

This palm sander is designed to use 

1

4

 sheets of hook and loop sandpaper 

measuring 4

1

4

" x 4

1

2

". You may purchase 

4

1

2

" x 5

1

2

" sandpaper and cut it to size, 

or cut standard 9" x 11" sanding sheets 
into 4 pieces each measuring 4

1

4

" x 4

1

2

", 

or cut sheets out of a 4

1

2

" wide sanding 

roll.

To attach the sandpaper, do these 
steps: 

1.

  UNPLUG THE SANDER FROM POWER 

SOURCE!

2. 

Hold the sander upside down with its 
top against a flat, stable surface.

3.

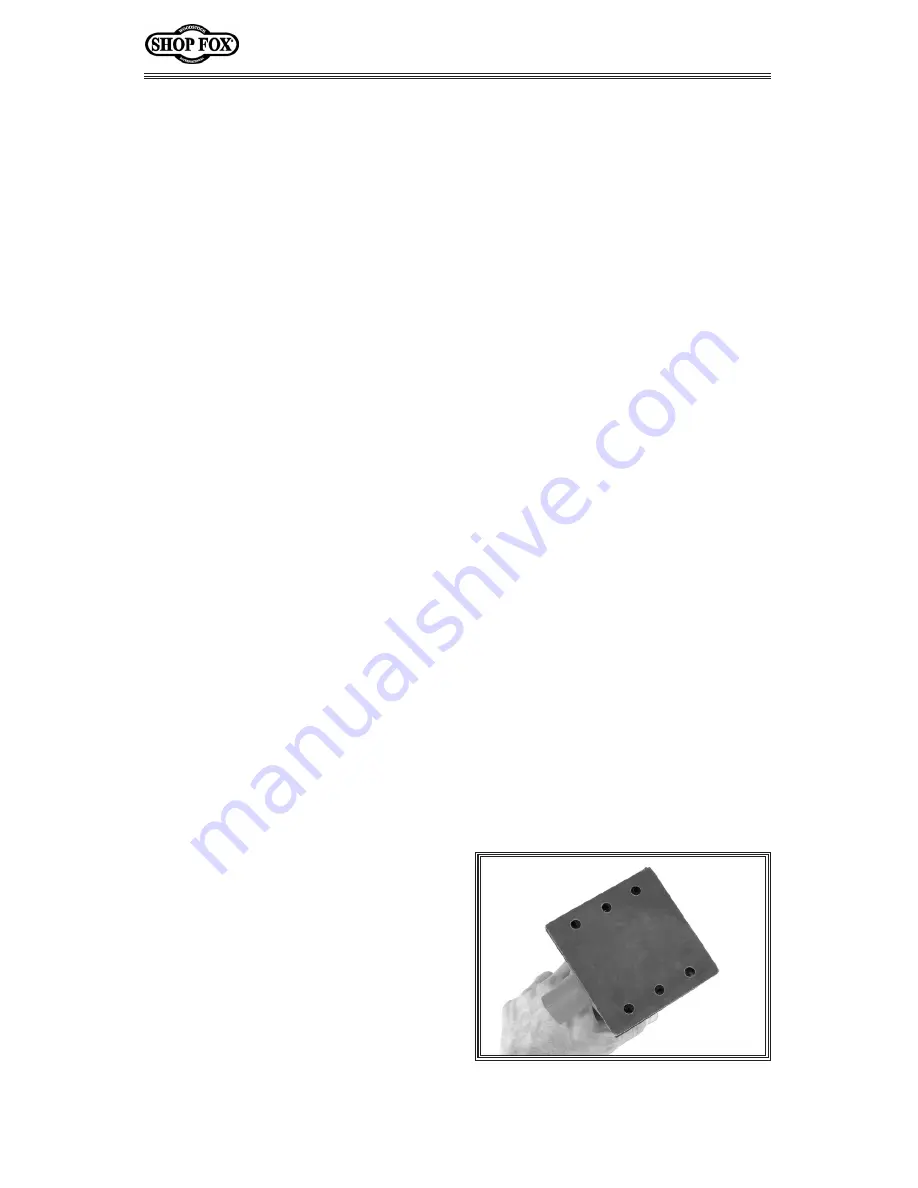
  Place the sandpaper over the base 

and align the holes in the paper with 
holes in the base (

Figure 1

).

Attaching Abrasives

Selecting Abrasives

The best results from your D3736 Palm 
Finishing Sander will be accomplished 
using the proper grit of coated abrasive. 

As a general rule, start with a coarse grit 
size and move through finer grit sizes 
until you achieve your desired finish. 

Use the list below to define paper grit 
sizes:

•  Extra Coarse

 ........................ 12-20

•  Very Coarse

 ......................... 24-36

•  Coarse

 ............................... 40-50

•  Medium

 ............................ 60-100

•  Fine

 ............................... 120-180

•  Very Fine

 ......................... 220-280

•  Extra Fine

 ........................ 320-400

Any time you are unsure about which grit 
to begin with, experiment on a hidden 
area of your project. Ideally, you want to 
achieve the balance of removing defects 
without damaging your work.

Aluminum oxide and silicon carbide 
abrasives are an excellent choice because 
they last longer and are sharper than 
natural abrasives.

Figure 1.

 Sandpaper and base holes 

aligned.

Содержание SHOP FOX D3736

Страница 1: ...biz COPYRIGHT MARCH 2008 BY WOODSTOCK INTERNATIONAL INC WARNING NO PORTION OF THIS MANUAL MAY BE REPRODUCED IN ANY SHAPE OR FORM WITHOUT THE WRITTEN APPROVAL OF WOODSTOCK INTERNATIONAL INC 10536BL Pr...

Страница 2: ...personal protective equipment The manufacturer will not be held liable for injury or property damage from negligence improper training machine modifications or misuse Some dust created by power sandin...

Страница 3: ...ardous situation which if not avoided WILL result in death or serious injury NOTICE This symbol is used to alert the user to useful information about proper operation of the equipment Safety Instructi...

Страница 4: ...for best and safest performance Follow instructions for lubricating and changing accessories 15 KEEP WORK AREA CLEAN AND WELL LIT Clutter and dark shadows may cause accidents 16 REMOVE ADJUSTING KEYS...

Страница 5: ...er 3 DRY SANDING Only use this sander for dry sanding Serious personal injury or death could result from electrical shock if sander is used for wet sanding Additional Safety Instructions for the Palm...

Страница 6: ...ng Sander has been specially designed to provide many years of trouble free service Close attention to detail ruggedly built parts and a rigid quality control program assure safe and reliable operatio...

Страница 7: ...acking The following is a description of the main components shipped with the Model D3736 Lay the components out to inventory them Note If you can t find an item on this list check the mounting locati...

Страница 8: ...sanding roll To attach the sandpaper do these steps 1 UNPLUG THE SANDER FROM POWER SOURCE 2 Hold the sander upside down with its top against a flat stable surface 3 Place the sandpaper over the base a...

Страница 9: ...ose on the bottom of the sander so the dust bag can collect dust particles Use a paper punch to cut the holes or mark the holes score them with a sharp knife and cut them out Electrical shock hazard O...

Страница 10: ...to clean any electrical parts Solvents should also be avoided on plastic because of the possibility of damage If possible use a scraper to remove glue or sap from your work these elements may hinder...

Страница 11: ...Model D3736 Palm Finishing Sander 9 D3736 PARTS BREAKDOWN 0 0 0 0...

Страница 12: ...7 BALL BEARING 627 24 XPHTEK6M TAP SCREW M4 X 16 8 XD3736008 ALUMINUM FAN 25 XPHTEK31M TAP SCREW M4 X 14 9 XP6000 BALL BEARING 6000ZZ 26 XPHTEK39M TAP SCREW M4 X 12 10 XD3736010 PARTITION 27 XPHTEK39M...

Страница 13: ...sander 2 Replace brushes 3 Replace motor Sander fails to start 1 Sander plug prongs loose in wall outlet 2 Switch clogged with dust 1 Plug sander back into outlet so they fit snugly 2 Clean switch Di...

Страница 14: ...e ZfdY eXk fe n k_ fk_ i gif lZkj K_ j nXiiXekp f j efk Xggcp kf Zkj fi XdX j l i Zkcp fi e i Zkcp ifd d jlj XYlj e c eZ XZZ ekj i gX ij fi Xck iXk fej fi cXZb f dX ek eXeZ f fli gif lZkj N j_Xcc e ef...

Страница 15: ...friend ______ Yes _____ No 6 _ What is your age group __ 20 29 _ _____ 30 39 _ ____ 40 49 __ 50 59 _ _____ 60 69 _ ____ 70 7 _ What is your annual household income __ 20 000 29 000 _ _____ 30 000 39 0...

Страница 16: ...tape along edges please do not staple FOLD ALONG DOTTED LINE Woodstock international inc p o box 2309 bellingham wa 98227 2309 Place Stamp Here FOLD ALONG DOTTED LINE...

Отзывы: