37
36
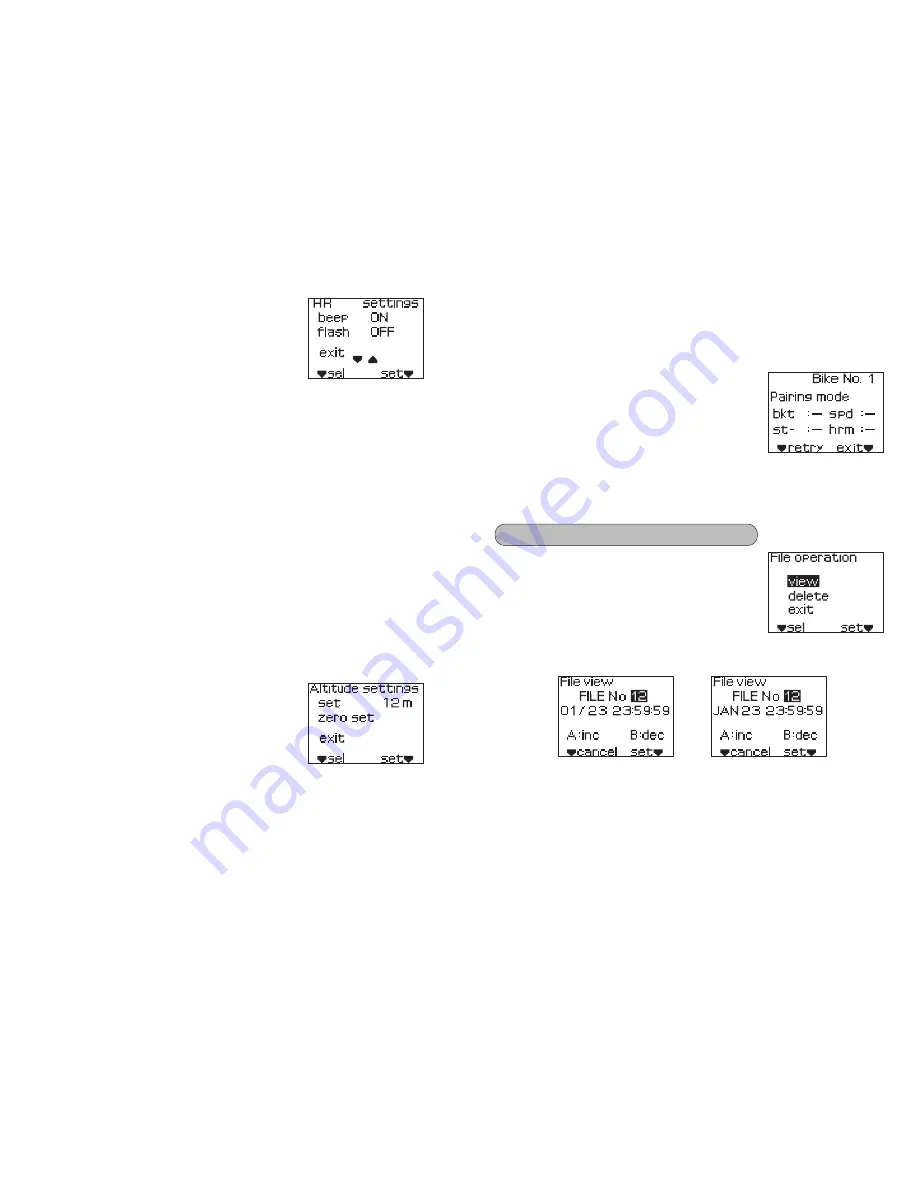
beep / flash setting
You can set whether or not a buzzer sounds and
the heart rate value flashes as a warning if your
heart rate during measurement goes outside the
set heart rate zone.
(1) Press the set button to enable the buzzer
setting to be changed.
The ON/OFF setting for “beep” will be highlighted.
(2) Press the select button, button A or button B to select whether or not
the buzzer sounds.
• beep: ON/OFF
(3) Press the set button to confirm the selected setting.
The ON/OFF setting for “flash” will be highlighted.
Next set the “flash” setting.
(4) Press the select button, button A or button B to select the flash setting
for the heart rate value.
• flash: ON/OFF
(5) Press the set button to confirm the selected setting.
(6) If you press the select button or button A, “exit” will be selected. If you
press button B, the screen will return to the previous setting item.
(1) Select “ALTITUDE” from the Setting menu.
(2) Press the set button.
(3) The Altitude settings screen will be displayed.
■
Setting the altitude
Altitude settings
(1) Press the set button to enable the altitude
setting to be changed.
The altitude display will be highlighted.
(2) Press the select button, button A or button B to
enter the desired value.
(3) Press the set button to confirm the entered
value.
(4) If you press the select button or button A, “zero set” will be selected.
(5) If you press the set button while “zero set” is highlighted, the altitude
setting will be reset to zero.
(6) If you press the select button or button A, “exit” will be selected.
If you press button B, the screen will return to Altitude settings.
* Carry out step (5) only if required.
This lets you view details such as distance, speed and heart rate contained
in the traveling data recorded in the main unit.
■
Viewing files
(1) Select “view” from the File operation menu.
(2) Press the set button.
(3) The File view selection screen will be displayed.
The file number will be highlighted.
(4) Press the select button, button A or button B to select the desired file
number.
* To cancel the selection of a file and return to the File operation
menu, press the select button.
(1) Select “PAIRING” from the Setting menu.
(2) Press the set button.
(3) The pairing confirmation screen will be displayed.
■
Checking the pairing
Pairing confirmation screen
You can then check the pairing between the main
unit and the various other units, and also check
the pairing settings.
* For details on pairing operations,
refer to page 11.
Note that if you press the select button (
▼
retry) while the pairing
confirmation screen is displayed, the pairing settings which have already
been completed will be initialized.
(1) Select “FILE VIEW” from the main menu.
(2) Press the set button.
(3) The File operation menu will be displayed.
(DATE type: 1)
(DATE type: 2)
FILE VIEW mode


