background image

23

NOTE:

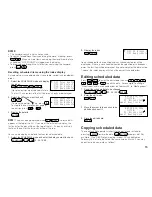
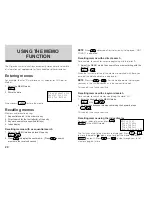
  The listing starts from the entry being displayed when you press

2nd


INDEX

, or from the first entry if you are at the initial entry display.

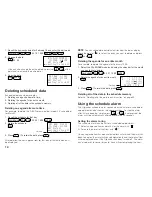
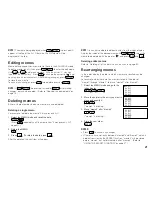
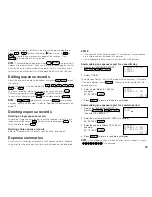
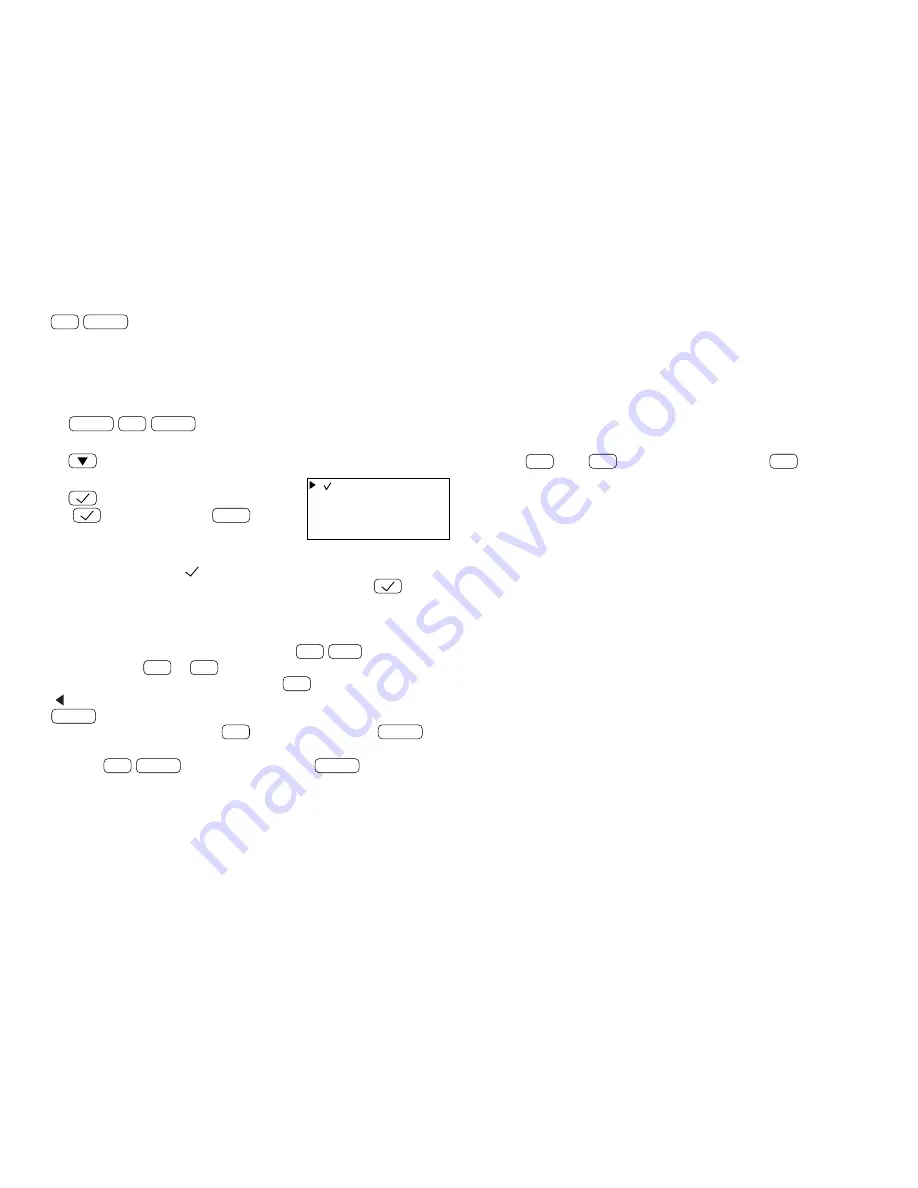
Checking off completed items

For example, to check off the sales meeting preparation:

1. Select the TO DO mode and go to the index display.

TO DO


2nd


INDEX

2. Move the pointer to select the “Prepare ...” entry.

3. Mark it as done.

(

 is the same key as 

SMBL

.)

NOTES:

• Entries marked with “ 

 ” have the lowest priority.

• You can check the entry off by recalling it and pressing 

.

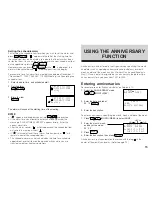
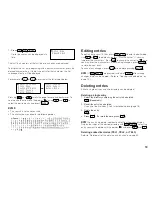
Editing TO DO items

Recall the entry you want to edit, and press 

2nd


EDIT

 to enter the

edit mode.  Use 

DEL

 or 

BS

 to delete characters.  With the cursor “

you may type over the characters.  Press 

INS

 to change the cursor to

“ ” and you may insert new characters.  After making changes, press

ENTER

 to store the new entry.

To cancel any changes, press 

C

CE

 twice before pressing 

ENTER

.

NOTE:

  If 

2nd


ENTER

 are pressed instead of 

ENTER

 after making

changes, data can be copied.  (Refer to “Copying scheduled data” on
page 13.)

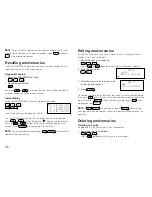
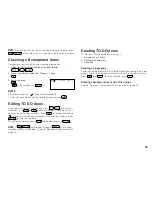
Deleting TO DO items

TO DO items can be deleted in three ways.

1. A single entry at a time
2. All checked entries only
3. All entries

Deleting a single entry

Entries can be deleted one at a time either directly or through the index
display.  Recall the whole entry, or select the entry in the index display.
Press 

DEL

, then 

Y

.  (To retain the data, press 

N

.)

Deleting checked entries or all of the entries

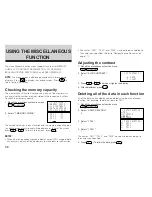
Refer to “Deleting all of the data in each function” on page 30.

[


]

 Prepare sales

Содержание YO-150

Страница 1: ...tions may cause harmful interference to radio communications However there is no guarantee that interference will not occur in a particular installation If this equipment does cause harmful interference to radio or television reception which can be determined by turning the equipment off and on the user is encouraged to try to correct the interference by one or more of the following measures Reori...

Страница 2: ...the sole and exclusive remedy available to the purchaser Correction of defects in the manner and for the period of time described herein shall constitute complete fulfillment of all liabilities and responsibilities of Sharp to the purchaser with respect to the Product and shall constitute full satisfaction of all claims whether based on contract negligence strict liability or otherwise In no event...

Страница 3: ...1 PARTS NAMES Display Option port 4 pin option jack Power on off keys Command center Cursor movement keys Search keys Reset switch Return key Enter key ...

Страница 4: ... in this product can handle dates from January 1 1901 to December 31 2099 NOTICE SHARP strongly recommends that you keep separate permanent written records of all important data Data may be lost or altered in virtually any electronic memory product under certain circum stances Therefore SHARP assumes no responsibility for data lost or otherwise rendered unusable whether as a result of improper use...

Страница 5: ...SCELLANEOUS FUNCTION 30 USING THE OPTION FUNCTION 32 APPENDIX 35 BEFORE USE Using the Organizer for the first time Be sure to perform the following procedures before using the Organizer for the first time 1 Open the Organizer 2 Initialize the Organizer While holding ON press the RESET switch Release the RESET switch and then release ON The following display will appear CLEAR ALL DATA OK Y N ON C C...

Страница 6: ...n you turn the power on the following message may be displayed asking you to free up memory by deleting unnecessary space DO YOU WANT TO FREE UP MEMORY Yes No Press Y to delete them Freeing up memory requires maximum one minute Press N when you wish to start the operation soon For more information refer to page 31 Freeing up memory GETTING STARTED Display symbols BATT This symbol appears when the ...

Страница 7: ...MEMO mode Keys and their functions Moves the cursor to the right Moves the cursor to the left Moves the cursor up to the previous line Moves the cursor down to the next line INS Puts the Organizer into insert mode Pressing this key again exits the insert mode DEL Deletes the character at the cursor BS Deletes the character to the left of the cursor backspace Moves the cursor to the beginning of th...

Страница 8: ...E AND WORLD CLOCKS Day of the week month day year Displaying the HOME time Press CLOCK to display the HOME time HOME NEW YORK 12 00AM FRI JAN 1 1999 NOTE The date format can be changed Refer to page 31 Setting the HOME clock Setting and changing the HOME city Set your local city as the HOME city by selecting its zone number Zone numbers are based on the distance of the zones from the international...

Страница 9: ...0 seconds of the specified time ENTER HOME NEW YORK 18 0 12 00AM FRI JAN 1 1999 HOME NEW YORK 18 0 1 30PM FRI JAN 1 1999 When the time is set on the 12 hour basis noon and midnight changes are displayed as below 11 59AM 12 00PM noon 12 59PM 1 00PM 11 59PM 12 00AM midnight 12 59AM 1 00AM Using the WORLD clock The time in any place in the world can be checked by selecting its zone number The default...

Страница 10: ...t mode 2nd EDIT WORLD ROME 12 0 7 30PM SUN JAN 10 1999 3 Enter the correct DST time 4 Press 2nd ENTER appears on the display and DST is set To clear Perform the steps above except for step 3 To clear the DST set time other than the DST in step 3 disappears and DST is cleared NOTE For HOME clock the display is turned on or off whenever 2nd EDIT then 2nd ENTER are pressed even if the time setting is...

Страница 11: ... the CALENDAR mode the month can be changed by using and or designating the year and month Operations of and during the monthly calendar display The Organizer has a five line display The monthly calendar is displayed occasionally in two separate displays In this instance symbol appears on the display and the last week will be displayed by pressing several time Changing the month with and In the CA...

Страница 12: ... to the SCHEDULE mode SCHEDULE 5 Enter the starting time 10 AM 00AM will be entered automatically 6 Enter the finishing time 2 PM 7 Enter the schedule detail Use the Return key to change the line 8 Store the scheduled meeting in the memory ENTER 9 Now check to see if the data was registered in the memory CALENDAR Notice the tag next to February 19 It indicates a scheduled item for that date Items ...

Страница 13: ... above schedule items can be entered directly without a specified time except in instances when the date begins with a number Simply begin by entering the letters in the item Recalling scheduled data Scheduled items can be displayed by 1 Recalling today s agenda 2 Recalling scheduled items from the CALENDAR mode 3 Recalling scheduled items from the SCHEDULE mode with and 4 Recalling only scheduled...

Страница 14: ...EDULE mode by entering the date numerically This method is handy for recalling scheduled items which are far away For example to recall the schedule for February 17 1999 1 Enter the date entry mode SCHEDULE C CE C CE 2 Enter the date 02 17 1999 3 Recall the agenda for that date ENTER Recalling scheduled items using the first letter s of the item For example to recall the Dr related items scheduled...

Страница 15: ...al items containing the word meeting press 2nd When no more items containing the word meeting are scheduled NOT FOUND will appear on the display To browse back through the list of entries containing the keyword press 2nd Recalling scheduled items using the index display An index of your scheduled entries is available sorted in chronological order 1 Select the SCHEDULE mode and display the index 2n...

Страница 16: ... like to delete CALENDAR C CE C CE 02 01 1999 ENTER 2 Delete the agenda for an entire month DEL 3 Press Y To retain the data press N Deleting all of the data in the schedule memory Refer to Deleting all of the data in each function on page 30 Using the schedule alarm The Organizer schedule alarm sounds when the time for a scheduled appointment or other item on the agenda arrives To stop the alarm ...

Страница 17: ... passed will remain in front of the scheduled item The schedule alarm may not sound when the time for a schedule appointment or other item on the agenda arrives while you are transferring data or freeing up memory USING THE ANNIVERSARY FUNCTION Anniversaries can be stored in the Organizers by specifying the month and date such as wedding anniversaries and birthdays or month week and day of the wee...

Страница 18: ...isplayed when 2nd INDEX is pressed will appear at the top of the list Editing anniversaries To edit an anniversary entry for example such as changing Nancy s birthday to Cathy s birthday 1 Recall the entry to be changed ANN 1 2 Press or repeatedly until Nancy s birthday appears 2 Enter the edit mode 2nd EDIT 3 Move the cursor to the letter you wish to change and change it 4 Press ENTER To change t...

Страница 19: ...ness private and other listings separately Designating the filenames Filenames for the directories can be input in the miscellaneous function mode 1 Recall the miscellaneous function menu 2nd FUNCTION 4 2 Store the directory filenames Press ENTER to determine the filename NOTES Use up to 10 letters for designating a filename Not to assign a filename to a directory skip this step by pressing ENTER ...

Страница 20: ...s 2 Recall the first entry When is pressed a search of the entries begins in alphabeti cal order 3 Recall subsequent entries NOTE Pressing recalls the entries in reverse order Recalling an entry with a direct search To recall an entry which starts with E in the TEL1 directory for example 1 First select the TEL mode TEL1 directory 2 Press C CE E Subsequent entries will be recalled in sequential ord...

Страница 21: ...insert new characters After making changes press ENTER to store the new entry To cancel any changes press C CE twice before pressing ENTER NOTE If 2nd ENTER are pressed instead of ENTER after making changes data can be copied Refer to Copying scheduled data on page 13 Deleting entries Either a single entry or an entire directory can be deleted Deleting a single entry 1 Select the directory contain...

Страница 22: ... search for a memo beginning with the letter A 1 Select the MEMO mode then search for a memo starting with the letter A MEMO A When the first some letters of the memo are matched with those you entered the matched memo is displayed NOTE Pressing or after the matched data is displayed searches in the same direction as in the sequential search This search is not case sensitive Recalling memos with a...

Страница 23: ... memo1 memo2 memo3 memo4 memo5 memo1 memo2 memo3 memo4 memo5 memo1 memo3 memo4 memo2 memo5 NOTE The memo being displayed when 2nd INDEX is pressed will appear at the top of the list Otherwise the first memo will be displayed at the top Editing memos Memo editing capabilities are similar to those in the SCHEDULE mode To edit a memo recall it then press 2nd EDIT to enter the edit mode Use DEL or BS ...

Страница 24: ...NDEX in the TO DO mode Use and to step through pages of entries Press and to move the pointer to select an entry then press ENTER to display the details of the entry 2 Call Frank abo 2 Prepare sales Go to bank Mail a bill to Call Smith Priority Item USING THE TO DO FUNCTION The TO DO function is a very convenient and efficient way to keep track of things you have to do You can easily recall a list...

Страница 25: ...ith the cursor you may type over the characters Press INS to change the cursor to and you may insert new characters After making changes press ENTER to store the new entry To cancel any changes press C CE twice before pressing ENTER NOTE If 2nd ENTER are pressed instead of ENTER after making changes data can be copied Refer to Copying scheduled data on page 13 Deleting TO DO items TO DO items can ...

Страница 26: ...kipped by pressing ENTER Recalling expense records EXPENSE records are sorted and stored in chronological order Records can be recalled by 1 Sequential search by date 2 Specifying the expense date 3 Using the index display Sequential search by date In the EXPENSE mode press or to recall records sequen tially Pressing C CE or C CE recalls the first or the last record respectively Specifying the exp...

Страница 27: ...ecord recall the record or select it in the index display then press DEL To delete the record press Y To retain the record press N Deleting entire expense records Refer to Deleting all of the data in each function on page 30 Expense summaries A summary is a collection of records in the Expense memory Expense summaries for a specific day and for a certain period can be displayed NOTES If the secret...

Страница 28: ... FUNCTION CALC 0 41 8 12 3 5 24 4 2 12 3 5 24 4 2 Example Operation Display answer 456789012345 789 E 360 406530740 360 406530740 1012 360406530740000 91 102 34 57 45 The addend becomes a constant 34 57 45 57 Example Operation Display answer 1 700 2 720 68 25 200 10 40 The multiplicand becomes a constant 68 25 68 40 20 200 10 500 20 220 400 25 9 4 25 9 36 What is 10 of 200 What percentage is 9 of ...

Страница 29: ... numbers spaces or symbols except If you forget the password you will have to erase all your secret data SET PASSWORD 1234 PASSWORD IS NOW SET S USING THE CONVERSION FUNCTION The Organizer supports functions to convert denominations and units into others Setting the currency rate 1 Press CALC CONV CALC CONV 2 To select the desired conversion display press or repeatedly 3 Press 2nd EDIT 4 Enter the...

Страница 30: ... the data 3 is displayed 4 Press ENTER to store the data ABC BANK Account No 272 0011223 Chicago Branch S ABC BANK Account No 272 0011223 Chicago Branch S EDIT Declassifying secret data by removing the secret code Perform the steps below to declassify ABC BANK for example However note that before declassifying secret data the secret function must be turned off Refer to Turning off the secret funct...

Страница 31: ...hanging the password For example to change the password 1234 to 9876 1 Turn off the secret function 2nd SECRET 1234 ENTER 2 Recall the secret function menu 2nd SECRET 3 Select 2 DELETE THE PASSWORD 2 4 Enter the old password and delete it 1234 ENTER 5 To register the new password recall the password entry prompt 2nd SECRET 6 Enter the new password 9876 9876 ENTER Make sure it is right This is the ...

Страница 32: ...ity graph indicates almost 100 usage delete unnecessary data and free up memory to make room for new entries FUNCTION 1 MEMORY CHECK 2 LCD CONTRAST 3 DATA DELETION 4 TEL FILE NAME TEL 1 52 TEL 2 30 TEL 3 15 E F The names TEL1 TEL2 and TEL3 may be altered according to the names you specified Refer to Designating the filenames on page 17 Adjusting the contrast 1 Recall the miscellaneous function men...

Страница 33: ...the secret function is turned on SECRET ON MODE will be displayed To delete all data relating to a function be sure to turn off the secret function Refer to Turning off the secret function on page 29 SCHEDULE and ANNIVERSARY 1 Press 2nd FUNCTION 2 Select 3 DATA DELETION 3 Select 2 SCHEDULE 4 Select 1 SCHEDULE 2 ANN1 or 3 ANN2 5 Press Y to delete all relating data Press N to cancel MEMO EXPENSE TO ...

Страница 34: ...ons may display the message shown on the right It is recommended to press Y to free up memory When the power is turned on except that the power is automatically turned on with the Schedule alarm When DATA DELETION in FUNCTION menu is selected The indication WORKING shown on the side of the receiving Organizer at the beginning or end of the data transmission means that the memory has begun to be fr...

Страница 35: ...the secret function is turned on an error message is displayed on the receiving or transmitting Organizer or both the Organizers Be sure to turn off the secret function before transferring data by mode UNIT TO UNIT I O DEVICE ERROR The indication WORKING shown on the side of the receiving Organizer at the beginning or end of the data transmission means that the memory has begun to be freed up auto...

Страница 36: ...rned off during data transfer When the Backlight is turned on it is automatically turned off at the beginning of data transfer When MEMORY FULL is displayed and data transfer is aborted delete unnecessary data on the receiving Organizer then start the steps from the beginning When the Organizers are not in the same mode before transferring data by entry or mode DATA ERROR is displayed and no data ...

Страница 37: ...zer in your pocket or bag together with sharp or hard objects because they may scratch the Organizer APPENDIX When trouble occurs RESET procedure An impact or a strong external electrical field may disable the keys The impact or external electrical field may also erase some or all of data in the Organizer s memory In such a case press the RESET switch with the tip of a ball point pen or similar ob...

Страница 38: ...0 Replace the batteries page 36 Adjust the display contrast page 30 Replace the batteries page 36 Adjust the display contrast page 30 Press 2nd to display page 4 Reset the Organizer page 35 There is no room for the data you want to store Delete all unnecessary data first and then free up memory Page 31 Press 2nd to display page 14 The operating batteries are becoming weak Replace the batteries pag...

Страница 39: ...oss or alteration of data Precautions on battery use Always replace both operating batteries at the same time Do not use an old battery and a new one together Use only the specified lithium batteries Replace the memory backup battery at lease every 5 years The original batteries were installed in the factory at the time of shipment and might be depleted before satisfying the operating time indicat...

Страница 40: ...d If the operating batteries are depleted replace these batteries before replacing the memory backup battery If you replace the memory backup battery while the operating batteries are depleted all of the data in the memory will be lost 1 Press OFF to turn the power off 2 Loosen the screw and remove the battery holder cover on the back of the unit 3 Remove the memory backup battery seal MONTH YEAR ...

Страница 41: ... memory calculation etc With currency conversion function Clock Crystal oscillation 32 768 Hz frequency Specifications Model YO 150 YO 170 Product name Electronic Organizer Display 19 columns 5 lines Electronic notebook section TEL mode Names phone numbers and addresses SCHEDULE mode Dates appointment times and details of appointments Automatic day forward function schedule alarm function ANN mode...

Страница 42: ... seconds per month at 25 C 77 F Display contents Year month day day of week hours minutes AM PM city names time zone Time system 12 hour or 24 hour World clock Display of date and time for the world cities function Enable disable control for daylight saving time display function Common Power Main power supply 6V DC lithium batteries CR2032 2 Memory backup power 3V DC lithium battery CR2032 1 Power...

Страница 43: ...21 Password 29 Scheduled data 14 Telephone entries 19 To do items 23 Designating TEL directory file names 17 Direct search 18 20 Directory file names 17 Display Contrast adjustment 30 Symbols 4 Displaying Home time 6 Monthly calendar 9 World time 7 E Editing Anniversaries 16 Expense records 25 Memos 21 Scheduled data 13 Telephone entries 19 Entering Anniversaries 15 Characters 5 Expense records 24...

Страница 44: ...ction 27 Sequential search 16 18 20 22 24 Setting Currency rate 27 Date format 31 Daylight saving time 8 Home city 6 Home clock 7 Home time and date 7 Schedule alarm 15 Specifications 39 Summarizing expense records 25 T TEL FILE NAME function 17 Telephone Directory function 17 TO DO function 22 Transferring data 32 33 34 Backup data 34 Between Organizers 33 Between the Organizer and PC 34 Troubles...

Страница 45: ...43 MEMO ...
Страница 46: ...duct support you can Call a Sharp Representative 800 BE SHARP Visit our Web Site http www sharp usa com Call our Fax On Demand Service 630 378 9853 Send an E mail CompuServe account 75300 3260 America OnLine account SHARPWIZ Internet account pdasupport sharpsec com Engage in forum discussions CompuServe type Go Sharp America Online type Keyword Sharp Fax your questions or comments 630 378 9987 Wri...

Отзывы:

Похожие инструкции для YO-150