-76
-76
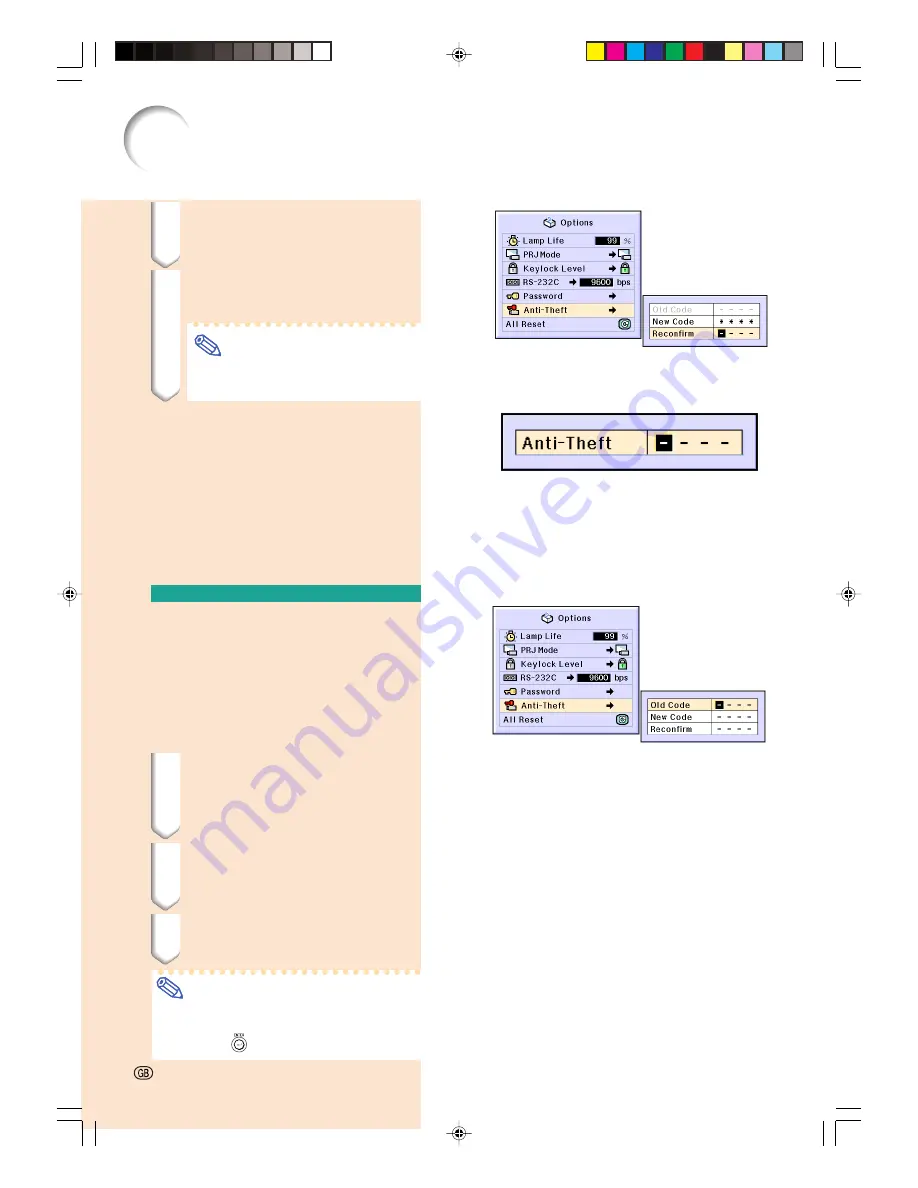
Setting the Anti-Theft
2
Enter the remaining 3 digits by
pressing any buttons you like.
3
Enter the same keycode once
more in “Reconfirm”.
Note
•
The Keylock function will become
temporarily disabled.
When “Anti-Theft” is set, the keycode
inputting box appears after the power
is turned on. When it appears, enter the
right keycode.
•
Press the buttons on the remote control if
the buttons on the remote control are used
for setting the keycode. In the same manner,
press the buttons on the projector if the
buttons on the projector are used for setting
the keycode.
Changing the Keycode
•••••
When “Anti-Theft” is selected, the password
input box is displayed. After the password has
been entered, you can change the keycode.
Select “Anti-Theft” in the “Options (2)”
menu on the menu screen.
➝
For operating the menu screen, see
pages
42 to 45
.
1
Press the buttons on the re-
mote control or the projector
to enter the preset 4-digit
keycode in “Old Code”.
2
Press any button you like on
the remote control or the pro-
jector to enter the new keycode.
3
Enter the same 4-digit keycode
in “Reconfirm”.
Note
•
If you do not want to set a keycode, leave
the keycode field blank in steps 2 and 3
and press
.
XG-C60X_E_PDF_p71_78.p65
03.8.28, 2:28 PM
76
Содержание XG-C60X
Страница 19: ...Connections and Setup Connections and Setup XG C60X_E_PDF_p15_18 p65 03 8 28 1 56 PM 15 ...
Страница 37: ...Basic Operation Basic Operation XG C60X_E_PDF_p33_41 p65 03 8 28 2 08 PM 33 ...
Страница 55: ...Easy to Use Functions Easy to Use Functions XG C60X_E_PDF_p51_59 p65 03 8 28 2 10 PM 51 ...
Страница 83: ...Appendix Appendix XG C60X_E_PDF_p79_93 p65 03 8 28 2 28 PM 79 ...
Страница 106: ...SHARP CORPORATION XG C60X_E_PDF_Hyo4 p65 03 8 28 1 55 PM 1 ...


