


04/1/28
E-12
ENGLISH
WA-ST200(BK)/(W)
WA-ST20(BK)/(W)
Windows Media Player
Transferring audio data from PC to the unit (continued)
■
For Windows Media Player 10
Caution:
●
On Windows Media Player 10 to create subfolders with an artist
or album name automatically, click
to display properties and
select “Create folder hierarchy on device”.
●
Audio data on the unit is replaced by newly transferred audio data
if their file names are the same.
●
Refer to “Connecting the unit to the PC” or “Disconnecting the
unit” when you connect/disconnect the unit to/from a PC.
●
Do not disconnect the unit from the PC during transfer.
Notes:
●
Windows Media Player 9 & 10 installer are include in the supplied
CD-ROM.
●
For details on Windows Media Player, refer to its User Guide.
●
The drive letter for the unit may change depending on the
environment of the connected PC.
MP3 (MPEG-1 Audio Layer 3):
MPEG is an international standard developed by Moving Picture
Experts Group, a working group of ISO.
WMA (Windows Media Audio):
WMA is an audio compression format developed by Microsoft
Corporation.
About DRM (Digital Rights Management):
●
This product supports Windows Media Digital Rights
Management 9 Series. Using Windows Media Player 9 Series or
10, you can transfer licensed WMA files to the unit for playback.
●
Some WMA files may not be playable/transferable onto this
products due to their license agreements with copyright holders.
●
Some audio data may not be playable on this products.
●
When the SD/MMC card is installed the unit will not play DRM 10
protected music as mandated by Microsoft but DRM 9 or non
DRM protected music will play normally.
File format of transferred audio data:
●
Depending on the setting of Windows Media Player, audio data
may be converted automatically for playback on portable devices.
●
On Windows Media Player 10, you can change this setting and
transfer audio data without conversion. To do so, click
and
select “Quality” to uncheck “Convert files as required by the
device (recommended)”.
●
For details on Windows Media Player, refer to its User Guide.
1
Connect the unit to a PC (see page 8).
2
Launch Windows Media Player.
Example:
Start
→
All Programs
→
Windows Media Player
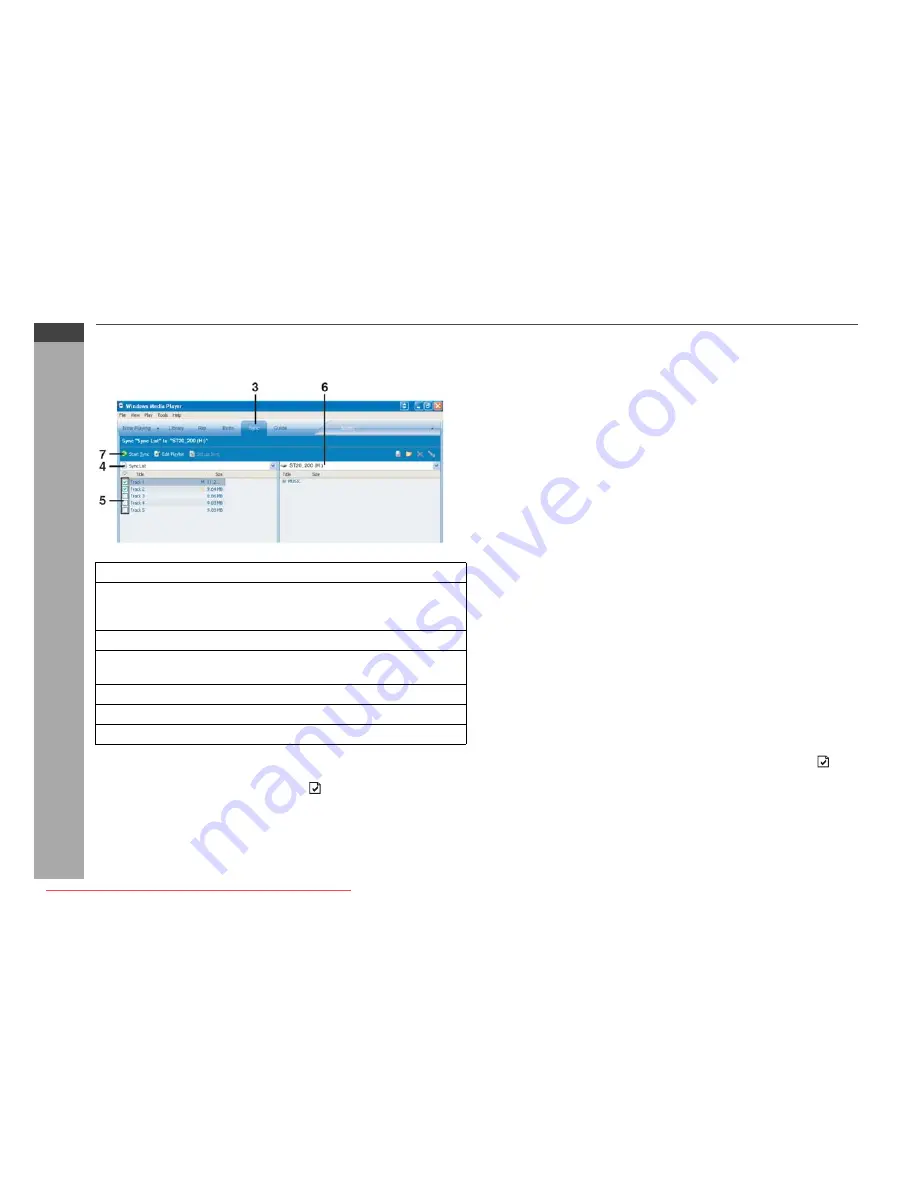
3
Click “Sync” on the taskbar.
4
From the drop-down list of “Sync List”, window shown on
the left, select a list with desired audio data.
5
Select the check boxes of audio data to transfer.
6
Set the unit as a destination.
7
Click the “Start Sync” button to start transfer.
Downloaded from ManualMPlayer.com Manuals


