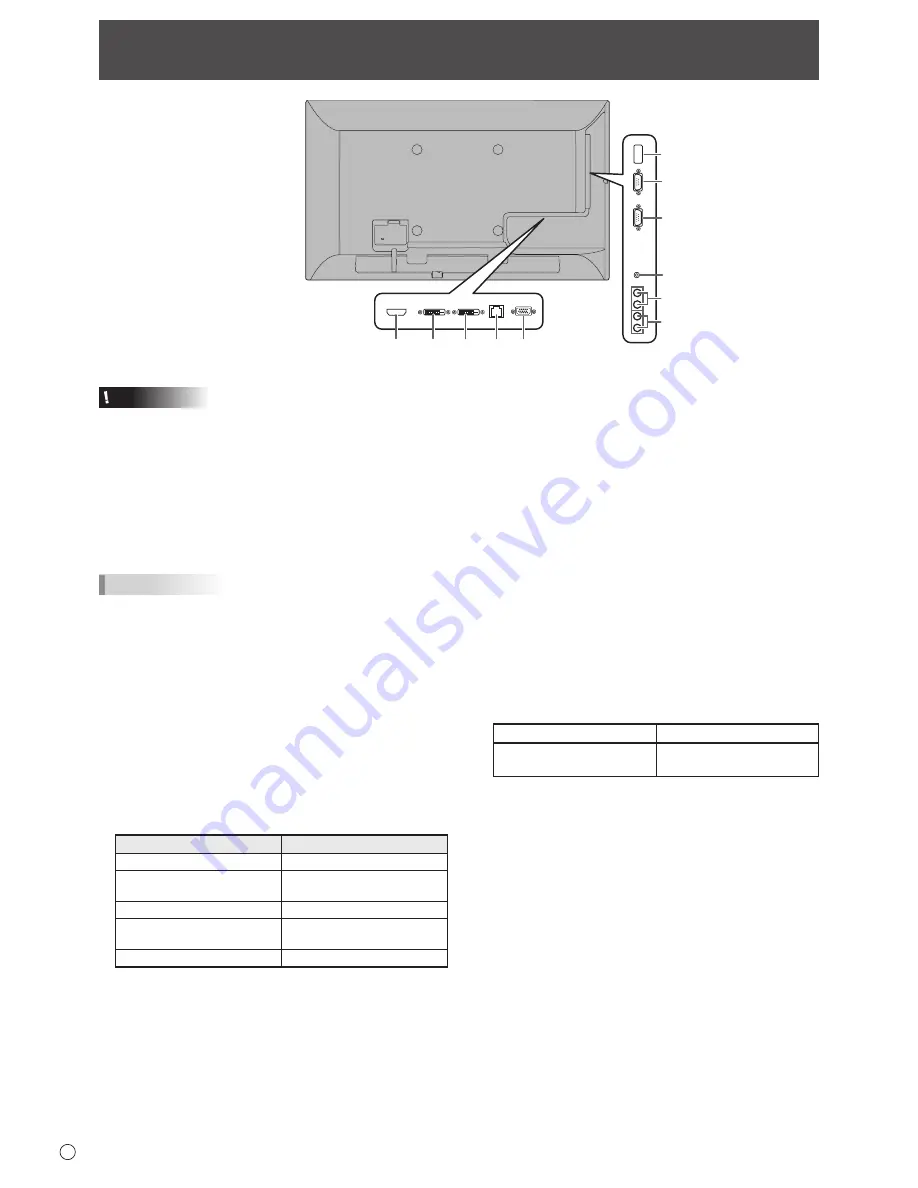
12
E
9
10
5
6
1
2
7
11 3
4
8
Connecting Peripheral Equipment
Caution
• Be sure to turn off the main power switch and disconnect
the plug from the power outlet before connecting/
disconnecting cables. Also, read the manual of the
equipment to be connected.
• Be careful not to confuse the input terminal with the output
terminal when connecting cables. Accidentally reversing
cables connected to the input and output terminals may
cause malfunctions and the other problems.
• Do not use any cable that has a damaged or deformed
terminal. Using such cables may cause malfunctions.
TIPS
• Images may not be displayed properly depending on the
computer (video card) to be connected.
• Use the automatic screen adjustment when a PC screen is
displayed for the first time using D-SUB, or when the setting
of the PC is changed. The screen is adjusted automatically
when AUTO in the SCREEN menu is set to ON.
• If the audio output from the playback device is connected
directly to speakers or other devices, the video on the
monitor may appear delayed from the audio portion.
Audio should be played through this monitor by connecting
the playback device to the monitor’s audio input, and
connecting the monitor’s audio output to the speakers or
other devices.
• The audio input terminals used in each input mode are
factory-set as follows.
Input mode
Audio input terminal
DVI-D
Audio1 input terminal
HDMI[PC], HDMI[AV]
HDMI input terminal /
Audio1 input terminal
D-SUB[RGB]
Audio1 input terminal
D-SUB[COMPONENT],
D-SUB[VIDEO]
Audio2 input terminals
USB
USB port
1. HDMI input terminal
• Use a commercially available HDMI cable (conforming to
the HDMI standard).
• Set HDMI of INPUT SELECT on the SETUP menu
according to the device to be connected.
2. DVI-D input terminal
• Use a commercially available signal cable (DVI-D 24 pin).
3. D-sub input terminal
• Set D-SUB of INPUT SELECT on the SETUP menu
according to the device to be connected.
4. USB port
• Connect a USB flash drive to the USB port.
• Do not connect a USB device other than a USB flash
drive.
• Turn off the power of the monitor when removing a USB
flash drive.
• After you have connected a USB flash drive, create “data.
db” and “db.info” in the root folder.
Supported USB flash drives
File System
FAT32
Capacity
Up to 32 GB
(maximum file size 2 GB)
• Do not use a USB flash drive with a security function or
a write protection function.
• Use a USB flash drive with a shape that can be inserted
in the USB port. Some USB flash drives with special
shapes cannot be inserted. Do not forcibly insert a USB
flash drive. This may damage the connector and cause
failure.
Содержание PN-Y325
Страница 1: ...PN Y325 LCD MONITOR OPERATION MANUAL ...
Страница 49: ...PN Y325 Me EN14G 2 ...


