73
3
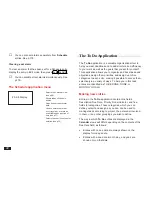
To create a new Calendar entry:
1.
From any Calendar view, press
NEW
, or select
CREATE ACTIVITIES from the application menu.
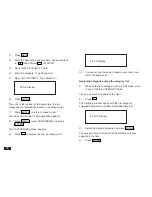
The CALENDAR ACTIVITIES window appears.
#3-1-7 Display
2.
Type in a description of the event to be entered, then
press
ENTER
.
☞
If you made another entry this way previously, the
description text for that entry appears highlighted on
the screen. You can use the arrow keys to edit the
description if desired. Otherwise, typing in a new
description will automatically cause the old text to be
discarded.
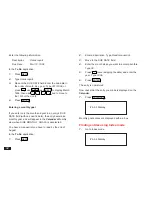
If new text was entered, the message “Stored!” appears
briefly, followed by the Select Application window.
3.
Press
˜
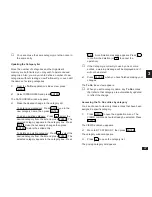
, select the application for which you want
to create the new entry, then press
ENTER
.
The selected application appears in the application box.
4.
Press
ENTER
to proceed (or
CANCEL
to cancel the
new entry).
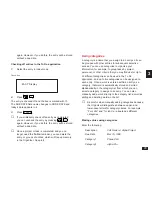
A new entry for the selected application appears in Edit
mode.
5.
Enter the date/time details as required for the
particular application, then press
ENTER
.
The new entry is then stored, together with the description
you entered in step 2 above.
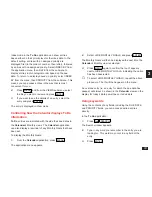
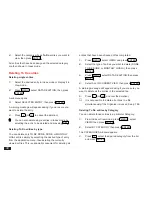
The Calendar application menu
#3-1-8 Display
Goes directly to today’s
date in the Monthly view.
Selects the Calendar view
(see p.69).
Goes directly to a particular
date (see p.72).
Selects Two-month view or
one month view with Monthly
Goals (see p.70).
Sets the Calendar’s default
view (see p.70).
Makes new Schedule, To Do
and Ann entries (see p.72).
Deletes selected Schedule
entries (see p.76).


