


4-114
FACSIMILE
Contents
5
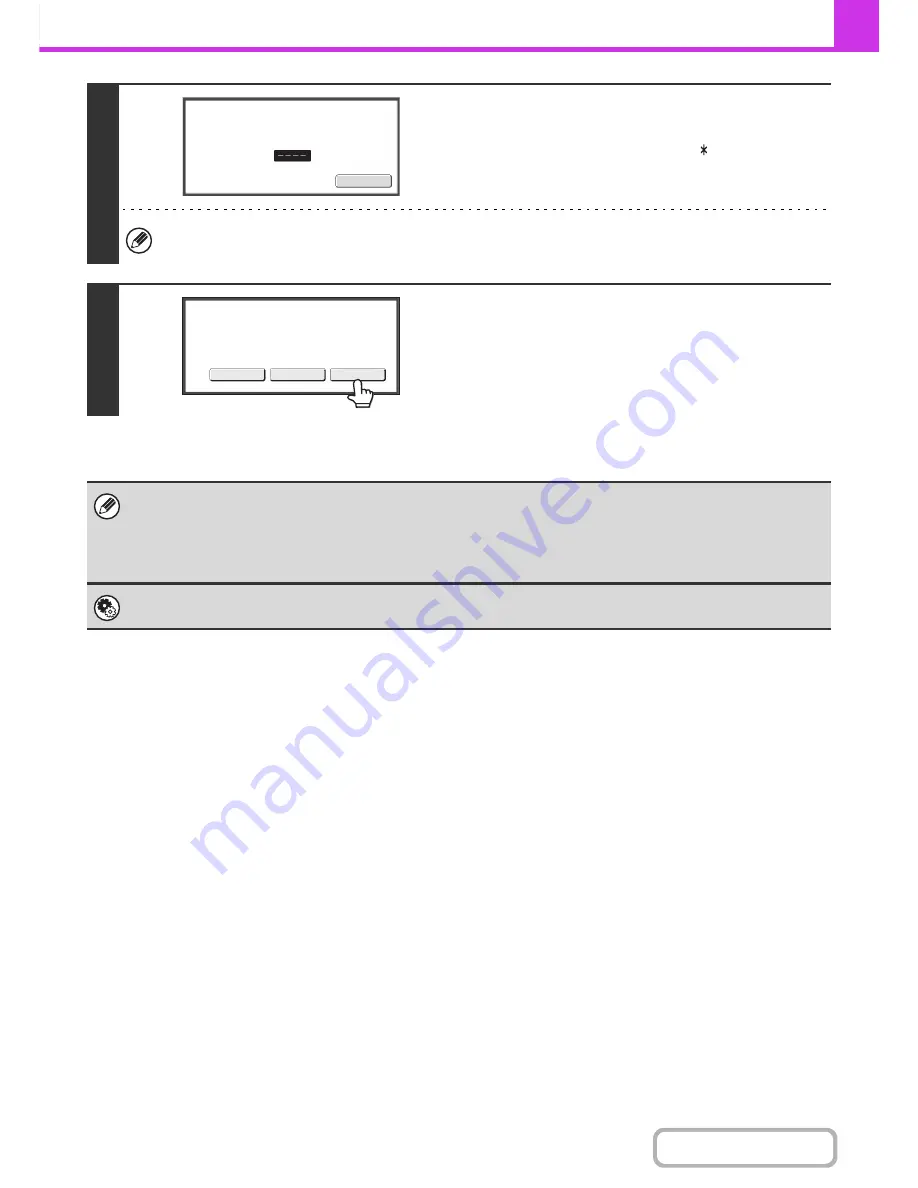
Enter the print passcode with the
numeric keys.
As each digit is entered, "–" changes to " ".
Take care to enter the correct print passcode. If you make a mistake, a message will appear and you will return to the
entry screen. You can touch the [Cancel] key to return to step 4.
6
Touch the [Image Check] key.
The content of the document can be viewed in the image check
screen. For information on the image check screen, see
"
IMAGE CHECK SCREEN
" (page 4-65).
The [Image Check] function requires the hard disk drive.
To print the document, touch the [Print] key.
• The confidential fax is automatically given priority in the print job queue.
• The fax is automatically cleared from the memory box after printing.
•
If you forget the print passcode...
There is no way to check a forgotten passcode on the machine. Take care not to forget the passcode. In the event that you
forget the passcode or need to verify the passcode, contact your dealer or nearest SHARP Service Department.
System Settings (Administrator): Transaction Report Print Select Setting
This setting can be used to have a transaction report printed automatically when an F-code confidential fax is received.
Cancel
Enter
PIN
via
the
10
-
key.
Image
Check
Cancel
Press
[
Image
Check
]
to
check
data.
Press
[
]
to
output
data.
Содержание MX-M264N
Страница 6: ...Make a copy on this type of paper Envelopes and other special media Tab Paper Transparency film ...
Страница 8: ...Assemble output into a pamphlet Create a stapled pamphlet Staple output Create a blank margin ...
Страница 11: ...Conserve Print on both sides of the paper Print multiple pages on one side of the paper ...
Страница 34: ...Search for a file abc Search for a file using a keyword Search by checking the contents of files ...
Страница 35: ...Organize my files Delete a file Delete all files Periodically delete files Change the folder ...
Страница 256: ...3 19 PRINTER Contents 4 Click the Print button Printing begins ...
Страница 264: ...3 27 PRINTER Contents 1 Select Layout 2 Select Long edged binding or Short edged binding Macintosh 1 2 ...