MX-5111N MX-FN18 (SADDLE STITCH FINISHER) 15 – 3
5)
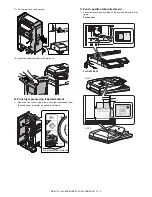
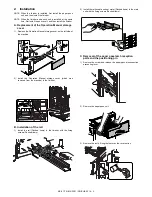
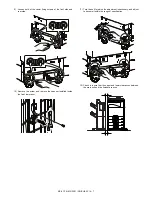
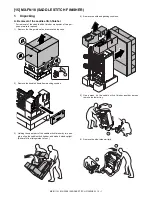
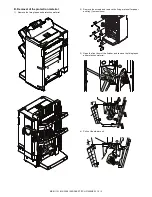
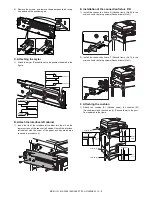
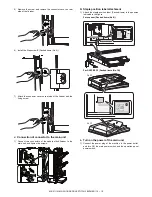
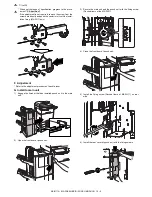
Remove the screw, and remove the fixing material of the sta-
pler unit.
6)
Replace the stapler unit to the original position, and close the
front door.
7)
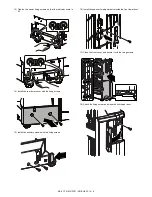
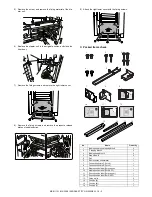
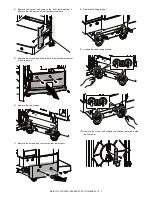
Remove the fixing screws, and remove the right lower cover.
8)
Remove the fixing screws, and remove the pressure release
plates of saddle section.
9)
Attach the right lower cover with the fixing screws.
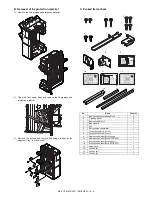
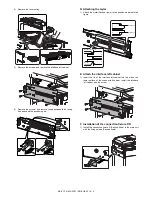
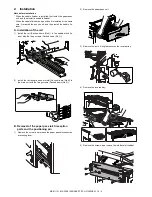
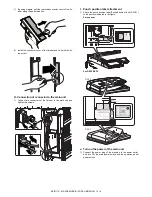
C. Packed items check
No.
Name
Quantity
1
Binding head round tapping M4x8
2
2
IT tapping M4x20
2
3
Binding head M4x12
4
4
Step screw B
2
5
Rail
1
6
Rail reception sheet metal
1
7
Connection fixture F (for x4)
1
8
Connection fixture R (for x4)
1
9
Staple position label (For scanner)
1
10
Staple position label (For DSPF)
1
11
Punch position label (For scanner)
1
12
Punch position label (For DSPF)
1
13
Guide mylar
2
14
Cushion (S)
1
15
Cushion (M)
1
16
Cushion (L)
1
1
2
3
6
4
5
7
8
9
11
12
10
X4
14
13
16
15

