23
English
Adjusting the screen display
(when using a digital signal)
Manual screen adjustment
Adjustments can be made using the On Screen
Display (OSD) Menu provided.
1. Display an image that makes the entire screen
very bright. If using Windows, you can open and
use the Adjustment Pattern on the accompanying
Utility Disk. (p. 19)
2. Press the MENU button.
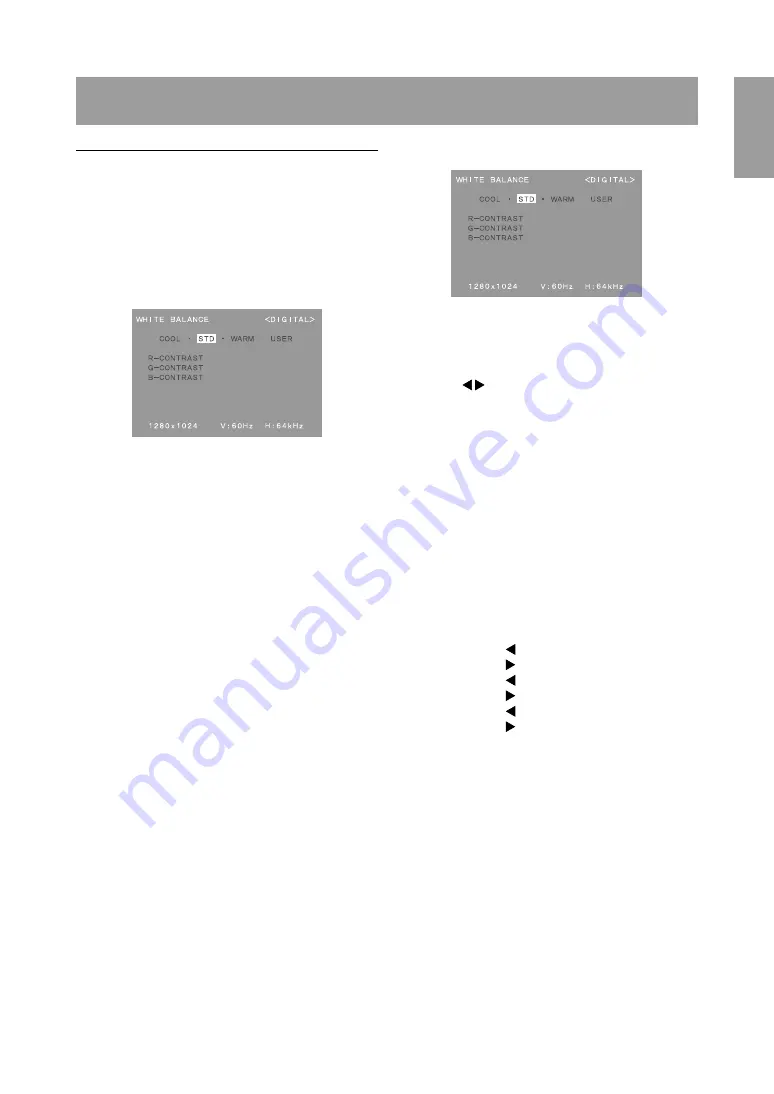
The WHITE BALANCE Menu will be displayed.
At this point relevant menu options can be
adjusted.
Each time the MENU button is pressed the next
menu is selected. (WHITE BALANCE
→
MODE
SELECT
→
OSD Menu disappears)
Notes:
-
The OSD Menu automatically disappears
approximately 30 seconds after the last
command.
-
This explanation is based on use of the
Adjustment Pattern (for Windows) to make
adjustments
WHITE BALANCE Menu
Notes:
-
On settings other than [STD] not all graduations
can be displayed. To display all graduations, set
to [STD].
-
Use the buttons to select [COOL], [·], [STD],
[·], [WARM] or [USER].
-
Selecting USER will display the setting values for
[R-CONTRAST], [G-CONTRAST] and [B-
CONTRAST], in order to make fine adjustments.
-
Use the SELECT button to select
[R-CONTRAST], [G-CONTRAST] and
[B-CONTRAST].
-
To go to the next menu:
MENU button
COOL . . . Color tone bluer than standard
• . . . . . . Color tone slightly bluer than standard
STD . . . . . Color tone standard setting
• . . . . . . Color tone slightly redder than standard
WARM . . . Color tone redder than standard
USER
R-CONTRAST . . . button for blue-green
button for red
G-CONTRAST . . button for purple
button for green
B-CONTRAST . . . button for yellow
button for blue
http://www.usersmanualguide.com/


