


29
KB-3411JS
KB-3411JK
KB-3411JW
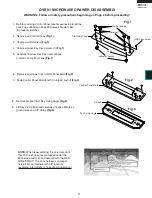
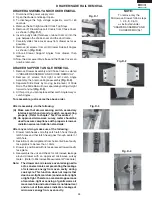
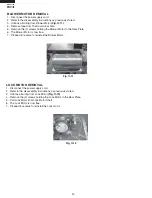
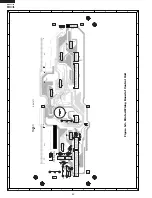
OVEN BAKE ELEMENT REMOVAL
1. Disconnect the power supply cord.
2. Refer to the disassembly instructions as previously stated.
3. Disconnect the wires by removing (2) nuts from element
(Fig. O-5)
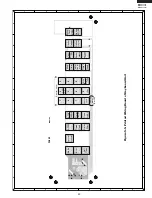
4. Remove the (2) screws holding the element from inside the oven
(Fig. O-6)
.
5. Pull the Element into the oven.
6. Proceed in reverse to reinstall the Bake Element.
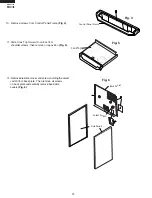
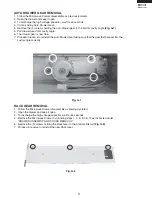
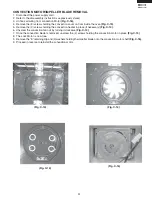
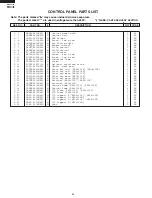
OVEN BROIL ELEMENT REMOVAL
1. Disconnect the power supply cord.
2. Refer to the disassembly instructions as previously stated.
3. Disconnect the wires by removing (2) nuts from element
(Fig. O-7)
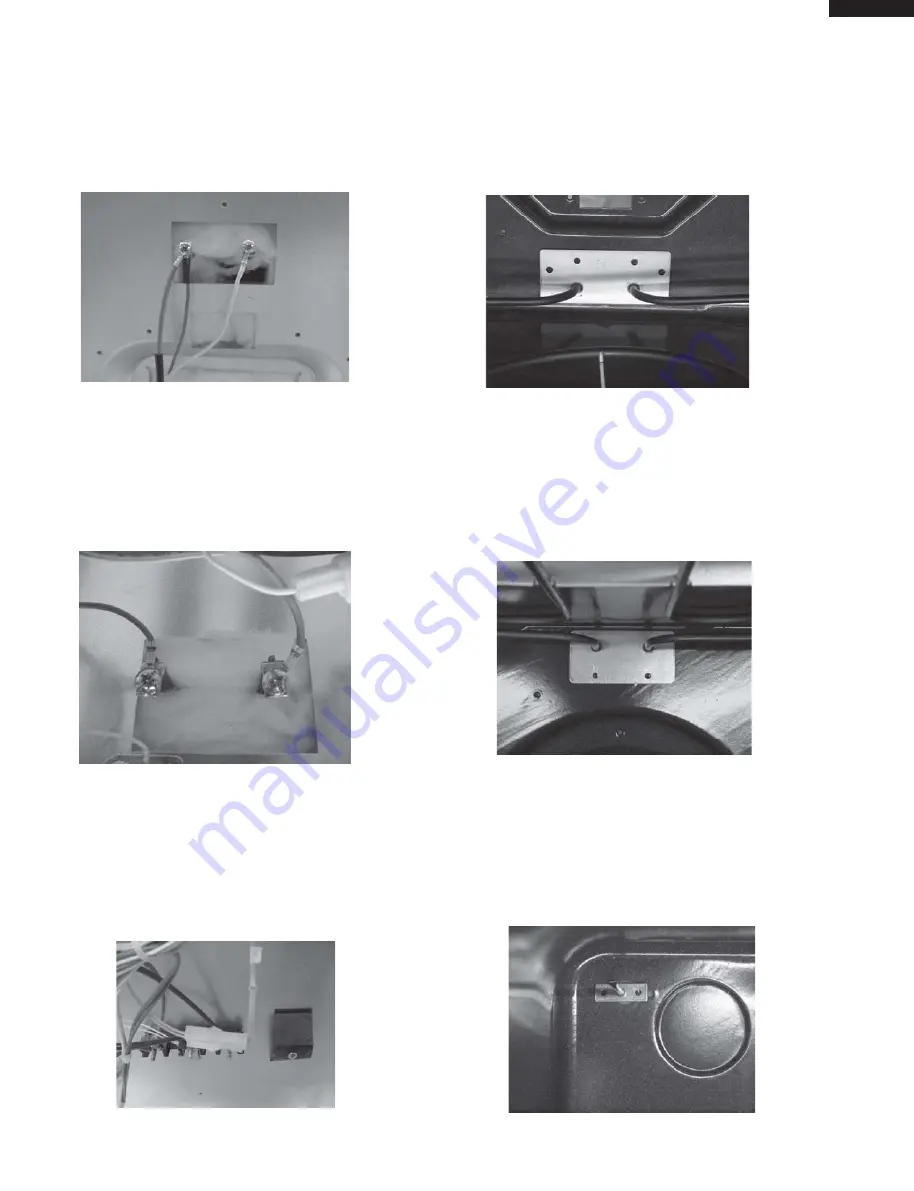
4. Remove the (2) screws holding the element from inside the oven
(Fig. O-8)
.
5. Pull the Element into the oven.
6. Proceed in reverse to reinstall the Broil Element.
Fig. O-5
Fig. O-7
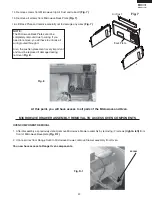
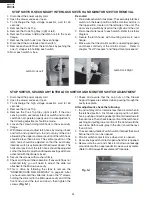
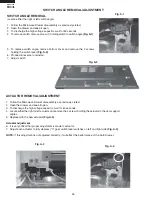
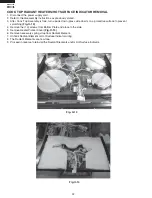
THERMISTOR REMOVAL
1. Disconnect the power supply cord.
2. Refer to the disassembly instructions as previously stated.
3. Unhook rear Molex wiring from Thermistor
(Fig. O-9)
4. Remove tape from Thermistor rear hole.
5. Remove the (2) screws holding the Thermistor from inside the oven
(Fig. O-10)
.
6. Pull the Thermistor into the oven.
7. Proceed in reverse to reinstall the Thermistor.
Fig. O-6
Fig. O-8
Fig. O-9
Fig. O-10
Содержание KB-3411JK
Страница 6: ...4 KB 3411JS KB 3411JK KB 3411JW NOTES ...
Страница 13: ...11 KB 3411JS KB 3411JK KB 3411JW KB 3411JW ...
Страница 59: ...57 KB 3411JS KB 3411JK KB 3411JW NOTES ...


