58
5
Enter the same keycode in “Re-
confi rm”.
To cancel the keycode that you have
already set
Press
R
on the projector for four times in
steps 4 and 5 above.
When the System Lock is set
When System Lock is set, the keycode input
screen appears after the power is turned on.
When it appears, enter the right keycode to
start projection.
Input screen for keycode
System Lock
– – – –
•
•
Note
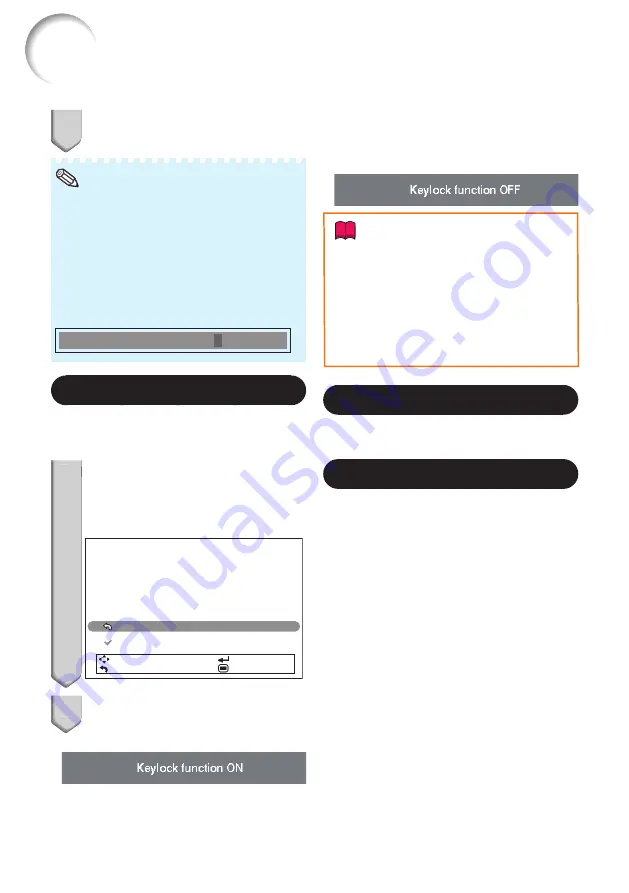
Keylock Function
Use this function to lock the operation buttons
on the projector.
Locking the Operation Buttons
1
Hold
down
ENTER
on the
projector for about 5 seconds
while the projector is being
turned on.
The Keylock function screen is displayed.
Use this function to lock the operation buttons
on the projector.
(Except STANDBY/ON button)
Note: You can release the keylock by holding
down ENTER on the projector for about 5 seconds.
Return
On
SEL./ADJ.
RETURN
ENTER
END
2
Select “On”, then press
ENTER
.
On-screen display
The Keylock function does not affect the
operation with the remote control buttons.
You cannot use the Keylock function while the
projector is warming up.
•
•
•
5
1
2
Taking the Keylock Off
Hold down
ENTER
on the projector for about
5 seconds.
On-screen display
Info
Even when Keylock function is set to “On”,
STANDBY/ON
on the projector can be used
to turn on and off the power.
Keylock cannot be set while the projector is:
displaying the “Menu” screens, in Standby
mode, warming up, changing input signals,
operating the Auto Sync function, in Freeze
mode or on the “System Lock” screen during
warming up.
•
•
8
DLP
®
Link
TM
See “Using 3D Viewing Mode” on page
for
details.
9
DLP
®
Link
TM
Invert
See “Using 3D Viewing Mode” on page
for
details.
Helpful Functions Set during Installation (“PRJ” menu)
(Continued)
Menu operation
n
Page
Содержание Conference Series
Страница 92: ......


