49
Useful
Featur
es
Adjusting the Color
Temperature
Selectable
items
Description
–2
0
+2
For lower color temperature for
warmer, reddish incandescent-like
images.
For higher color temperature for
cooler, bluish, fl uorescent-like images.
Values on “CLR Temp” are only for general
standard purposes.
“CLR Temp” cannot be set when “sRGB” is
selected.
•
•
Note
4
Adjusting the Colors
You can select the color of the projected
image to correct and then adjust it to the
desired color by setting “Hue”, “Saturation”,
“Value”, and “Effect”.
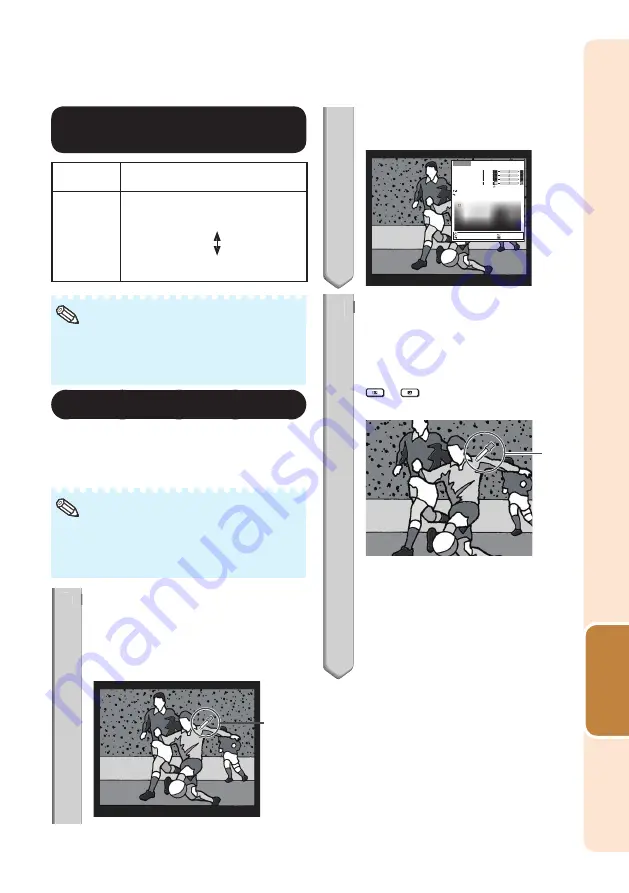
Before performing this adjustment, prepare
the image to be adjusted.
You can perform this adjustment easier in the
still image than in the moving image.
•
•
Note
1
Select “C.M.S.1” or “C.M.S.2”
(C.M.S.: Color Management
System), and press
ENTER
.
If there is no data for the stored corrected
color, the color selection screen and the
picker is displayed. (Go to step 2.)
Picker
•
1
If there is data for the stored corrected
color, the C.M.S. color adjustment screen
is displayed. (Go to step 3.)
C.M.S.1
Select Color
Hue
Saturation
Value
Effect
C.M.S.1
On
Reset
Return
SEL./ADJ.
RETURN
ENTER
END
0
0
0
0
2
Use the picker and select the
color of the projected image to
correct. The picker can be
operated by adjustment buttons
(
P
/
R
/
O
/
Q
) on the remote control.
By enlarging the projected image using
or
MAGNIFY
, more fi ne
adjustment can be performed.
Picker
By continuing to press the adjustment
buttons (
P
/
R
/
O
/
Q
), the picker moves
rapidly.
After selecting the color of the projected
image to correct, press
ENTER
. The
C.M.S. color adjustment screen is
displayed. (Go to step 3.)
•
•
•
2
Menu operation
n
Page
Содержание Conference Series
Страница 92: ......


