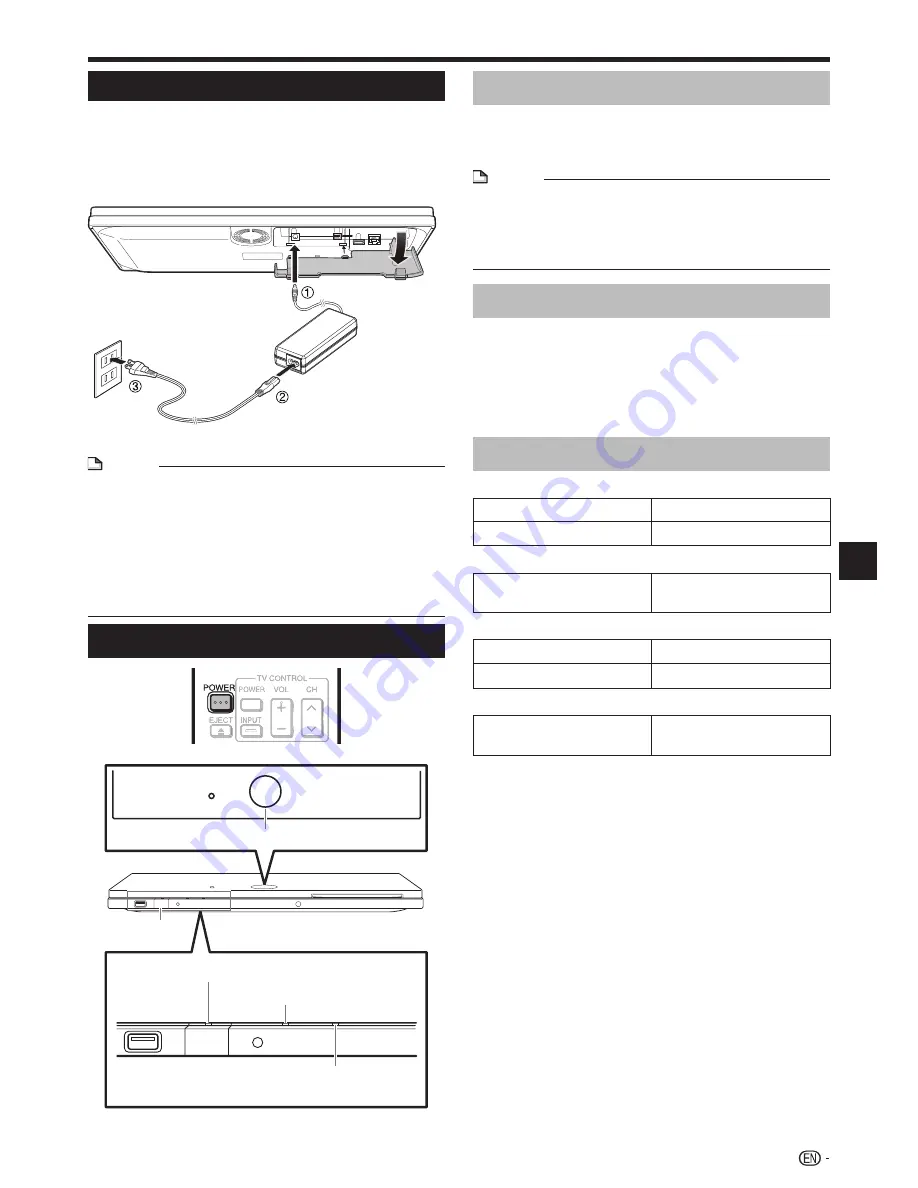
Connecting the AC adapter
Plug the AC adapter cord in to the DC IN
terminal on the rear of the Player.
Plug the supplied AC cord into the AC adapter.
Then, plug into an AC outlet.
NOTE
Place the Player close to the AC outlet, and keep the
power plug within reach.
TO PREVENT RISK OF ELECTRIC SHOCK, DO NOT
TOUCH THE UN-INSULATED PARTS OF ANY CABLES
WHILE THE AC CORD IS CONNECTED.
The AC adapter may become warm after long-time use.
This is normal and does not indicate malfunction.
If you are not going to use this Player for a long period of
time, be sure to remove the AC cord from the AC outlet.
•
•
•
•
1
2
3
Before Starting Playback
Turning the Power On
Turning the power on
Press
POWER
on the remote control or on the Player
to turn on the power of the Player.
The POWER indicator lights green.
NOTE
When you turn on this player for the first time after
purchase or when you turn on this player after you perform
“System Reset” (see page 42), the language setting screen
will be displayed, so please perform the language setting
(see step 4 of page 24).
•
Entering standby
Press
POWER
on the remote control or on the Player
to enter standby.
The POWER indicator lights red.
If you press
POWER
again immediately after entering
standby, the Player may not turn on. If this happens, wait
for 10 seconds or more and then turn on the power again.
Indicators on the Player
POWER (ON/STANDBY) indicator
Green on
Power on
Red on
Standby
AQUOS PURE MODE indicator
Green on
Output in AQUOS PURE
MODE (See page 25.)
BD/DVD/CD mode indicator
Blue on
Playing back
Blue blinks
Loading a disc/updating
3D indicator
Green on
Video signal output is 3D
images (See page 25).
•
•
•
23
Playback
POWER
BD/DVD/CD mode indicator
AQUOS PURE MODE indicator
POWER (ON/STANDBY) indicator
AC adapter
AC cord
3D indicator


