


TROUBLESHOOTING AND MAINTENANCE
62
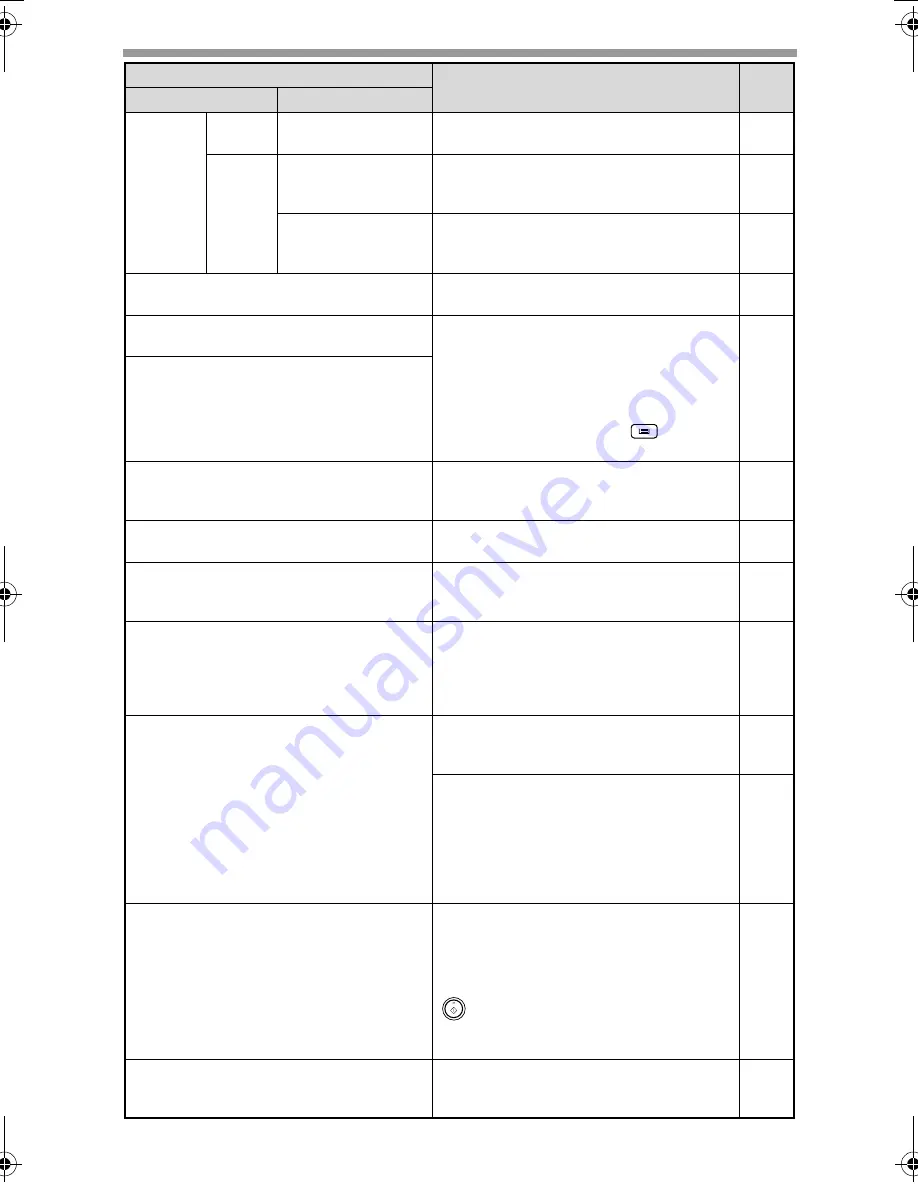
Error
indicator
Blinks
INSTALL A TONER
CARTRIDGE.
The toner cartridge is not installed
correctly. Reinstall the toner cartridge.
74
Steadily
lit
TONER
CARTRIDGE IS
NEAR EMPTY.
Replacement of toner cartridge will be
needed soon. Prepare a new cartridge.
74
MAINTENANCE
REQUIRED CALL
FOR SERVICE
Service by an authorised SHARP
service technician is required.
-
MEMORY FULL, PRESS START TO
RESUME.
Data is being held in memory. Print the
data or clear it from memory.
30
NO 2-SIDED COPY FROM BYPASS
TRAY.
Two sided printing or 2 IN 1 copying is
selected when the bypass tray is
already selected ,or the bypass tray is
selected when two-sided printing or 2
IN 1 copying is already selected.
The bypass tray cannot be used. Press
the [TRAY SELECT] key (
) to select
a paper tray.
26
31
NO 2IN1 COPY FROM
BYPASS TRAY.
NO 2IN1 COPY WITH MARGIN SHIFT.
2 IN 1 copy and margin shift cannot be
used in combination. Cancel the
function that was selected last.
31
34
COPY RATIO CAN NOT BE
CHANGED IN 2IN1.
Copy ratio can not be changed in 2 IN
1 copy.
25
31
THIS MENU IS NOT SELECTABLE
WITH DATA.
This appears if you attempt to change
a user program setting while a print job
is in progress.
54
NO XXXX SIZE TRAY
There is no paper for printing. Press
the [MODE SELECT] key to switch to
printer mode and follow the instructions
in the display.
("XXXX" indicates paper size)
-
CHECK SPF/RSPF.
START TO RESUME.
An original remains on the document
glass, or the original is too thick to
scan. Remove the original.
21
If the message is not cleared when
there is no original on the document
glass, the underside of the original
cover/RSPF is dirty. Clean the
underside of the original cover/RSPF.
(especially areas where black lines
appear.)
78
LOAD XXXX PAPER INTO TRAY<*>.
Printing is not possible if the paper size
setting is different from the size of
paper loaded in the tray. Load the
same size of paper as the paper size
setting and then press the [START] key
(
). Printing will begin.
("XXXX" indicates paper size. The tray
is indicated in <*>.)
16
NO PC COMMUNICATION; CHECK
CABLE.
The machine is not correctly connected
to the computer. Check the cable
(when using the scanner function).
42
Indication
Cause and remedy
Page
Lamp indicator
Display
!AR-M201.book 62 ページ 2008年5月22日 木曜日 午後1時41分
Содержание AR-M201
Страница 93: ...MEMO ...
Страница 94: ...MEMO ...