


7
8
Channel menu (Continued)
Colour system
Select the optimum colour system to receive. (PAL,
SECAM, NTSC 3.58, NTSC 4.43, PAL 60).
Sound system
Select the optimum sound system (Broadcasting
system) to receive. (BG, DK, I, M).
Fine-tune
Start searching from current channel.
• Instead of pressing
c
/
d
to adjust the frequency, you
can set by directly entering the frequency number of the
channel with
0 — 9
.
Search
Tune the frequency of the stored channel to your
desired position.
• Adjust while checking the background picture as a
reference.
H
Programme edit
Use this menu to set up a channel individually.
1
Repeat steps 1 and 2 in
Auto tuning
.
2
Press
a
/
b
to select “Programme edit”, and
then press
ENTER
.
3
If you have already set the password, enter it
here.
• See page 9 for setting a password.
4
Press
a
/
b
to select the channel you want to
edit, and then press
R, G, Y, B
on the remote
control if necessary or press
RETURN
to MENU
screen.
Delete
Channels can be erased individually.
Press
R
to erase the selected channel.
Label
To enter the name of the channel. Maximum 5
alphanumeric can be input. Press
G
to start labelling.
• Press
a
/
b
: To select a desired alphanumeric.
• Press
c
/
d
: To move to the desired alphanumeric
position.
Press
ENTER
to save.
Move
Channel positions can be moved freely.
Press
Y
to select the channel you want to move.
Press
a
/
b
to move it to the desired position, and
then press
Y
again or
ENTER
to save.
Skip
Channels with “Skip” set to “ ” are passed over
when using
CH
r
/
s
even if selected while
watching the image from the TV.
Press
B
to skip the selected channel.
Press
B
again to cancel the skip.
Initial auto installation
When the TV powers on for the first time after
purchase, the initial auto installation wizard appears.
Follow the menus and make the necessary settings
one after another.
1
Press
POWER
to turn on the TV.
2
The language screen appears, and then press
ENTER
.
Press
c
/
d
to select “Home” or “Store”, and
then press
ENTER
.
Home:
• “Standard” will be the default value for the “Picture
mode” setting.
Store:
• “Dynamic” will be the default value for the “Picture
mode” setting. If the “Picture mode” is changed,
the TV will automatically switch back to “Dynamic”
when there is no further change to TV setting for
30 minutes.
• The confi rmation screen appears only when selecting
“Store”.
Press
c
/
d
to select “Yes” or “No”.
• To change the Store mode to Home mode, please
refer to page 11 to reset the unit.
• Auto installation will be executed.
• You do not need to do anything during the auto
search.
NOTE
• You can set initial auto installation manually in the
“First time installation” on the “Setup” menu screen.
(See page 11.)
Selecting a preset Picture mode
“Picture mode” gives you several viewing options to
choose from to best match the system environment,
which can vary due to factors like room-brightness,
type of programme watched or the type of image
input from external equipment.
1
Press
P-MODE
.
2
Each time you press
P-MODE
, the mode
changes.
• You can also switch the mode in the “Picture mode”
menu on the “Picture” menu screen.
Selected item
Description
Dynamic
For a clear-cut image emphasising high
contrast for sports viewing.
Standard
For a highly defi ned image in a normally
bright room.
Mild
For a softer picture brightness.
Personal
Allows the user to customise settings as
desired. You can set the mode for each
input source.
NOTE
• You can select a different Picture mode item for each input
mode. (For example, select Standard for TV input and
Dynamic for AV input.)
Menu operation
1
Press
MENU
and the MENU screen displays.
2
Press
c
/
d
to select the desired menu.
(Channel, Picture, Sound, Time, Lock, Setup)
3
Press
a
/
b
to select the desired menu item.
Press
ENTER
to proceed if necessary.
4
Press
a
/
b
or
c
/
d
to select the desired item
or adjust the item to the desired level. Press
ENTER
if necessary.
Channel menu
Channel
Auto tuning
Manual tuning
Programme edit
H
Auto tuning
You can run auto tuning again, even after setting up
the preset channels.
1
Press
MENU
and the MENU screen displays.
2
Press
c
/
d
to select “
” (Channel).
3
Press
a
/
b
to select “Auto tuning”, and then
press
ENTER
.
4
If you have already set the password, enter it
here.
• See page 9 for setting a password.
5
You do not need to do anything during the auto
search. Press
MENU
to exit.
H
Manual tuning
You can set some channel items manually.
1
Repeat steps 1 and 2 in
Auto tuning
.
2
Press
a
/
b
to select “Manual tuning”, and then
press
ENTER
.
3
If you have already set the password, enter it
here.
• See page 9 for setting a password.
4
Press
a
/
b
to select your desired item, and
then press
c
/
d
to adjust the settings.
Current CH
Select the channel you want to edit.
• Selected channel will be automatically refl ected in the
background.
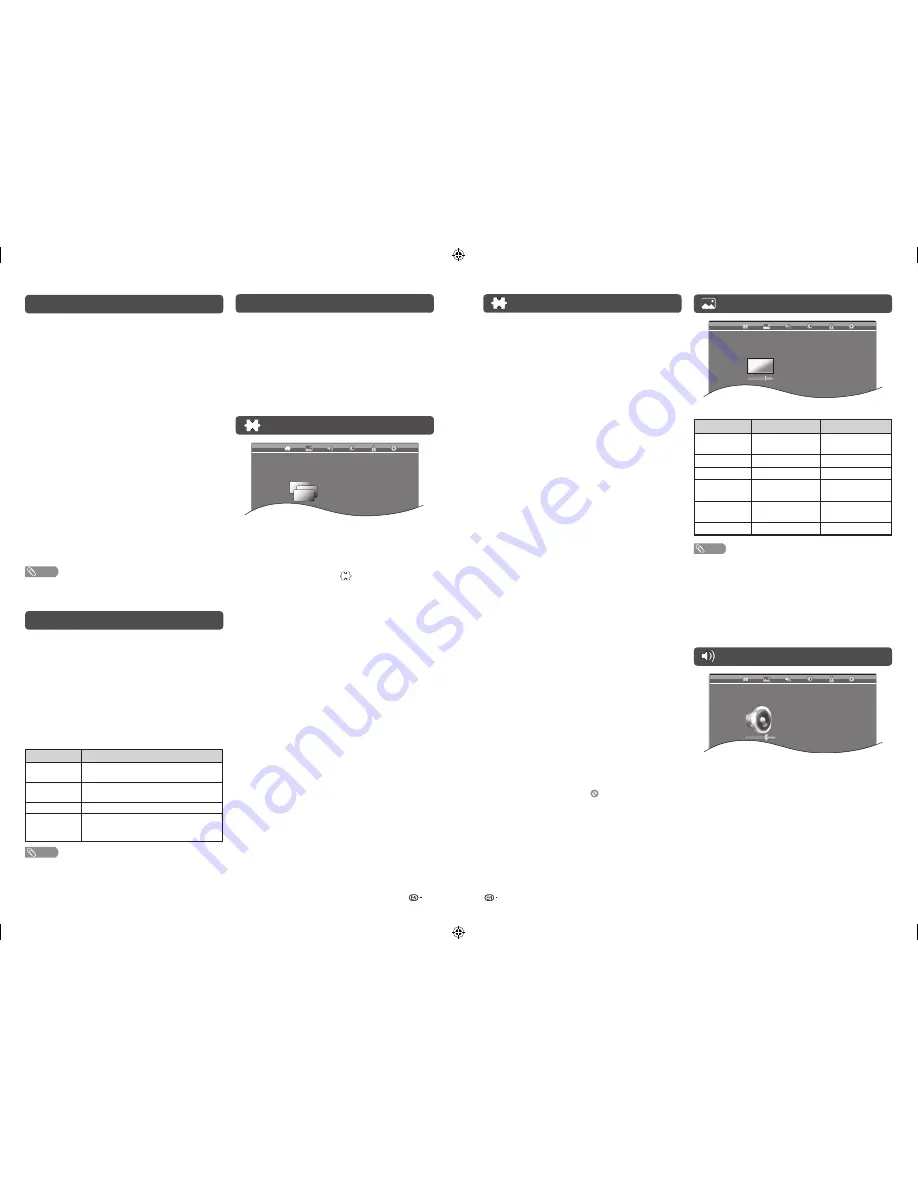
Picture menu
Picture
Picture mode
Backlight
Contrast
Brightness
Colour
Tint
Sharpness
Active contrast
Noise reduction
Standard
+8
30
0
+7
0
+2
Off
Middle
H
Picture adjustments
Selected item
c
button
d
button
Backlight
The screen dims
The screen
brightens
Contrast
For less contrast
For more contrast
Brightness
For less brightness For more brightness
Colour
For less colour
intensity
For more colour
intensity
Tint
Skin tones become
reddish
Skin tones become
greenish
Sharpness
For less sharpness For more sharpness
NOTE
• Picture adjustments cannot be changed during “Dynamic”,
“Standard” or “Mild” mode.
H
Active contrast
Automatically adjusts the contrast of an image
according to the scene. (On, Off)
H
Noise reduction
Reduces noise on screen and produces a clearer
video image. (Off, Low, Middle, High, Auto)
Sound menu
Sound
Sound mode
Treble
Bass
Balance
Auto volume
Output volume select
Surround
Standard
0
0
0
Off
Fixed
Off
H
Sound mode
This function gives you several sound options to
choose from to best match the type of programme
watched. (Standard, Movie, Music, Personal,
Dynamic)
LC-32LE550M _EN767.indd 4
LC-32LE550M _EN767.indd 4
12/5/2012 10:12:57 AM
12/5/2012 10:12:57 AM