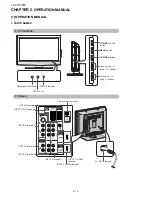
LC-37A37M
2 – 2
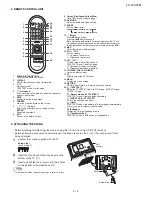
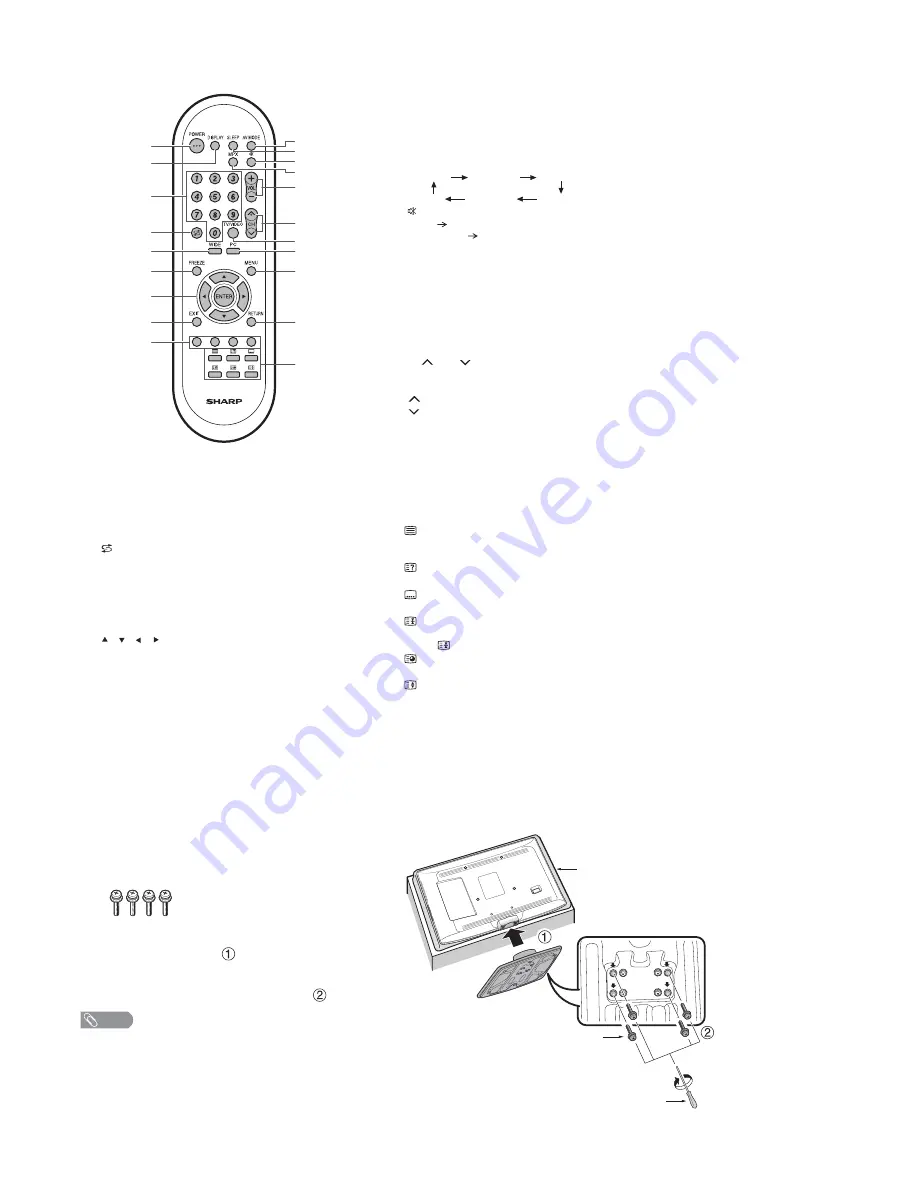
2. REMOTE CONTROL UNIT
3. ATTACHING THE STAND
1
2
3
4
6
8
9
7
5
11
12
14
13
15
17
16
18
19
10
20
1
POWER (STANDBY/ON)
To switch the power on and off.
2
DISPLAY
Display the channel or input information.
3
0 – 9
Set the channel.
TELETEXT mode: Set the page.
4
(Flashback)
Press to return to the previous selected channel or
external input mode.
5
WIDE
Change the wide image mode.
6
FREEZE
Freeze a motion picture on the screen.
7
/
/
/
(Cursor)
Select a desired item on the setting screen.
ENTER
Execute a command.
8
EXIT
Return to the default screen.
9
Colour (Red/Green/Yellow/Blue)
TELETEXT mode: Select a page.
10 AV MODE
Select an audio and video setting.
11 SLEEP
Set the Sleep timer.
0hr.30min.
1hr.00min.
2hr.30min.
1hr.30min.
2hr.00min.
Off
12
(Mute)
Press
Mutes sound.
Press again
Restores sound.
Mute will be cancelled after 30 minutes. However, the TV will
not suddenly output loud sound as the volume level will be set
to 0 automatically. Increase the volume level by pressing
VOL
+.
13 MPX
Select the sound multiplex mode.
14 VOL
+
/VOL
-
Set the volume.
( + ) Increase the volume.
( - ) Decrease the volume.
15 CH
/C H
TV input mode: Select the channel.
TELETEXT mode: Select the page.
(
) Increase the channel number.
(
) Decrease the channel number.
16 TV/VIDEO (INPUT SOURCE)
Select an input source.
17 PC
Directly select the PC terminal.
18 MENU
Display the menu screen.
19 RETURN
MENU mode: Return to the previous menu screen.
20
(TELETEXT)
Select the TELETEXT mode. (all TV image, all TEXT image,
TV/TEXT image)
(Reveal hidden for TELETEXT)
TELETEXT mode: Display hidden characters.
(SUBTITLE for TELETEXT)
To turn the subtitles on and off.
(Hold
)
TELETEXT mode: Stop updating Teletext pages automatically.
Press
again to release the hold mode.
(Subpage)
Display the Teletext subpage directly.
(Top/Bottom/Full)
TELETEXT mode: Set the area of magnification.
• Before attaching (or detaching) the stand, unplug the AC cord from the AC INPUT terminal.
• Before performing work spread cushioning over the base area to lay the TV on. This will prevent it from
being damaged.
1
Confirm the screws supplied with the TV.
2
Insert the stand base to the stand post on the
bottom of the TV. (
)
3
Insert and tighten the 4 screws into the 4 holes
on the bottom of the stand base. (
)
NOTE
• To detach the stand, perform the steps in reverse order.
Screw driver
Screw
Soft
cushion
Screws (x4)
(used in step 3)
Содержание Aquos LC-37A37M
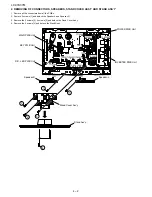
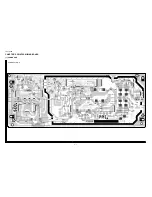
Страница 13: ...LC 37A37M 5 1 LC37A37M Service Manual CHAPTER 5 OVERALL WIRING DIAGRAM 1 OVERALL WIRING DIAGRAM ...
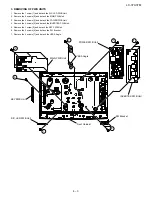
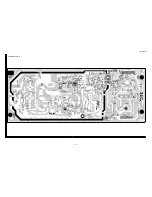
Страница 15: ...LC 37A37M 6 2 POWER Unit Side B 1 2 3 4 5 6 7 8 9 A B C D E F G H I J 10 11 12 13 14 15 16 17 18 19 20 21 ...
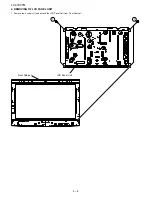
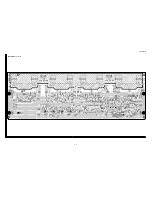
Страница 19: ...LC 37A37M 6 6 INVERTER Unit Side B 1 2 3 4 5 6 7 8 9 A B C D E F G H I J 10 11 12 13 14 15 16 17 18 19 20 21 ...
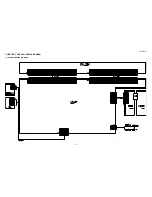
Страница 24: ...LC 37A37M 7 4 ...


