


LC-37A37M
4 – 3
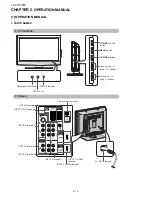
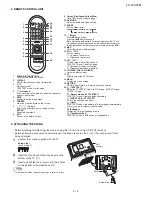
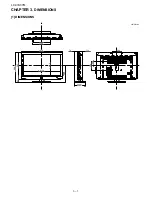
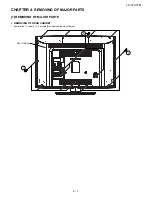
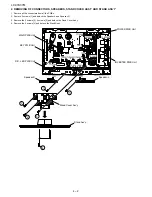
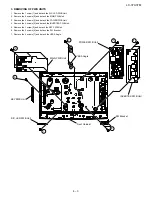
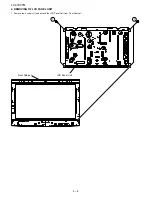
3. REMOVING OF PWB UNITS
1. Remove the 1 screw [1] and detach the R/C, LED PWB Unit.
2. Remove the 6 screws [2] and detach the MAIN PWB Unit.
3. Remove the 4 screws [3] and detach the POWER PWB Unit.
4. Remove the 4 screws [4] and detach the INVERTER PWB Unit.
5. Remove the 1 screw [5] and detach the KEY PWB Unit.
6. Remove the 2 screws [6] and detach the SW Bracket.
7. Remove the 4 screws [7] and detach the VESA Angle.
1
6
3
4
2
KEY PWB Unit
Front Cabinet
MAIN PWB Unit
VESA Angle
POWER PWB Unit
INVERTER PWB Unit
SW Bracket
R/C, LED PWB Unit
7
5
Содержание Aquos LC-37A37M
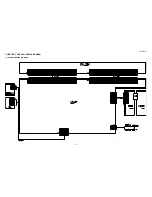
Страница 13: ...LC 37A37M 5 1 LC37A37M Service Manual CHAPTER 5 OVERALL WIRING DIAGRAM 1 OVERALL WIRING DIAGRAM ...
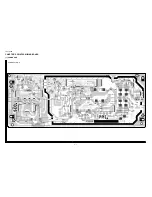
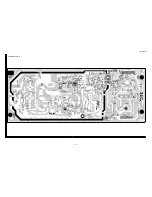
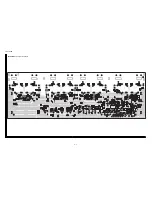
Страница 15: ...LC 37A37M 6 2 POWER Unit Side B 1 2 3 4 5 6 7 8 9 A B C D E F G H I J 10 11 12 13 14 15 16 17 18 19 20 21 ...
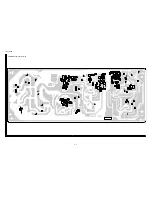
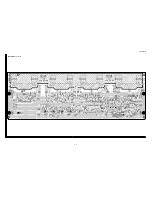
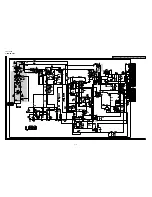
Страница 19: ...LC 37A37M 6 6 INVERTER Unit Side B 1 2 3 4 5 6 7 8 9 A B C D E F G H I J 10 11 12 13 14 15 16 17 18 19 20 21 ...
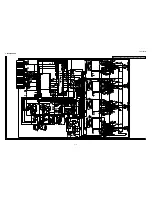
Страница 24: ...LC 37A37M 7 4 ...


