AQUOS LINK
Controlling HDMI devices using AQUOS LINK
What is AQUOS LINK?
Using the HDMI CEC (Consumer Electronics Control) protocol, with AQUOS LINK you
can interactively operate compatible system devices (AV amplifier, DVD player/recorder,
Blu-ray player/recorder) using a single remote control unit.
NOTE
AQUOS LINK-compatible AQUOS AUDIO speaker system and AQUOS Recorder are scheduled
to be on sale after the release of this TV (as of June 2008).
What you can do with AQUOS LINK
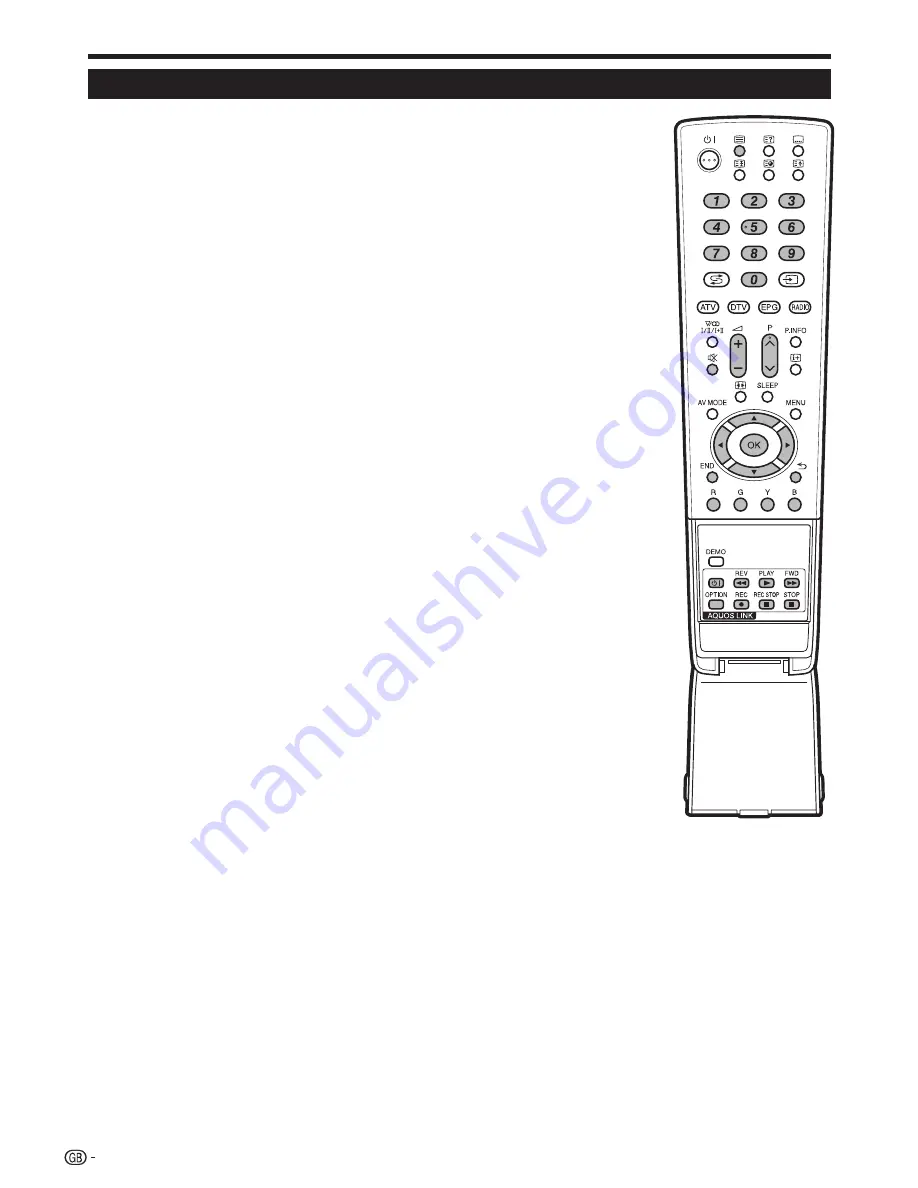
One Touch Recording (DTV only)
You do not have to search for the remote control unit of your recording device. Press the
REC
E
or
REC STOP
H
buttons inside the flip cover to start/stop recording what you
see on the recorder.
One Touch Play
When the TV is in standby mode, it will automatically turn on and play back the image
from the HDMI source.
Single remote control operation
The AQUOS LINK automatically recognises the connected HDMI device and you can
control the TV and the devices as if using a universal remote control unit.
Operating Title list of external devices
In addition to displaying the TV’s own Timer list (Page 12), you can also call up the
external player’s Top menu or AQUOS BD Player’s/AQUOS Recorder’s Title list provided
that the devices support AQUOS LINK.
Multiple control of HDMI devices
You can select which HDMI device to operate using the
OPTION
button.
NOTE
When you use AQUOS LINK, make sure to use a certified HDMI cable.
Point the remote control unit toward the TV, not to the connected HDMI device.
Video noise may occur depending on the type of HDMI cable used. Make sure to use a certified
HDMI cable.
Up to three HDMI recording devices, one AV amplifier and two players can be connected using
this system.
These operations affect the HDMI device selected as the current external source. If the device
does not operate, turn on the device and select the appropriate external source using
b
.
When you insert/remove HDMI cables or change connections, turn on all connected HDMI
devices before turning on the TV. Confirm that picture and audio are correctly output by selecting
“EXT4”, “EXT5” or “EXT6” from the “INPUT SOURCE” menu.
•
✔
✔
✔
✔
✔
•
•
•
•
•
•
20


