14
Dimension: 140 X 215 mm
1
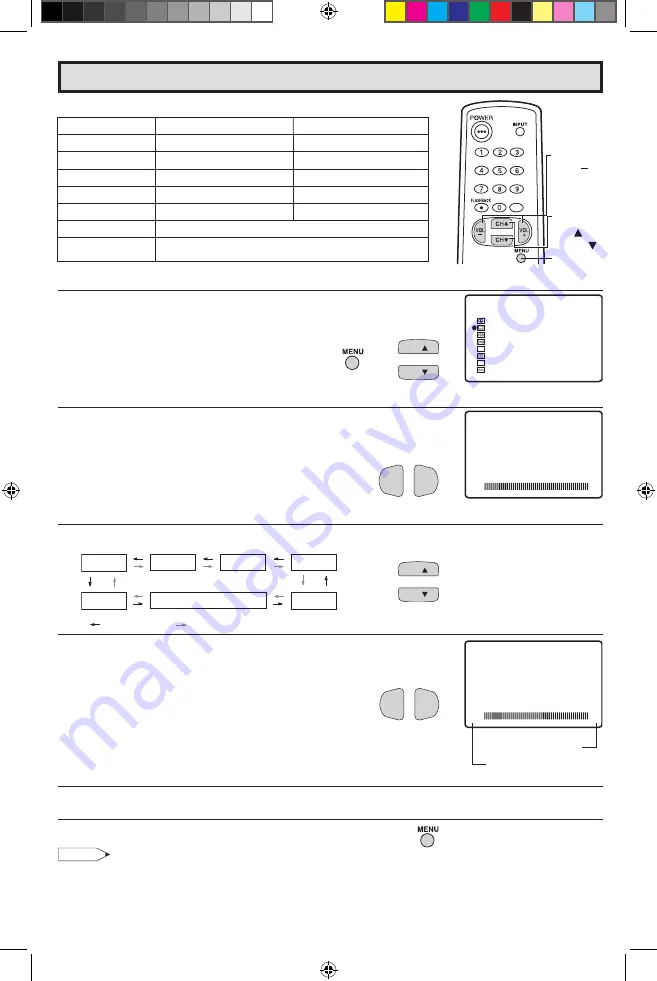
Press
MENU
to access the MAIN MENU screen.
2
Press
CH
a
/
s
to move the “
E
” mark to “VIDEO ADJUST”.
3
Press
VOL
k
/
l
to access the PICTURE adjust screen.
• The word “DIGITAL” will appear to show viewing channel is a
digital channel.
4
Press
CH
a
/
s
to select the desired adjustment item. (Refer to the diagram below.)
5
Press
VOL
k
/
l
to adjust the setting.
6
Repeat steps
4
to
5
to adjust other settings.
7
Press
MENU
to exit.
Note:
• VIDEO ADJUST setting, once set, is shared among AIR/CABLE, INPUT 1, INPUT 2, and INPUT 3
modes.
• VIDEO ADJUST setting for INPUT 3 when used as COMPONENT can be set independently.
• VIDEO ADJUST setting for Digital Channel can be set independently.
(PICTURE adjust screen)
(MAIN MENU screen)
Video Adjust
PICTURE
TINT
COLOR
SHARP
COLOR TEMP.
RESET
: CH
s
: CH
a
BRIGHT
P I CTURE
50
D I G I TAL
P I CTURE
50
D I G I TAL
VOL
k
increases contrast
VOL
l
decreases contrast
SLEEP T I MER
AUD I O SEL ECT
CLOSED CAPT I ON
PARENT CONTROL
ENERGY
SET UP
SAVE
V I DEO ADJ UST
MENU
D I G I TAL AUD I O
CC
ES
VOLUME
(
��
)/(
�
)
CHANNEL
UP ( )/
DOWN ( )
MENU
�����
VOL
—
VOL
+
CH
CH
VOL
—
VOL
+
Selected item
VOL
k
button
VOL
l
button
PICTURE
To increase contrast
To decrease contrast
TINT
To make skin tones greenish
To make skin tones purplish
COLOR
To increase color intensity
To decrease color intensity
BRIGHT
To increase brightness
To decrease brightness
SHARP
To increase sharpness
To decrease sharpness
COLOR TEMP.
To choose a LOW, ML, MH or HIGH color tone.
RESET
To return all adjustments to factory preset levels.
CH
CH
→
12-14.indd 14
11/24/05 8:45:20 AM


