


12
IR Remote Control
Users can remote control the device within the range of 5 meters. Please
refer to the following for more details.
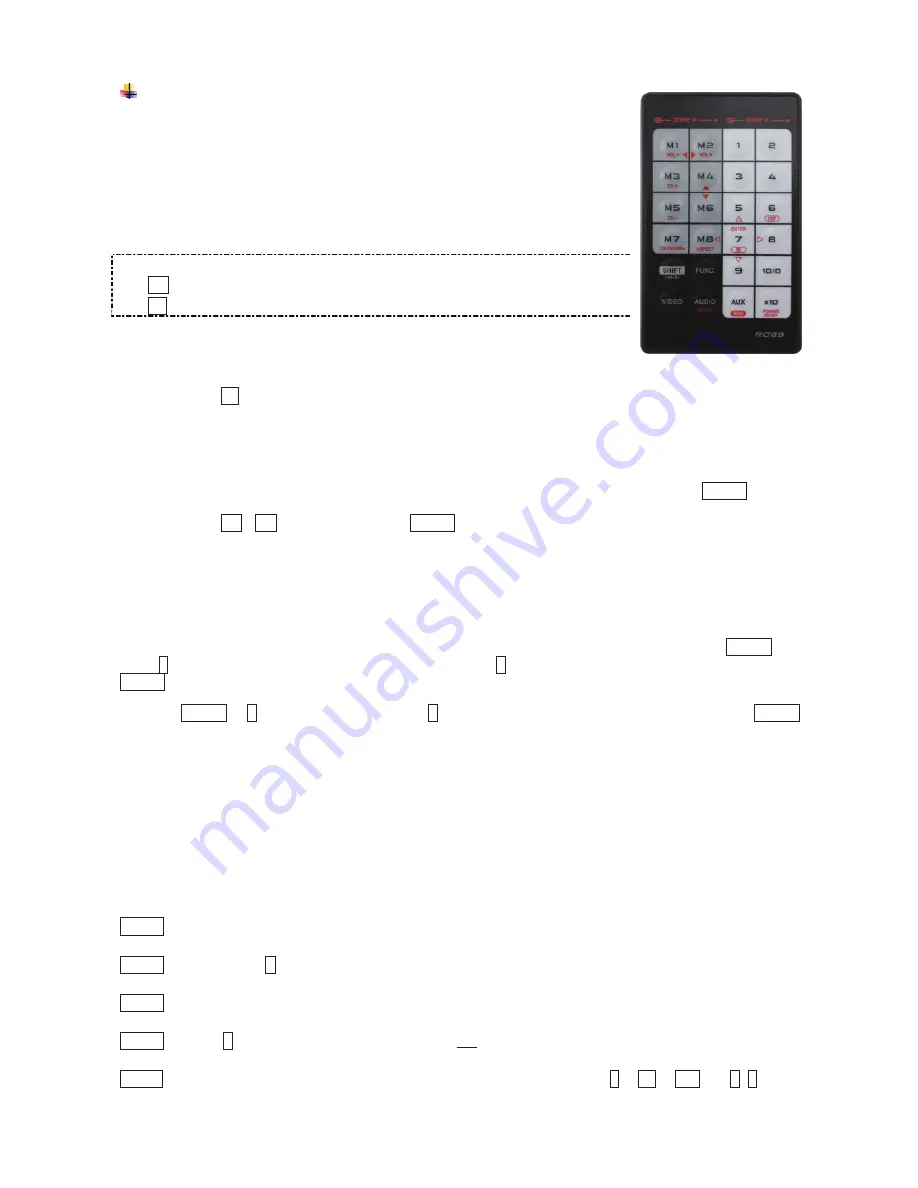
NOTE: The numeric keys on the left of the controller represents each output on
the rear panel (marked in dark grey area) and while the right stands for the input
displays (marked in light grey area). For other function keys, please refer to the
picture as shown on the right of this page.
Please note the following descriptions:
Mn (output/monitor): buttons M1 ~ M2 on the left side of remote controller
Sn (input/source): buttons 1 ~ 4 on the right side of remote controller
1. A/V Source Selection
For source 1-4, just press the related push button on the right side of the controller.
Tip: Press
Sn
(right)
: Select Source-n
2. Turn ON/OFF Remote Output Signal
To turn on or off remote output signal, you may press the output port first, and then press VIDEO.
Tip: Press M1
/
M
2
(left)
and then press VIDEO (toggle)
3. EQ Adjustment
To optimize video quality, users can adjust the video equalization (sharpness) for all video output ports
through push button configuration. Since 4 levels for EQ adjustment are provided, the output LED flashes
blue to indicate level 1-4 is selected and while it flashes red indicating level 5-8 selected. Press VIDEO and
press
4
(right)
to enter video adjustment mode. Next, press 4 repeatedly to adjust EQ level. And lastly press
VIDEO to exit the setting.
Tip: VIDEO
→
4
(right)
(enter this mode)
→
4
(right)
(press 1~8 times based on video quality)
→
VIDEO
4. Multi- Unit Application
Up to 16 units can share one remote controller. In order to avoid ambiguities in receiving commands
simultaneously, ID setting for each unit is strongly recommended.
4-1. ID Setting via IR Remote Controller
This function is designed to name the units via push buttons on the front panel and the remote controller.
Please follow the steps below.
Step 1
Power OFF the unit.
Step 2
Press and hold
F
on the panel of the unit.
Step 3
Power ON the unit.
Step 4
Release
F
RIGHT AFTER Status LED flashes red.
Step 5
IMMEDIATELY (within a second or two) press one of the numbers from
1
to
10
or
x10
and
1
~
6
on the


