DVR Setup
700-1014 R002
2–17
2.3.1. Connecting the DVR to the Laptop
To connect the DVR to the laptop:
1. Connect one end of the Ethernet cable to a network port on the laptop. Connect the
other end to a network port on the DVR.
2. The laptop uses Automatic Private IP Addressing (APIPA)
1
to select an IP address.
This process may take up to 90 seconds.
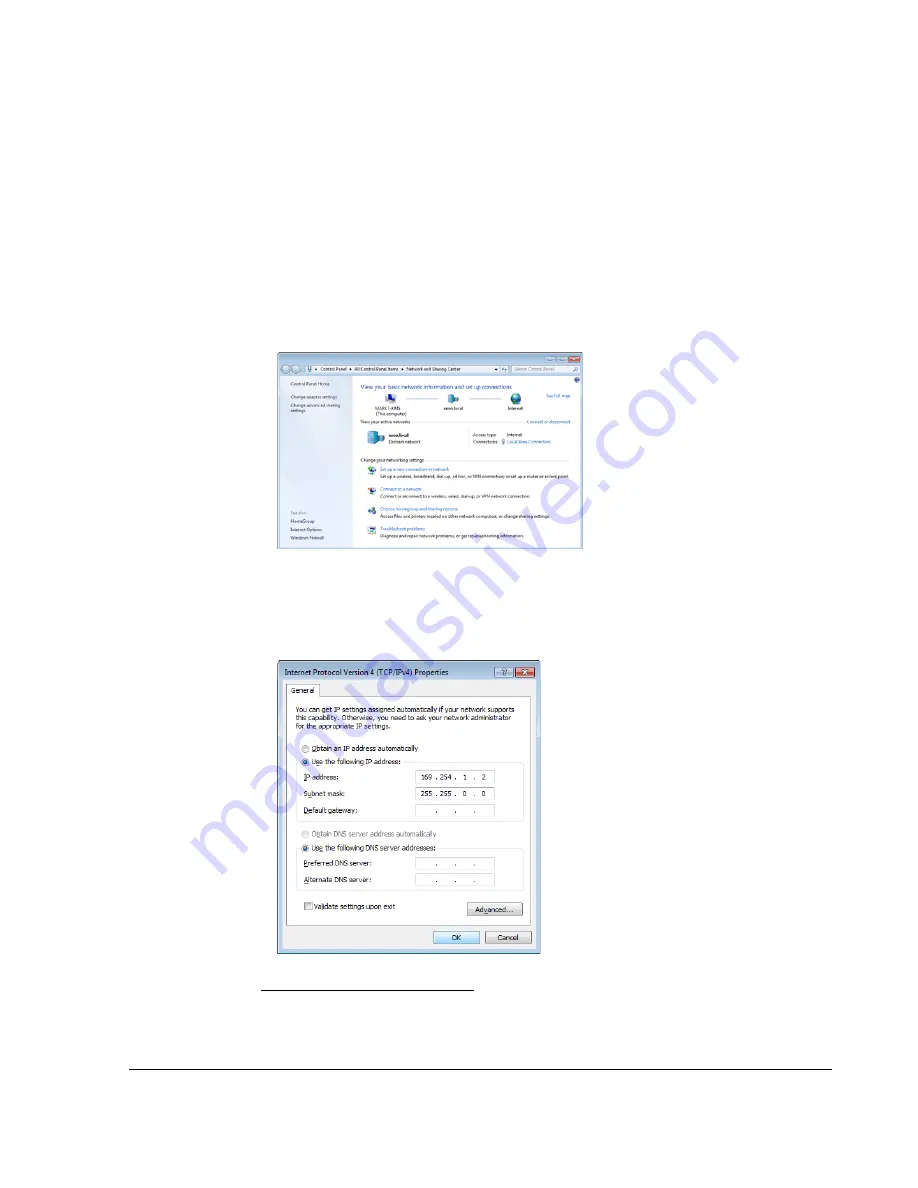
3. Once connected, the laptop Local Area Connection should report limited
connectivity using an Automatic Private IP Address. Confirm by opening your
network connections.
4. In very rare instances, the laptop may select the same IP address,
http://169.254.1.1
,
used by the DVR and cause a conflict. If this is the case, manually set the laptop IP
address to
http://169.254.1.2
. Click Ok and then close the Windows dialogs.
1.APIPA is a feature available since Windows 98 that allows for devices to provide
their own IP address when there is no DHCP server present.
Figure 2-27
Network Connections
Figure 2-28
Update IP Address
Содержание TL-HD
Страница 1: ...DVR Firmware Version 2 1 Document Part Number 700 1014 R002 700 0099...
Страница 20: ...Installation 1 16 700 1014 R002...
Страница 54: ...Advanced Setup 3 16 700 1014 R002...
Страница 85: ...DVR Configuration Menus 700 1014 R002 4 31 Figure 4 32 Formatting the Hard Drive Message...
Страница 88: ...L 2...
Страница 92: ...Seon Design Inc Product Warranty W 4 700 1014 R002...
Страница 93: ......


